My Favorite Way to Get Vocals to Sit in the Mix
Getting vocals to sit in the mix is like trying to assemble a 100 piece puzzle. But there are some things you can do to make that puzzle fit together way more e

Key Takeaways
- Start with properly processed vocals using compression and EQ before attempting any mixing techniques.
- Arrange your beat to leave frequency space for vocals instead of fixing conflicts later.
- Mix into a limiter on your master bus to hear realistic loudness context.
- Use multiband sidechain compression to duck conflicting beat frequencies only when vocals play.
- Target the 1-5 kHz range where most vocal-instrumental frequency conflicts occur.
Getting vocals to sit perfectly in your mix feels like solving a 100-piece puzzle where half the pieces are missing.
You know the struggle — your vocals are either drowning in the beat or sitting on top like they were recorded in a different room. There’s this constant game of audio see-saw where you’re endlessly adjusting the fader, bouncing between “way too loud” and “completely buried.”
I’ve been there. Vocal mixing was hands down the hardest part of production for me to learn.
The human voice has so many nuances that any problems stick out like a sore thumb. But I’ve found a technique that consistently gets my vocals sitting exactly where they need to be — and it’s not just about turning them up louder.
I also made a full video on this…
All the ideas in this article come from the video below. If you don't feel like reading, well, I gotchu.
Part of the Vocal Mixing series — For the full picture, read my complete vocal mixing guide.
Start With Smart Processing
Before we dive into the mixing technique, you need your vocals processed properly.
This isn’t really about processing (I’ve got a whole other video breaking down my exact professional vocal chain), but you can’t mix what isn’t there. Your vocals need compression, EQ, and whatever character you’re going for before you start trying to fit them into the mix.
If you don’t have expensive plugins, grab my 10 free vocal preset chains — they’ll get you 90% of the way there with stock plugins.
The key is having a solid foundation before you start the actual mixing work.
The Arrangement Sets Everything Up
Here’s something most producers miss: the biggest vocal mixing problems are actually arrangement problems.
If your beat has way too many conflicting frequencies — especially in the upper mids — you’re going to have a hard time hearing your vocals no matter how much mixing wizardry you try to pull off.
The best songs try to carve a pocket for the vocals just like they would any other instrument.
Think about it from the start. When you’re building your beat, ask yourself: “Where do the vocals live in this frequency spectrum?” If your lead synth, guitar, and pad are all fighting for the same space your vocals need, you’re setting yourself up for mixing hell later.
Treat your vocals like an instrument that deserves its own space.
Mix Into a Limiter for Context
Once your arrangement is dialed in, here’s my first mixing move: throw a limiter on the mix bus.
I use FabFilter Pro-L 2 as my go-to limiter, and I pair it with the free loudness meter from Youlean. I adjust the meter so I’m hitting around the LUFS I want for my master — usually somewhere in the ballpark of where the final track will end up.
This gives me the actual signal level context that the vocals need to work within.
The limiter gently squeezes down the vocals (and everything else), so to get the exact right level I’m looking for, I mix into the limiter. This also helps glue all the elements together slightly so it sounds more like a polished record instead of a bunch of separate tracks playing at once.
You can add other mastering plugins later, but I love the idea of mixing into a limiter as I’m getting the preliminary work done. It gives you a realistic picture of where everything sits in the final product.
The Secret Weapon: Multiband Sidechain Compression
Now for the technique that changed everything for me: multiband sidechain compression.
Just like carving out frequency pockets in your arrangement, you can do this dynamically during mixing. Instead of just EQing frequencies out permanently, you can make them duck only when the vocals are playing.
Here’s my setup:
I route all my vocals to a complete vocal bus with all the voices. Then I have my beat on a separate track. This separation is crucial for what comes next.
Setting Up the Multiband Sidechain
I use FabFilter Pro-MB (Pro Multiband) for this technique.
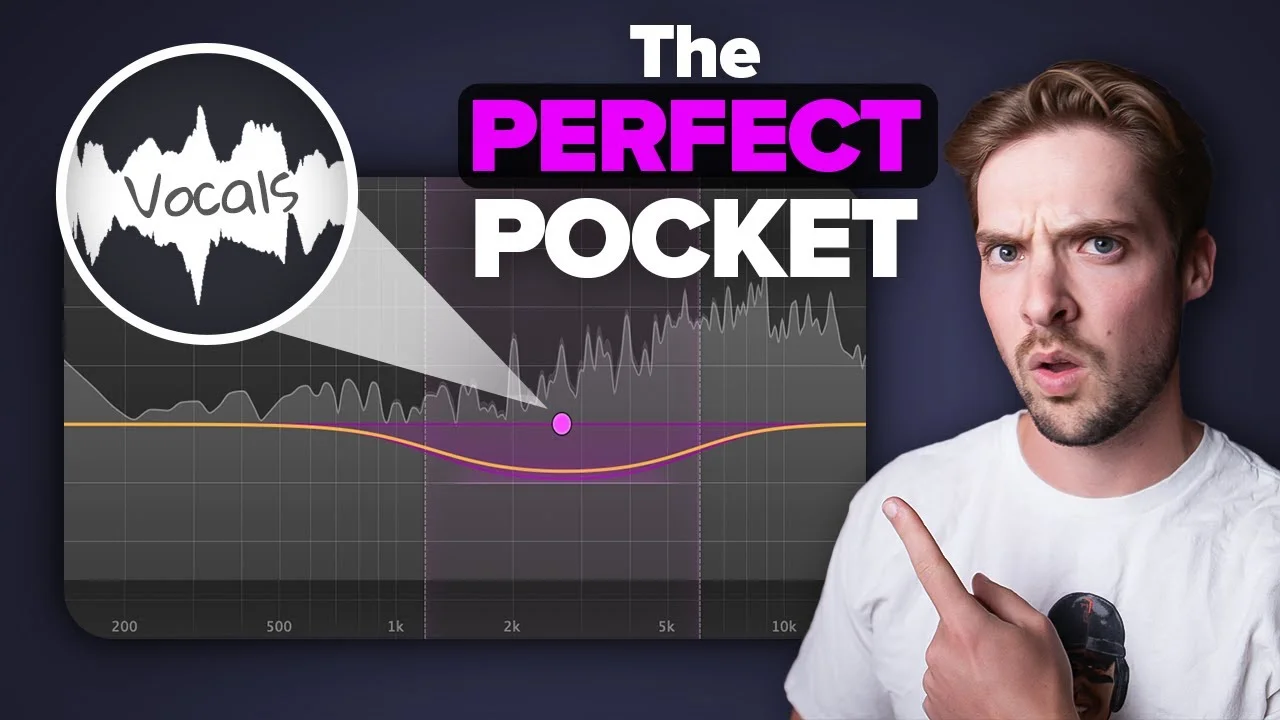
Those conflicting frequencies I mentioned earlier? They usually happen in the upper midrange — roughly 1,000 Hz to 5,000 Hz. This range is mid-range/upper mid-range focused and it’s a very sensitive spot for our ears.
When there are too many conflicting frequencies in this range, our vocals have a much harder time sticking out.
Here’s how to set it up:
- Add Pro-MB to your beat/instrumental track
- Set up the sidechain input — click to add a sidechain and select your main vocal bus
- Click on the band covering your problem frequencies (I usually start around 1,100 Hz to 5,000 Hz)
- Switch to Expert mode and set the source to External
Now here’s the magic: anytime the vocal plays, it uses that vocal information to compress just that frequency range in the beat.
When you sing a line, you’re effectively turning down the conflicting frequencies in the beat — but only in that specific range, and only when the vocals are present. This creates a natural pocket for the vocals to sit in.
Dialing In the Settings
The beauty of this technique is in the details. You can adjust the compression settings to taste:
Threshold: Turn this down to make the compression more aggressive. I usually start conservative and work my way down until I hear the vocals sitting better.
Release: I like making this a little longer so the effect is more noticeable and musical. Too fast and it sounds pumpy.
Attack: I take this down slightly so the compression comes in faster when the vocal hits.
Ratio: Keep this subtle — around 2:1 or 3:1. We want transparent ducking, not obvious pumping.
Range: I limit the maximum compression to around 3 dB. This keeps it musical and prevents over-processing.
You can even create multiple bands with different compression settings if you need to target multiple frequency ranges. Maybe the vocals need 2-3 kHz ducked more aggressively than 4-5 kHz.
The Flip Side: Boost the Vocals
Here’s where it gets even cooler — you can do the opposite effect on your vocal bus.
I’ll add another instance of Pro-MB to the main vocal bus and give those same frequencies (the ones I’m ducking in the beat) an ever-so-slight boost.
This is subtle — we’re talking about all the vocals at once, so you don’t want to change the sound dramatically. But a gentle 1-2 dB boost in the right frequencies, combined with the ducking in the beat, creates this perfect complementary effect.
I’ll even include very shallow compression on this vocal boost to help everything fit into the mix better. It’s all about frequency balance — giving different instruments specific pockets so they can all be heard and mesh together well.
The Results Speak for Themselves
When you A/B this technique, the difference is immediately obvious.
The vocals sit on top of the mix instead of fighting with it. You can hear every word clearly without having to crank the vocal fader to unrealistic levels. The whole mix sounds more professional and cohesive.
The effect is subtle — this isn’t some dramatic, obvious processing. But that subtlety is exactly why it works so well. The best mixing moves are the ones you feel more than hear.
Your vocals will sound like they belong in the mix instead of being pasted on top of it.
Why This Works Better Than Traditional Methods
Traditional vocal mixing usually involves static EQ cuts and boosts, compression, and riding faders. Those are all important, but they’re reactive solutions.
Multiband sidechain compression is proactive. It automatically creates space for your vocals exactly when they need it, and only when they need it.
Instead of permanently carving out frequencies that might make your beat sound thin when vocals aren’t playing, you’re creating dynamic space. The beat keeps its full frequency content during instrumental sections, but automatically makes room when the vocals come in.
This technique also works with the natural dynamics of a song. Verses might need more aggressive ducking than choruses. Different vocal parts might conflict with different frequency ranges. The multiband approach lets you customize the response for exactly what your track needs.
Getting Started With Your Own Tracks
Here’s how to implement this on your next mix:
- Get your vocal processing solid first — you can’t mix muddy, unprocessed vocals into any technique
- Set up proper bus routing — vocals on one bus, beat on another
- Start conservative with your multiband settings — you can always add more compression later
- Focus on the 1-5 kHz range first — this is where most vocal/instrumental conflicts happen
- A/B constantly — bypass the plugin frequently to make sure you’re actually improving the mix
Remember, this technique works best when combined with smart arrangement choices and solid processing. It’s not magic — it’s just intelligent frequency management.
Every time I use this approach, I get vocals that sit exactly where they need to be in the mix. No more audio see-saw. No more fighting with faders.

Try this technique on your next track and hear the difference for yourself. Your vocals will thank you.
Want a professional starting point? My Vocal Magic presets give you ready-made vocal chains for any genre — EQ, compression, reverb, and more, all dialed in and ready to go.
Or grab my free vocal presets to try before you buy.
About Mattie
Mattie is a music producer, songwriter, and educator specializing in Logic Pro and vocal production. With over 10 years of experience in the music industry, he's helped thousands of artists transform their home studio recordings into professional-quality tracks.
As the founder of Music By Mattie, he creates tutorials, presets, and courses that simplify complex production techniques. His mission is to make professional music production accessible to everyone, regardless of budget or experience level.