
How to Mix Pop Vocals Like a Pro (Even if You're Not)
Pop vocals used to be my arch nemesis. Every time I mixed, it was like I was going to war with my DAW and my plugins. But after a decade of fighting the good fi

Key Takeaways
- Match your mixing approach to the song's vibe and emotional energy from the start.
- Clean recordings are essential—you can't fix terrible source material with mixing magic.
- Use manual volume automation before compression to help your compressor work more effectively.
- Boost the high frequencies above 8kHz generously for that modern pop vocal sheen.
- Layer multiple vocal takes and automate effects throughout the song for professional thickness.
Pop vocals used to be my absolute arch nemesis. Every time I mixed them, it felt like going to war with my DAW and my plugins.
But after a decade of fighting the good fight and practicing my production skills, I’ve finally slain the pop vocals dragon. And today, I’m going to show you exactly how I did it — using only stock plugins.
No fancy third-party gear. No expensive hardware. Just the tools you already have and a systematic approach that transforms average vocals into professional-sounding pop magic.
I also made a full video on this…
All the ideas in this article come from the video below. If you don't feel like reading, well, I gotchu.
Part of the Vocal Mixing series — For the full picture, read my complete vocal mixing guide.
Understanding Your Song Before You Mix
Before you even think about touching a plugin, you need to understand what you’re working with.
Is it a ballad? Is it a banger? The vibe of your song will guide every single decision you make in the mixing process.
For the demo I’ll be referencing throughout this post, we’ve got an upbeat, positive pop track. That means our vocal approach needs to reflect that energy — bright, present, and punchy.
This isn’t just about technical settings. It’s about matching the emotional intent of the song with your mixing choices.
Setting Up Your Vocals Properly
Trying to mix a poorly set up vocal is like trying to build a Lego set without directions. Weirdly hard and frustrating as hell.
The Recording Foundation
Here’s a hard truth: no amount of mixing magic is going to fix a terrible recording.
If your vocals sound like they were recorded in a windy alley, you might want to consider a retake. A clean, clear recording is your absolute best starting point.
I know it’s tempting to think you can “fix it in post,” but trust me — you’ll save yourself hours of frustration by getting it right at the source.
Volume Automation: Your Secret Weapon
Once you’re happy with your raw recording, it’s time to talk about something most producers skip: manual volume automation.
Having consistent volume across your track will help your compressor work more effectively later on. This is crucial.
Start by slapping a gain plugin on your vocal track. Then manually adjust the volume fader for any parts that are too loud or too soft.
Yes, there are plugins that do this automatically. But I find that for the best results, you really need the human touch. You’ll be able to feel what phrases and words need more gain and which ones to emphasize.
It’s all about the feelings, bro.
Don’t worry about perfection here. This is about smoothing out the rough patches so your compressor doesn’t have to work overtime. We can always come back and adjust this later.
Basic Pop Vocal Processing
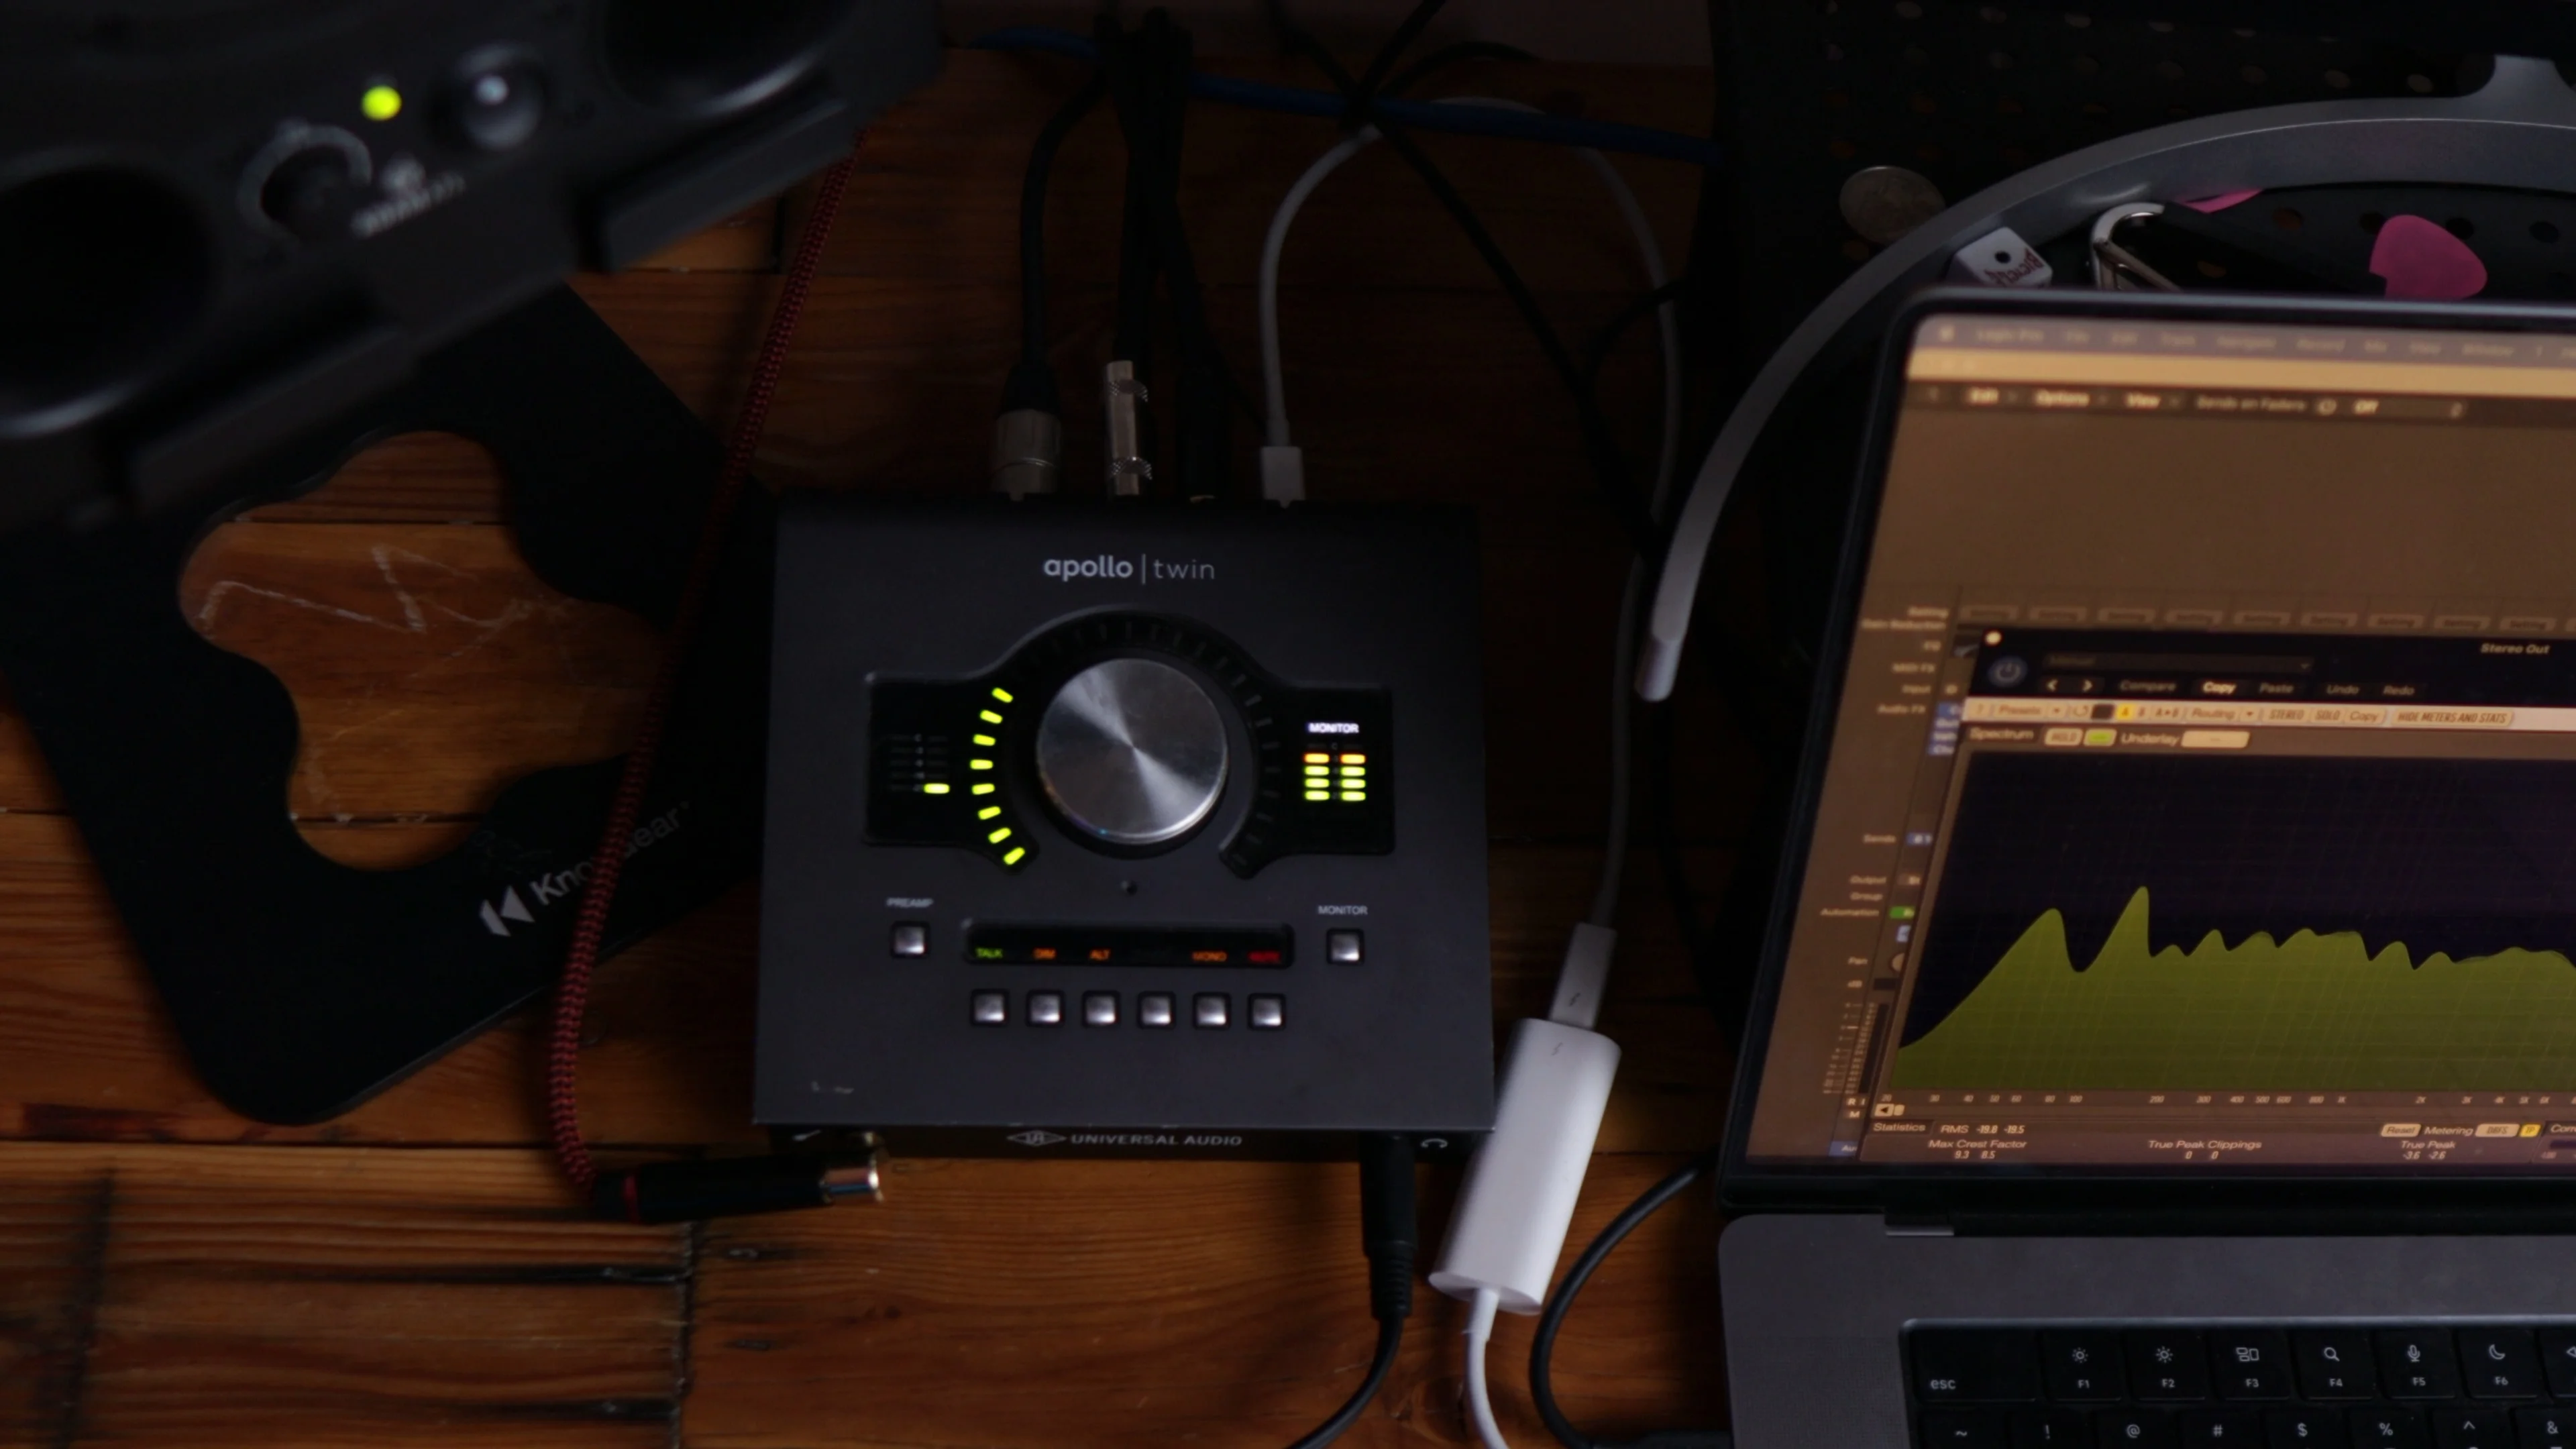
Now that we’ve set up our vocal properly, we can begin assembling our pop vocal chain — the plugins we’ll use to make our voice sound money.
Vocal Tuning: Essential but Subtle
For pop songs, tuning is absolutely essential. Even the best singers might need a little pitch correction to nail that perfect take.
The key here is subtlety. We don’t want to notice the tuned vocals, but we do want our vocals to color inside the pitch lines.
Use a tool like Auto-Tune, Melodyne, or your DAW’s built-in pitch correction. My favorite is Melodyne by far, but choose your own adventure here and trust your ears.
I like to start with basic corrections in Melodyne and then finish it off with Auto-Tune. Make sure this is the second plugin after the gain plugin in your chain.
EQ: Your Sonic Scalpel
We’ll use EQ to carve our vocal sound like Michelangelo carving David. For pop vocals, we want to focus on a few key frequency areas:
Subfrequencies (Below 150Hz) We don’t want these competing with our bassline. Most pop mixes are heavily centered in the mid-range anyway, so we don’t really need this low-end information.
Use a high-pass filter around 150Hz — roll it in until you start to hear it affect the voice, then back it off slightly.
Low Mids (Around 500Hz) We’ll usually want to get rid of some muddiness here. I find a lot of low-mid buildup around 500Hz that takes away from vocal clarity.
Make a gentle cut in this area to clean things up.
High Mids (Around 4kHz) For pop vocals, we want our vocals to be present. This will depend on your microphone, but we can give the voice a slight boost around 4kHz.
Too much of this and it’ll sound harsh, so tread lightly.
Air (8kHz and Above) This is one of the most important frequencies for modern-sounding pop vocals. To get that contemporary sound, boost this high shelf to taste.
Don’t be afraid to boost this 6-8dB or whatever your ears tell you. This adds a sheen to the vocal that sounds like a proper pop record.
The difference this EQ makes is immediately noticeable — it transforms a dull, muddy vocal into something bright and present.
Compression: The Sound of Modern Music
Compression is how you avoid having your vocals pop out like those annoying jump scares in horror movies. It’s also a great way to ensure you can hear every word a singer sings.
Here are some general tips for pop vocal compression:
- Set your threshold so it catches the peaks but doesn’t squash everything flat
- Aim for a ratio that’s like a firm handshake — not too limp, not too bone-crushing
- Use a quick attack for sharper, more energetic vocals; slower for smooth, laid-back vibes
- Experiment with compressor types to add color to your sound (1176 types are my favorite)
- Use two compressors in a row with less intense settings for better results
We’re really looking for every word to come through evenly. To me, compression is the sound of modern music, especially for vocals.
If you have any parts that aren’t compressed enough, go back to your gain automation from earlier and adjust accordingly.
The goal is to add energy and beef without overly squashing the vocal. You should hear every word clearly, but the passion of the performance should still shine through.
De-essing: Taming the Snake
For pop vocals, de-essing is almost mandatory.
Remember that extra air and presence we boosted in the EQ? Yeah, we also boosted those annoying “s” sounds along with it.
Unless you want to sound like a snake every time you hit an “s,” we’ll need a de-esser.
Set your de-esser just high enough to catch those sibilant frequencies without making your vocals sound dull. It’s a fine line between sibilance and shame.
Focus the de-esser on the frequency range where the harsh “s” sounds live (usually around 6-8kHz) and set the threshold so it only kicks in when those frequencies get too prominent.
Advanced Pop Vocal Processing
Now let’s make those vocals sit beautifully in the mix with some spatial effects.
Delay: Adding Rhythm and Texture
Delay can add a sense of rhythm and texture, and it has the added benefit of not muddying up your mix the way reverb can.
I also like to use stereo delays to add width to my vocal. For more upfront vocals, focus on adding depth with delay rather than reverb.
The key is to match your delay timing to the song’s tempo. Use eighth notes, quarter notes, or dotted eighths depending on what fits the groove.
Keep the delay relatively quiet in the mix — it should be felt more than heard.
Reverb: Creating Space
Reverb adds space and depth, making your vocals feel like they’re part of a larger environment.
But here’s the thing: the more reverb you add, the more your vocal gets pushed backwards in the mix.
Start with a light room-style reverb for a natural sound. You can always go bigger from there for more dramatic effects, but remember — less is often more.
For pop vocals, you want them to sit in a space without disappearing into it.
Harmonic Excitement: Adding Sparkle
Exciters or saturation plugins can add life to a dull vocal by enhancing upper harmonics, making them brighter and more present.
But be careful — too much excitement can make your vocals harsh. Lightly kiss the track with exciters; don’t make out with it.
The enhancement should be subtle. We’re looking for that extra bit of presence and clarity without obvious processing artifacts.
Creative Effects for Unique Pop Vocals
For any professional pop vocal, there’s always more to the story. Here are some creative effects that can make your vocals stand out:
Chorus: Thickening the Sound
The chorus effect adds stereo width to your otherwise mono vocal track.
You can use chorus to thicken up your vocals, giving them a more full, lush sound. This works great for actual chorus sections or parts where you want more impact.
But too much will lead to phase problems, so be careful. A little goes a long way.
Flangers: Adding Interest
Flangers add an interesting twist to the voice, making them stand out or sit uniquely in a mix.
I actually hear slight flanging on a lot of modern pop vocals. Like all good things, moderation is key.
Use flangers sparingly — maybe just on certain words or phrases for emphasis.
Layering: The Ultimate Thickening Technique
This is one of my absolute favorite techniques for pop vocals: recording multiple takes of the same part.
If you record yourself singing the same section multiple times, you can pan each take left and right to get a crazy cool thick sound. Then you can mix in these layers to taste, adding more beef when you need it.
You can even EQ and compress these different layers differently based on their role in the song. For example, background vocals might need some high-end rolloff and heavier compression to sit nicely behind the lead without competing for attention.
I’ll often record:
- Doubles — the same melody sung again for thickness
- Octaves — higher or lower versions for richness
- Harmonies — different notes that support the main melody
- Texture layers — things like “oohs,” “ahhs,” or “dums”
This layering technique is one of the biggest reasons professional pop vocals sound so full and polished.
Automation: The Secret Sauce
This is the creative effect I hear done the least by amateur producers, but it makes one of the biggest impacts on the final sound: automation.
You can automate any of the effects we’ve talked about to evolve and change with the song. This gives the vocal an organic, transformative quality that takes it to the next level.
For example:
- Automate chorus or flanger plugins to only turn on during actual chorus sections
- Increase reverb during instrumental breaks for dramatic effect
- Boost delay on the last word of phrases for rhythmic interest
My favorite thing to automate is reverb and delay. If there’s a big space with no vocals or I want a cool transition between parts, I’ll bump up the reverb automation and let it create that sense of space and drama.
You just don’t get this kind of movement and interest without automation. Try it out — it’s a game-changer.
Mixing Vocals Into Your Song
After all those effects, we’re ready to balance the vocal with the rest of the track.
Most likely you’ve been adjusting vocal levels as you added effects, but there are some specific techniques to help balance everything perfectly.
Separate Vocal Stems
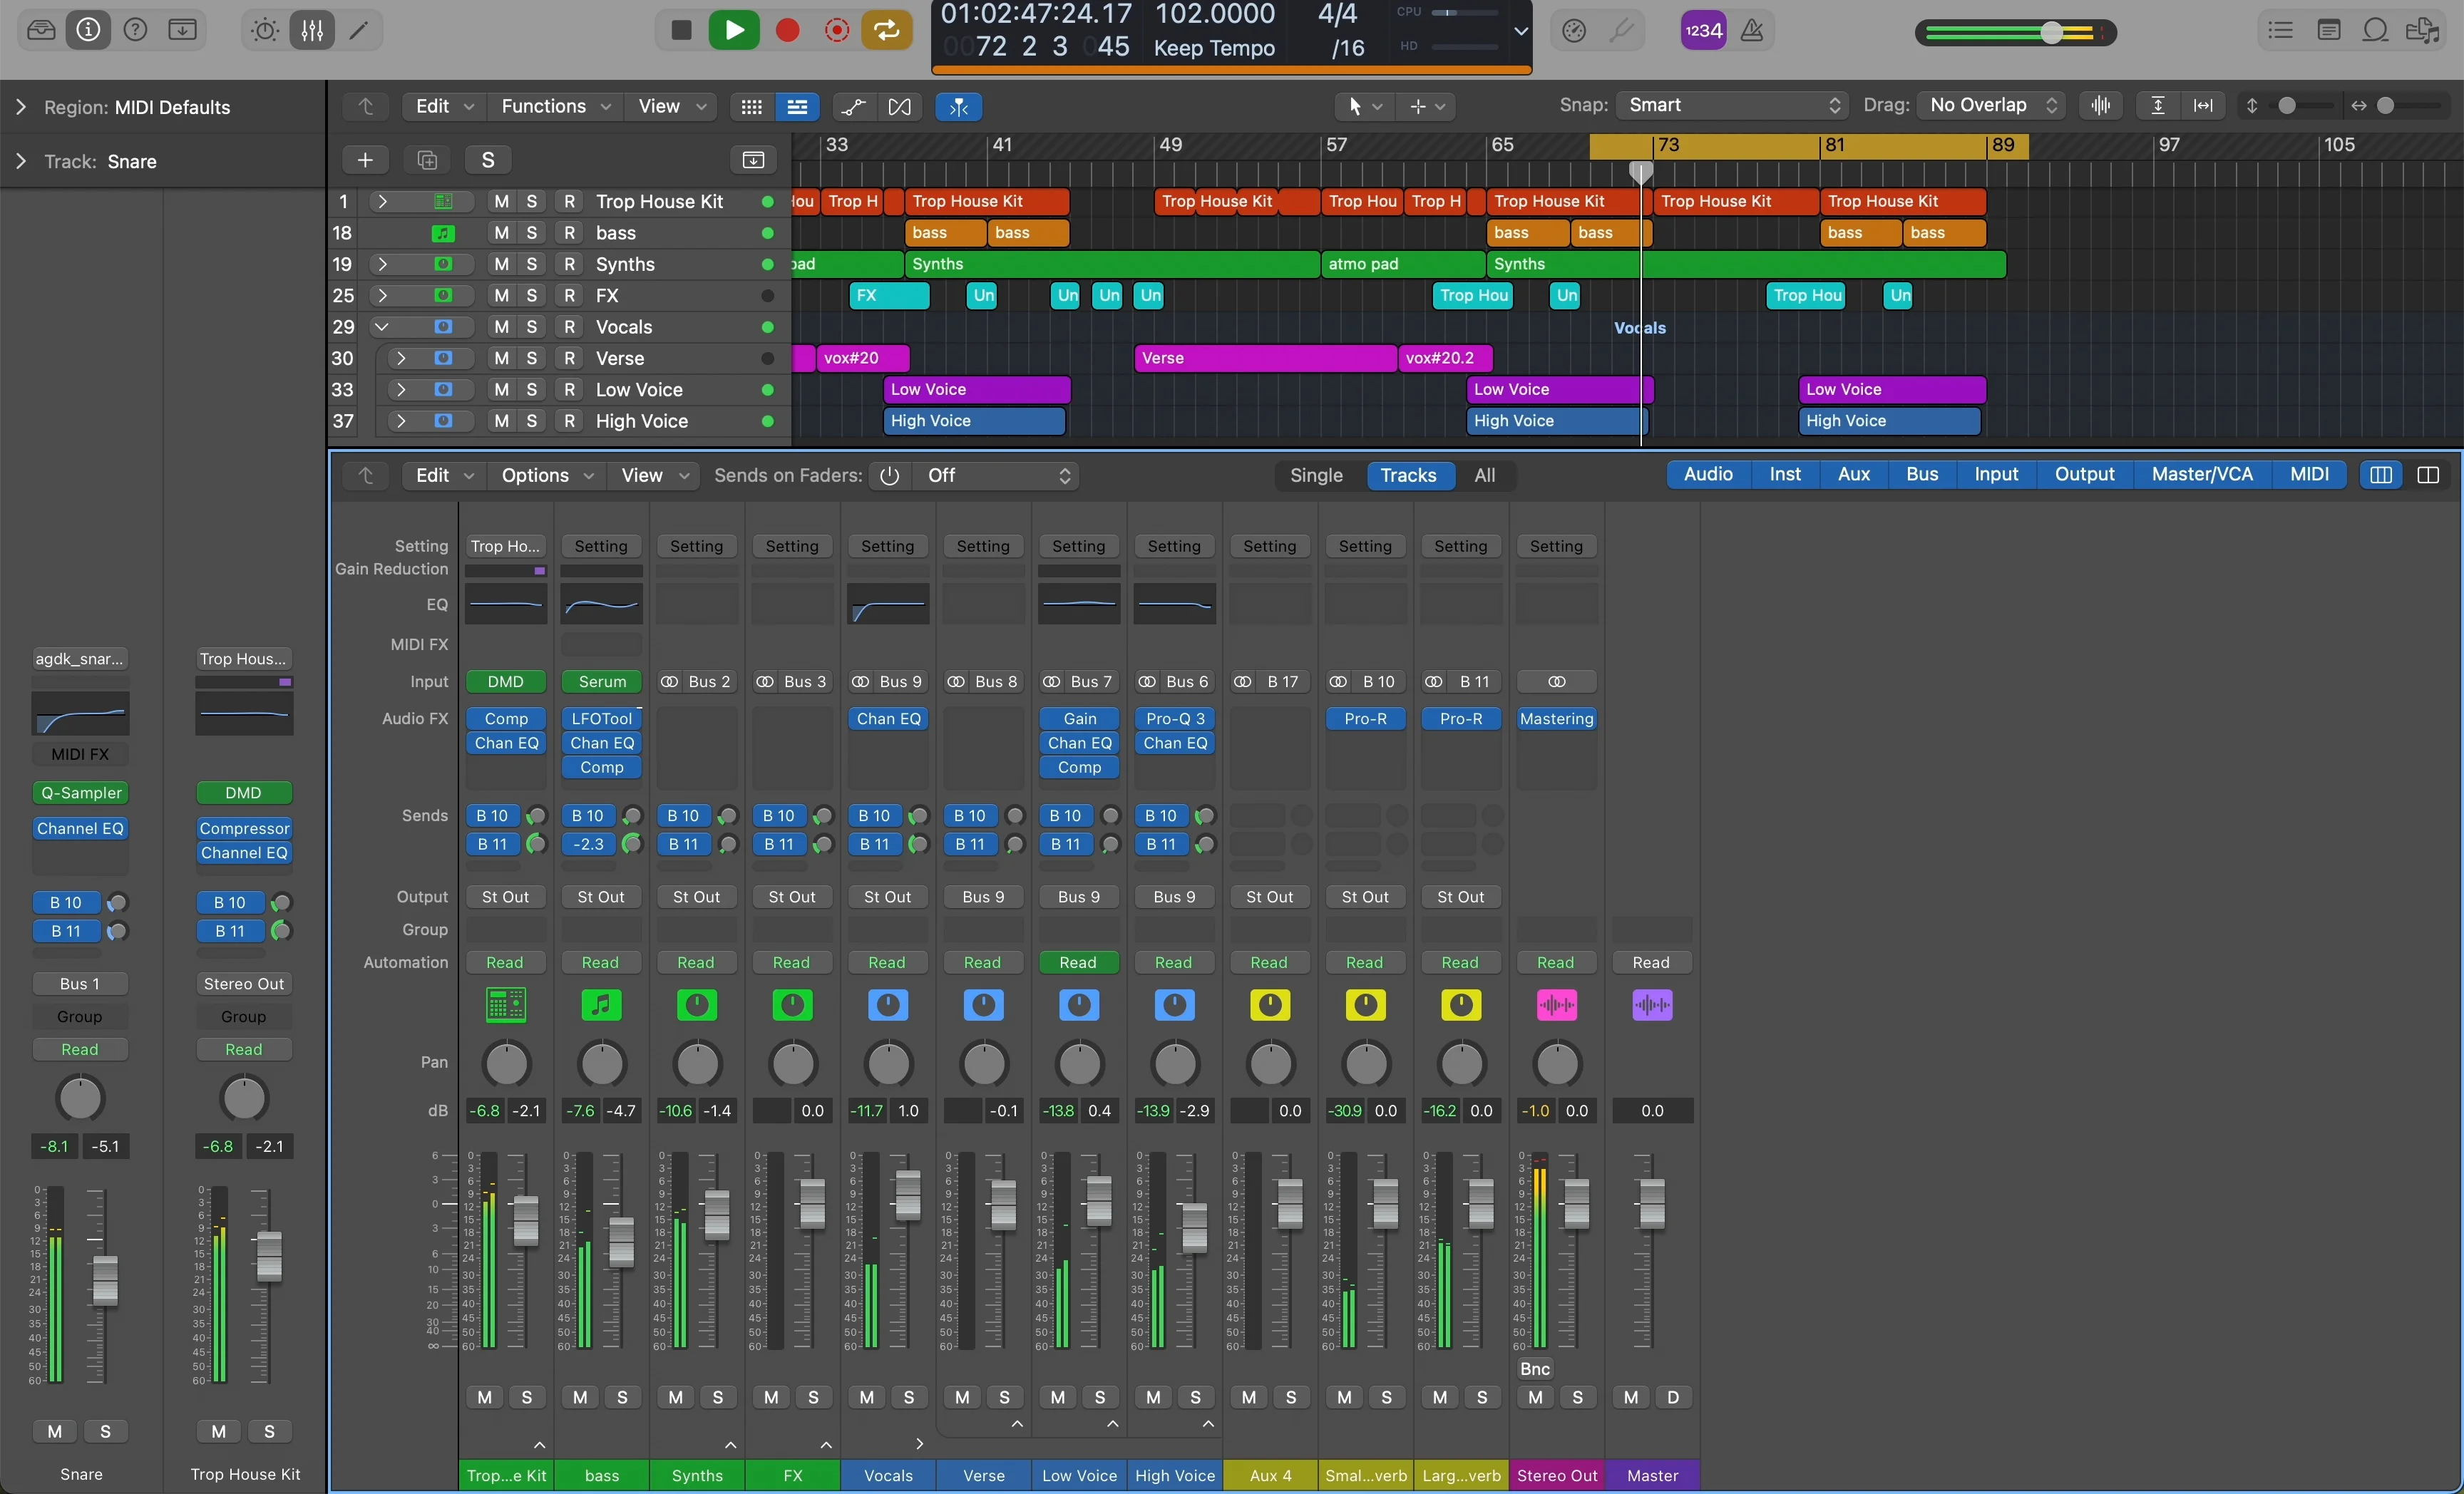
While mixing vocals, I always like to route them to a completely separate stem or bus. Vocal chains add up quickly with all the layers and effects, and if I had all of this mixed in with my original 80+ instrument tracks, that’s way too much to manage.
Keep your vocals organized — it makes mixing so much easier.
General Balancing Tips
Mix with your volume turned way down. Your vocals should be audible along with your snare drum, but only at really low volumes. This helps determine how loud they should actually be in the full mix.
Mix your vocals last. Many times the last element you mix is the one you’re focusing on, so it naturally ends up higher in volume than it should be. Save vocals for last to avoid this bias.
Make sure you can hear every word. If you can’t, go back to that gain plugin we set up earlier and adjust accordingly. People don’t connect with pop songs they can’t understand.
The vocal should sit perfectly with the snare drum — present and clear, but not overwhelming the rest of the mix.
The Complete Pop Vocal Chain
Here’s the signal chain we’ve built:
- Gain plugin (for manual volume automation)
- Pitch correction (Melodyne, Auto-Tune, or stock plugin)
- EQ (high-pass, low-mid cut, presence boost, air boost)
- Compressor 1 (primary level control)
- Compressor 2 (secondary smoothing)
- De-esser (sibilance control)
- Exciter/Saturation (harmonic enhancement)
- Creative effects (chorus, flanger, as needed)
- Delay (spatial texture)
- Reverb (spatial depth)
Remember: every plugin serves a specific purpose. Don’t just throw effects on because you can — each one should solve a problem or enhance the vocal in a meaningful way.
Your Next Steps
Pop vocal mixing isn’t magic — it’s a systematic process that you can learn and master.
The key is understanding that each element builds on the previous one. Get your recording right, nail your gain structure, then methodically work through each processing step.
It’s okay to mess up. That’s part of the game. Screw up, learn, rinse and repeat. Just keep tweaking until it sounds right to your ears.
And if you want to shortcut some of this process, check out my free vocal presets — 10 professional vocal chains that you can use as starting points for your own pop vocals.
The goal isn’t to copy these settings exactly, but to understand the approach and adapt it to your own voice and songs. Because ultimately, the best pop vocal is one that serves the song and connects with your listeners.
About Mattie
Mattie is a music producer, songwriter, and educator specializing in Logic Pro and vocal production. With over 10 years of experience in the music industry, he's helped thousands of artists transform their home studio recordings into professional-quality tracks.
As the founder of Music By Mattie, he creates tutorials, presets, and courses that simplify complex production techniques. His mission is to make professional music production accessible to everyone, regardless of budget or experience level.