Compression vs. Volume: What’s Actually Better?
Compression isn't the same as vocal automation. They're related, but they're different beasts. In this video, I'll show you why compression and volume automatio

Key Takeaways
- Use volume automation before compression to preserve vocal energy
- Compression adds glue and color, not just volume control
- Heavy compression raises noise floor and kills performance life
- Target 5-10dB gain reduction with 4:1 ratio for vocal glue
Compression isn’t the same as volume automation.
I know that sounds obvious, but based on the comments I get, it’s clearly not. There’s a massive difference between crushing a vocal to force it into the mix and automating the volume so it fits naturally.
Most producers think they’re interchangeable — they’re not.
I also made a full video on this…
All the ideas in this article come from the video below. If you don't feel like reading, well, I gotchu.
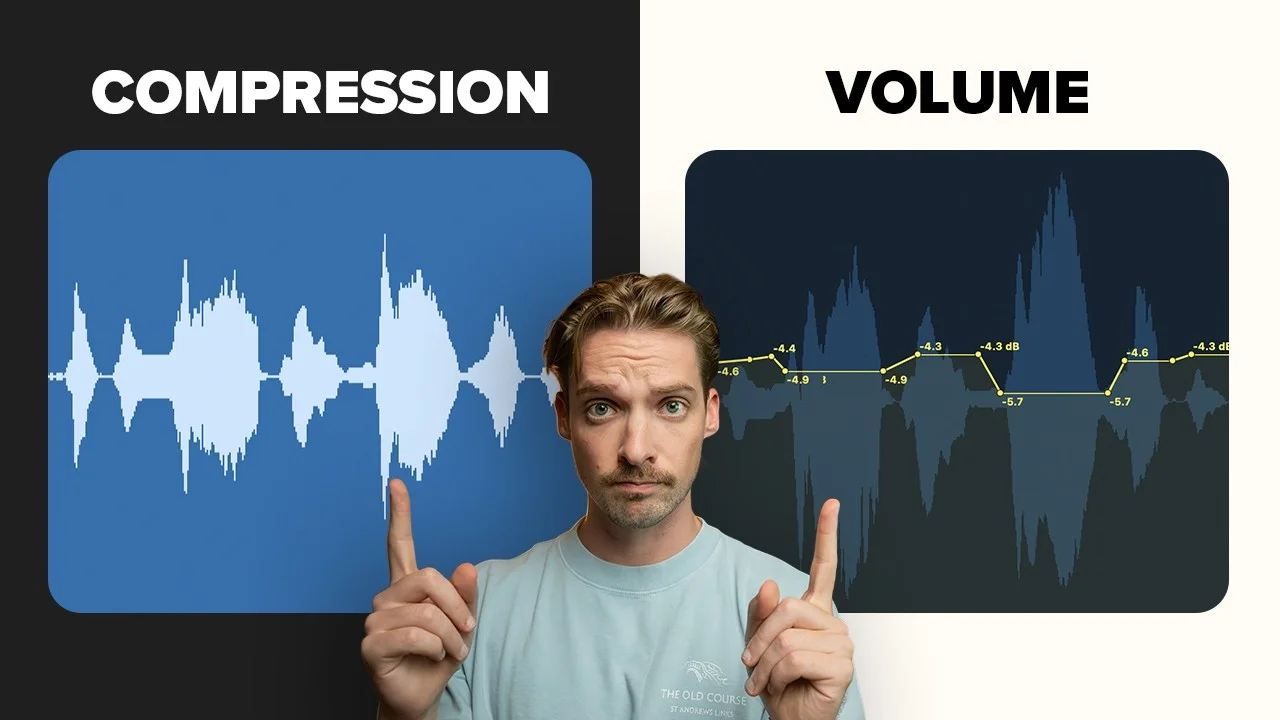
The Fundamental Difference Between Volume and Compression
Compression affects volume, which is why this gets confusing. But here’s the thing: compression fundamentally changes your audio waveforms.
Let me show you what I mean.
Here’s a vocal before any processing. Clean, natural dynamics with peaks and valleys that represent the actual performance.
Now here’s that same waveform with compression printed on it. Notice how those bigger words get slammed quite heavily? The dynamic consistency is there, but at what cost?
Compare that to the same vocal with manual volume automation. The peaks aren’t as visually slammed as the compressor does it. There’s still actual life to them — they just had the volume turned down where needed.
The difference you should be hearing is this: compression takes away the energy and life of a real vocal performance.
Why Heavy Compression Kills Your Vocals
When we hear someone talk or sing, those small minute details in volume add to the energy of the performance. That’s something that gets completely lost with heavily compressed vocals.
But it gets worse.
Compression introduces a host of other problems to your mix. The biggest one? Raising the noise floor.
If you recorded with a noisy band behind you, in a noisy studio, or with any ground noise (like that weed whacker going on outside my window right now), adding more compression brings up that noise along with the vocal signal.
Super undesirable.
How I Actually Use Compression on Vocals
I’m not saying abandon compression completely — I still use it on almost all my vocals. But it serves a very distinct purpose.
Here’s my process:
Step 1: Get Dynamics Consistent First
The first thing I do is make sure my dynamics are fairly consistent. The biggest peaks shouldn’t be wildly different from the smallest valleys.
I handle this through manual volume automation — or more often these days, using a tool I developed specifically for this task (more on that in a second).
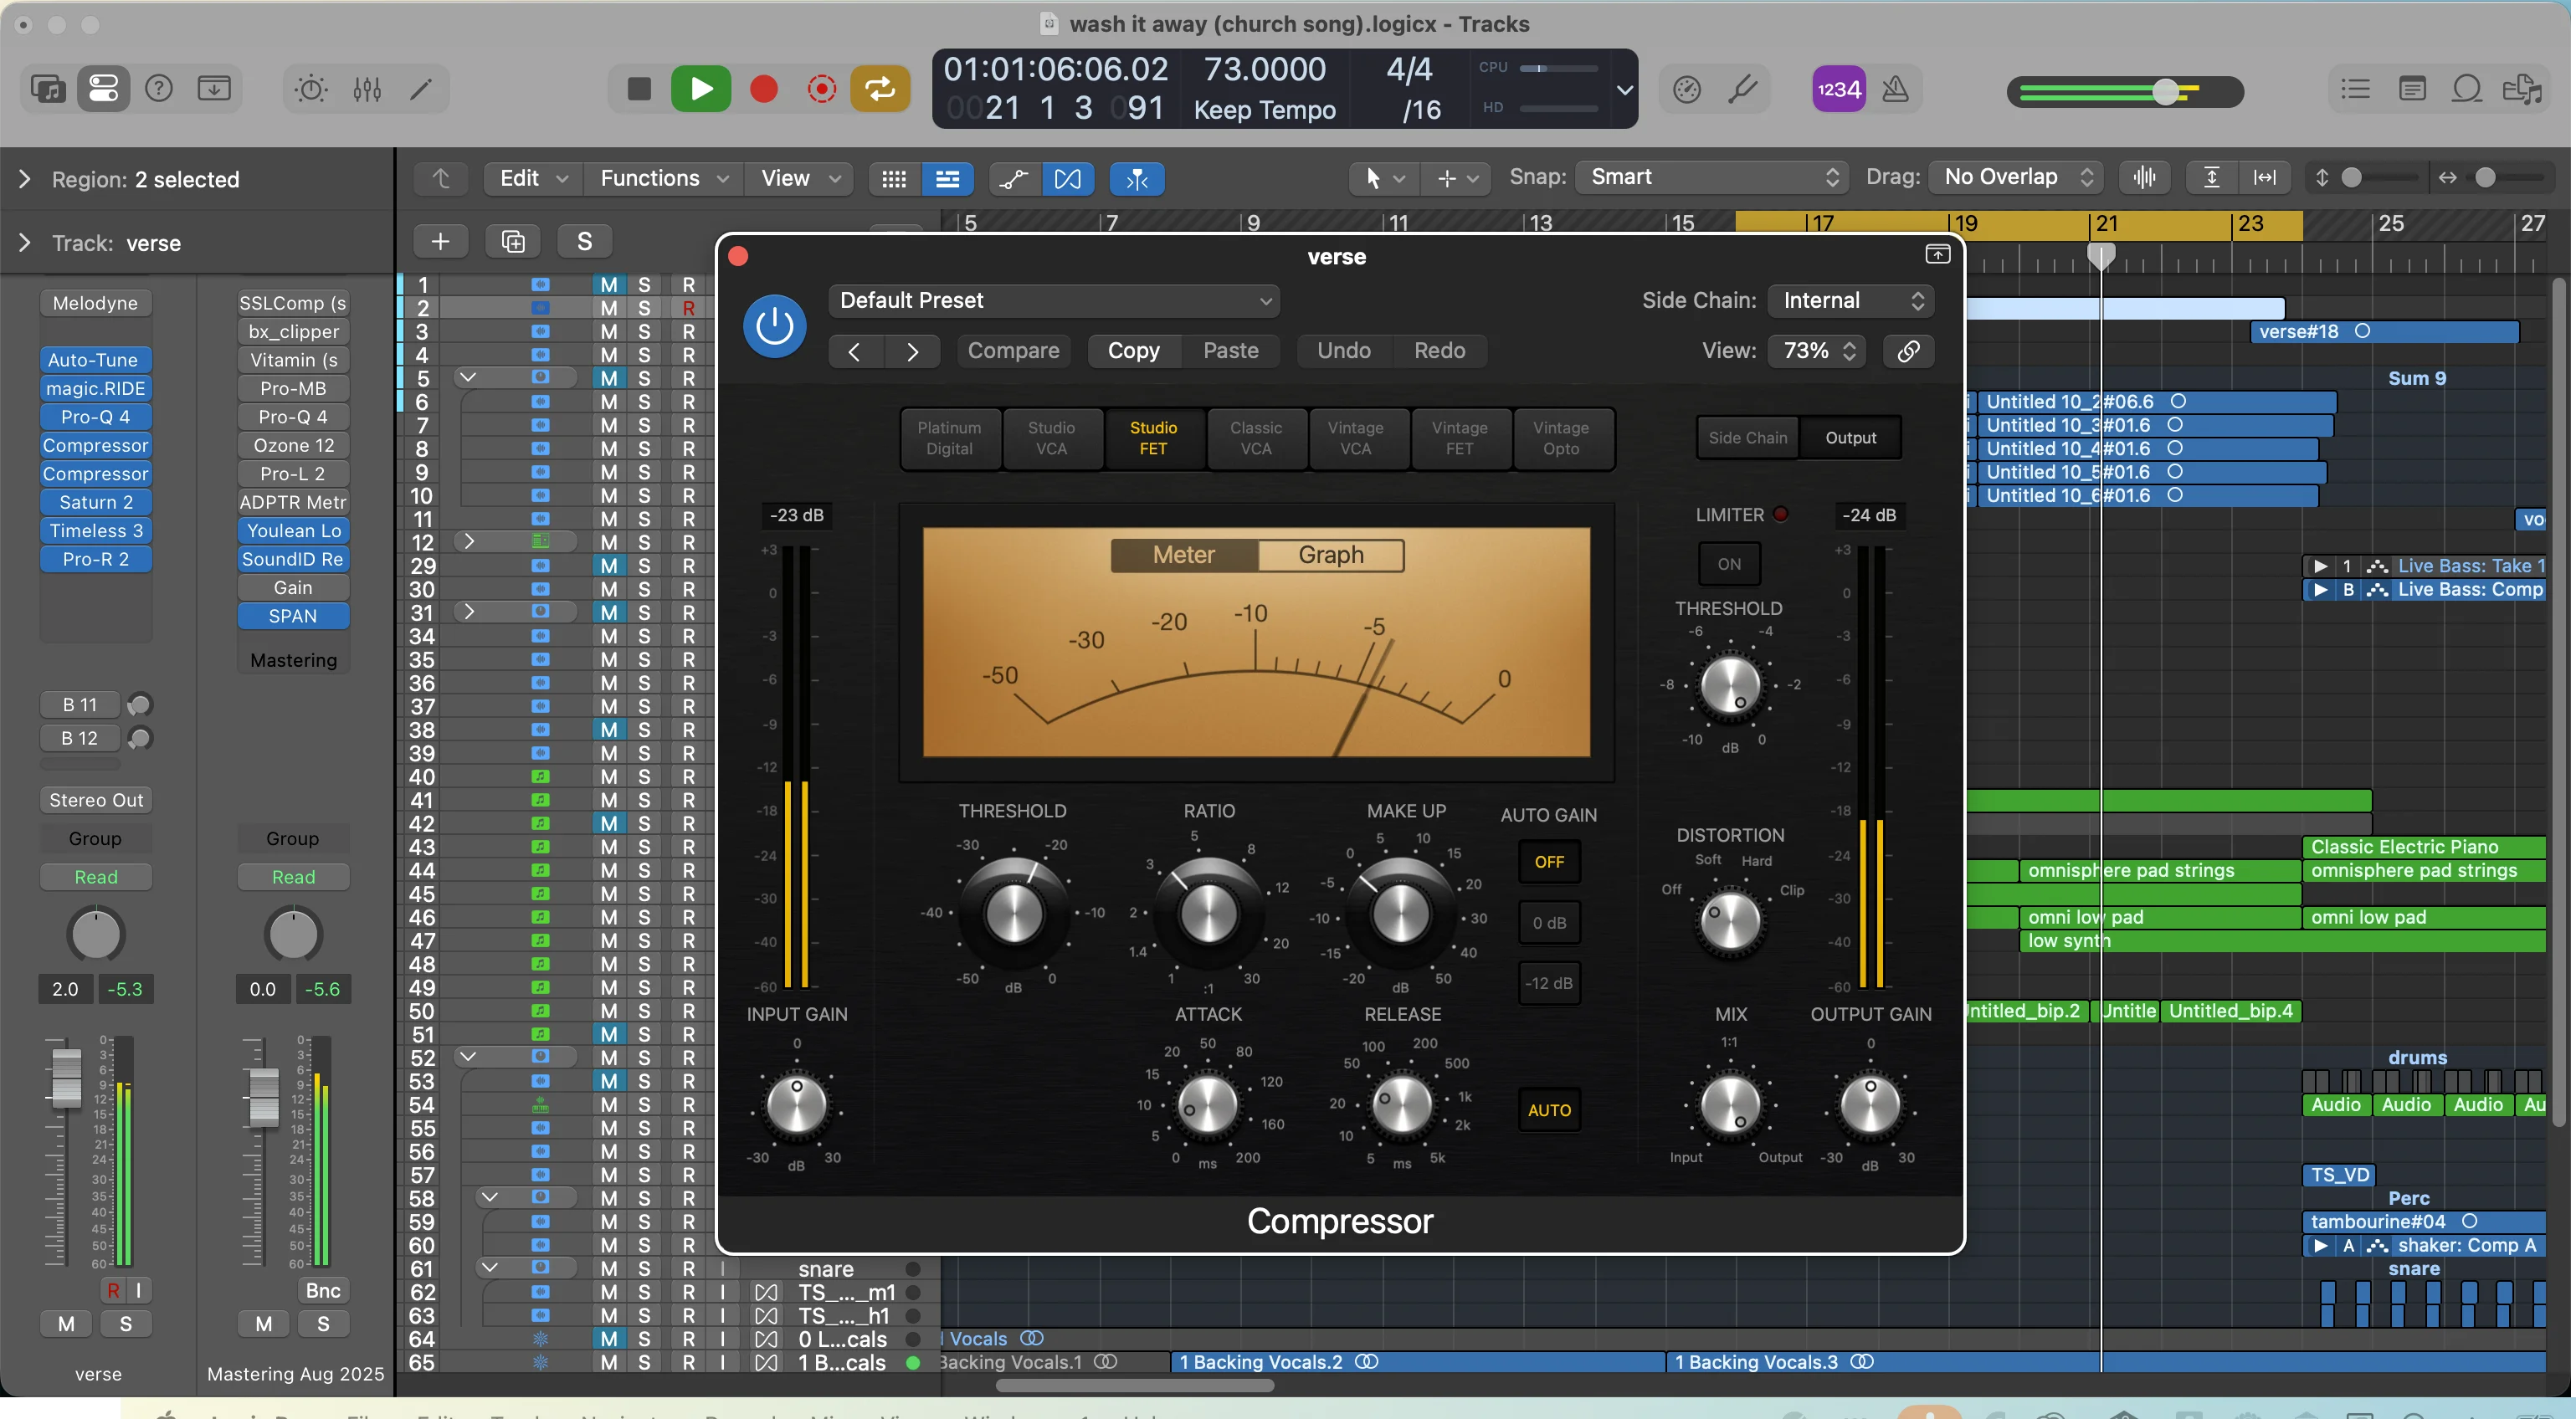
Step 2: Add Compression for Glue
Once the dynamics are consistent, then I’m ready for compression.
Let me show you with a more dynamically consistent recording. Here’s the signal we’re working with — already pretty even, so we’re ready to add compression.
My favorite for vocals is the Fab Filter Pro-C2. I dial it in until I get around 5-10dB of gain reduction with a 4:1 ratio.
Here’s the before and after:
[Before compression] [After compression]
You can hear that compressed version sounds tighter, more studio-ready, and ready to be mixed into the song.
Here’s the key: I’m not thinking about compression as saving my big volume changes. That’s where most beginners get it wrong.
I’m using compression as glue to help the vocal sit better in my mix and to add a little analog color. The Pro-C2 sounds really good on vocals for this purpose.
The Tool That Changed My Vocal Workflow
There’s a tool I developed to help make the most out of volume automation that I think is absolutely essential for the best vocals you can get.
It’s called magic.RIDE, and it’s an automated fader that does this all for you.
How magic.RIDE Works
It automatically analyzes the phrases in your vocals and adjusts them up or down depending on how they hit a target level.
You can see it identifying which parts are too loud and which aren’t quite loud enough. Then it automatically turns them up or down accordingly.
What’s even cooler? If you put your DAW into latch mode, it will automatically write that vocal automation for you.
Then you can change it back to read mode, and it reads all the changes. That means you can go through and manually edit them if you want to, but most of the time I’m just throwing this on before the compressor and being on my way.
The Natural Processing Difference
There are other vocal riders out there — this isn’t the first of its kind. But magic.RIDE works differently than most.
The main reason? When you have the “natural” knob turned on, it automatically identifies phrases in your vocal and adjusts them for a much more realistic result.
You can see that each word gets affected as a result of this phrase-based processing rather than each syllable, which is what normally happens with other tools.
In my opinion, it sounds so much more natural and better than the other alternatives out there. That’s one of the main reasons I built this — to replace other vocal riders that just don’t do that good of a job.
The Best Way to Use Both Together
Here’s my complete workflow:
1. Record Clean
Get the best source possible. Garbage in, garbage out — no amount of processing fixes a bad recording.
2. Volume Automation First
Use magic.RIDE or manual automation to get consistent dynamics. This preserves the natural energy of the performance while controlling the peaks and valleys.
3. Light Compression for Glue
Add 5-10dB of gain reduction at 4:1 ratio. You’re not trying to control dynamics here — you’re adding cohesion and analog character.
4. Listen in Context
Always check how it sits in your full mix. Solo’d vocals can be deceiving.
The compressor gets hit way less hard when you handle dynamics first with volume automation. Compare this approach to just slamming everything with compression — it’s night and day.
Without both tools working together, you’re either fighting the compressor or losing the life of your vocal performance.
With both? The vocal sounds way more ready for the mix and way easier to work with because of the volume consistency.
Breaking the Rules
Now that you know the rules, go out and break them.
Sometimes you want that heavily compressed, slammed vocal sound. Sometimes the noise floor isn’t an issue. Sometimes you need that aggressive character.
But now you understand why you’re making those choices instead of just reaching for compression because someone told you that’s what you do to vocals.
The difference between knowing the tools and understanding them is everything.
Understanding when to use volume automation versus compression — and how they work together — will take your vocal production to the next level. Your vocals will sit better in the mix, retain their natural energy, and sound more professional overall.
That’s the real magic.
Want a professional starting point? My Vocal Magic presets give you ready-made vocal chains for any genre — EQ, compression, reverb, and more, all dialed in and ready to go.
Or grab my free vocal presets to try before you buy.
About Mattie
Mattie is a music producer, songwriter, and educator specializing in Logic Pro and vocal production. With over 10 years of experience in the music industry, he's helped thousands of artists transform their home studio recordings into professional-quality tracks.
As the founder of Music By Mattie, he creates tutorials, presets, and courses that simplify complex production techniques. His mission is to make professional music production accessible to everyone, regardless of budget or experience level.