
How to Make A Massive Choir with ONE VOICE
Nothing beats the energy a choir can add to the background of your track! But for the average musician, they don't have access to recording one live. Don't let

Key Takeaways
- Record each vocal part multiple times to create natural variations in timing and pitch.
- Use octave reinforcement by singing the same melody in lower and higher octaves.
- Build three-part harmonies using the root, third, and fifth of each chord.
- Record some takes from 3-4 feet away to add depth and spatial dimension.
- Don't pitch-correct everything — those small tuning differences make it sound realistic.
Want to add massive choir energy to your tracks but don’t have access to 20+ singers?
I’ve got you covered. With just your voice and some strategic recording techniques, you can create a full, professional-sounding choir that rivals anything you’d hear on a major label release.
I’ve used this exact technique on dozens of client projects, and it always gets incredible reactions. The best part? It’s surprisingly straightforward once you know the formula.
Fair warning though — you better really like the song you’re working on. You’re about to sing it roughly 50 times in a row.
I also made a full video on this…
All the ideas in this article come from the video below. If you don't feel like reading, well, I gotchu.
Part of the Recording Vocals series — For the full picture, read my complete guide to recording vocals at home.
Getting Started: The Foundation
Here’s the truth about creating realistic choir sounds: quantity matters.
The more individual vocal tracks you record, the more grandiose and realistic your choir will feel. Those small inconsistencies in timing, timbre, and pitch between takes? That’s not sloppiness — that’s what makes a choir sound human.
Professional choirs have dozens of singers, each with slightly different vocal qualities, timing, and intonation. We’re going to recreate that natural variation by recording ourselves multiple times, each take slightly different from the last.
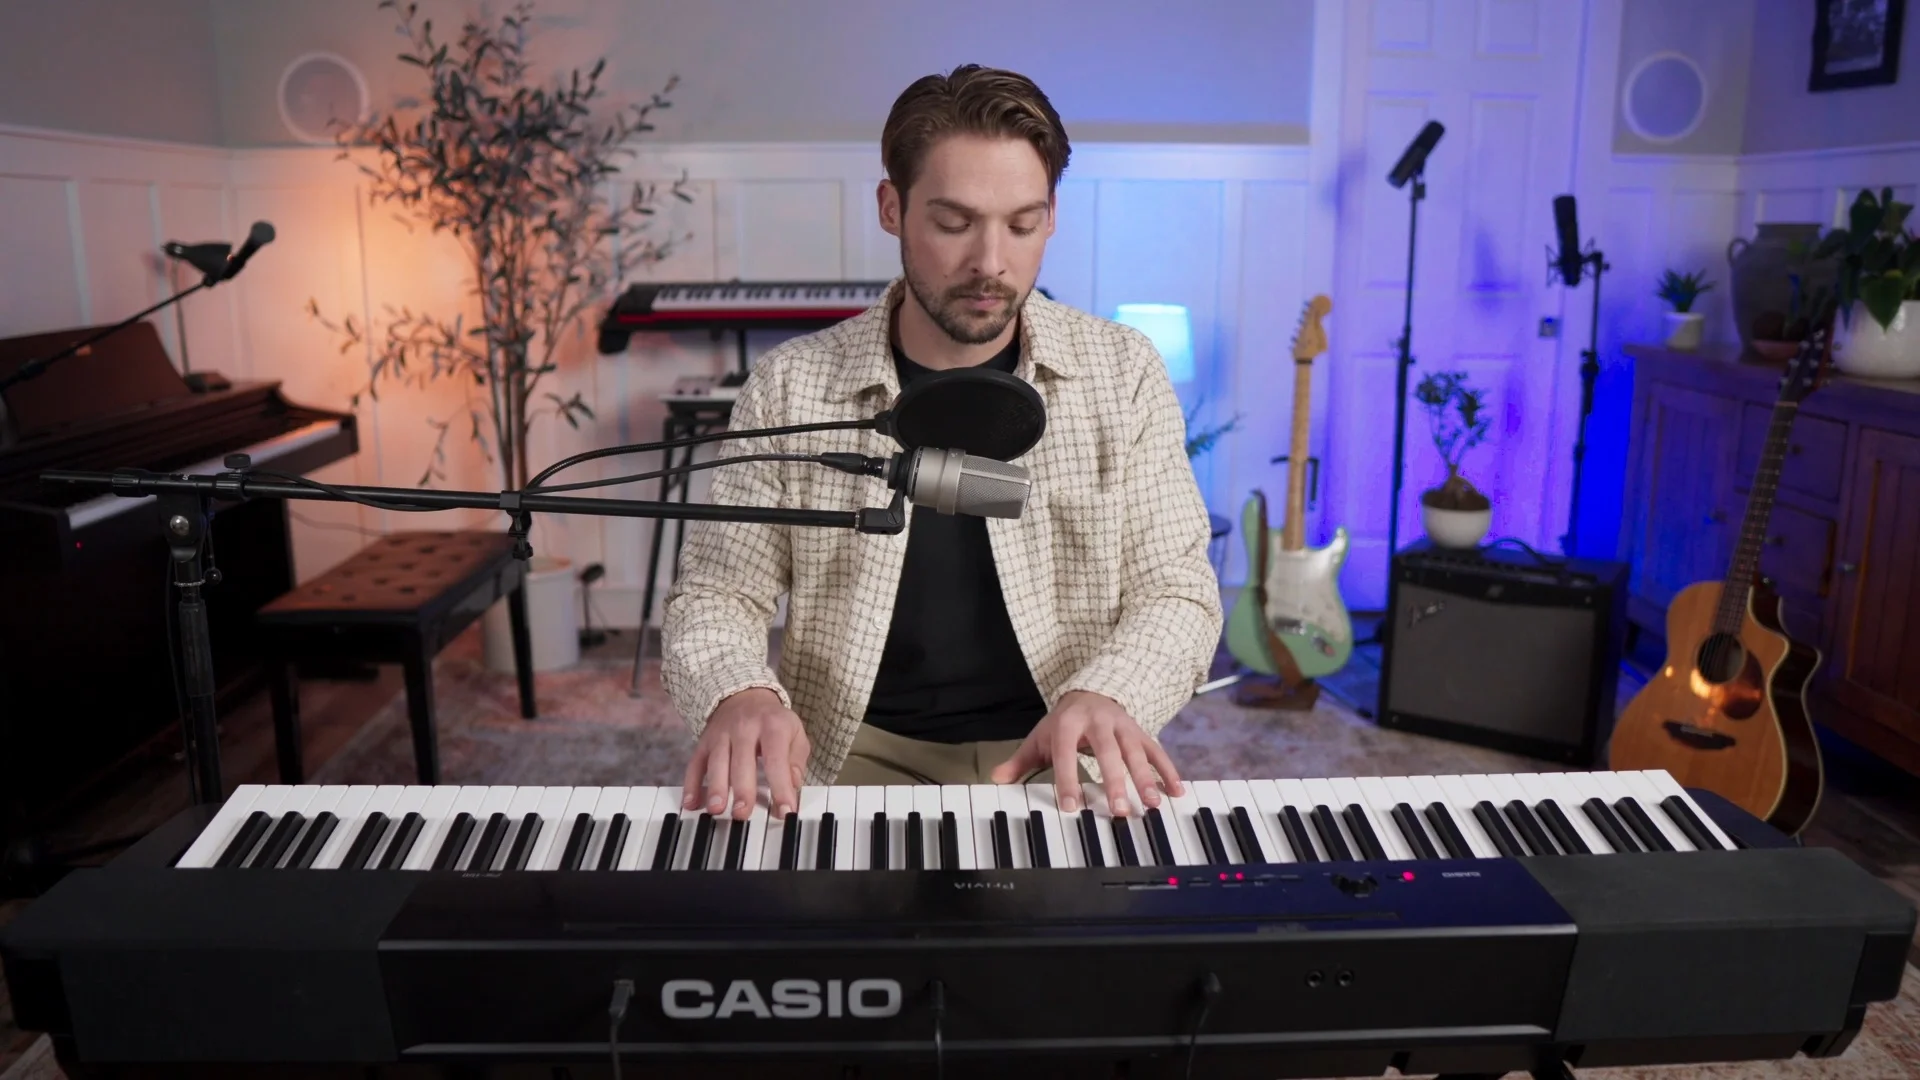
Start by setting up your usual vocal recording chain. Nothing fancy needed here — just your normal microphone, preamp, and recording setup that you’d use for lead vocals.
Part 1: The Main Melody Foundation
First step is laying down your main melody tracks.
Record the primary vocal line 3-6 times using your standard recording technique. Don’t overthink this part — just focus on solid, consistent performances of the main melody.
The key here is getting multiple takes that sound slightly different from each other. Natural variations in breath placement, vibrato, and timing will add to the realistic choir texture we’re building.
These main melody tracks will serve as the backbone of your choir, so make sure they’re solid performances that capture the emotional core of the song.
Part 2: Adding Octave Reinforcement
Once you’ve got your main melody locked in, it’s time to beef it up with octaves.
Record the same melody in both the lower octave and higher octave. Don’t stress if you can’t hit every single note perfectly — just do your best and focus on the notes you can nail.
This octave reinforcement adds serious oomph to your choir foundation. The lower octave provides weight and power, while the higher octave adds brightness and energy.
Just like with the main melody, record multiple takes of each octave. I typically do 2-3 takes of the lower octave and 2-3 takes of the higher octave, giving me plenty of options for panning and blending later.
Part 3: The Magic Ingredient — Harmonies
Here’s where things get interesting. Harmonies are what transform your multiple vocal tracks into an actual choir.
You can improvise harmonies if you’ve got the chops, but I get the best results following a specific formula:
Harmony Formula That Actually Works
1. Keep it simple These are background voices. The simpler they are, the easier they’ll blend together and let your lead vocal shine through.
2. Outline the song’s chords Your harmonies should follow the chord progression. When the chords change, your vocal harmonies should change with them.
3. Stay in a comfortable range Don’t strain for high notes or reach too low. Pick a range that sits comfortably in your voice without overpowering the main vocal.
Breaking Down the Chord Progression
For any song, start by identifying the chord progression. For example, if your song uses:
- C# minor
- C minor
- E major
- Ab major
Next, figure out where your main melody sits in relation to these chords. If your melody is up high, you’ll want to invert your chords — play the same notes but in a lower register — so your harmony voices have room to breathe without clashing with the lead.
Creating Three-Part Harmony
I typically use three-part harmonies built on the root, third, and fifth of each chord.
Let’s say you’re working with a C# minor chord:
- Lowest voice: C# (root)
- Middle voice: E (third)
- Highest voice: G# (fifth)
Start with the lowest voice first. Take the root note of each chord and follow it through the progression, singing those notes with the same lyrics as your main vocal.
Record multiple takes of this low harmony part, then move on to the middle voice (the third), and finally the highest voice (the fifth).
The result? A rich, full harmonic foundation that makes your single voice sound like a complete vocal section.
Adding Extra Harmonic Layers
Don’t stop at just three parts. Once you’ve got your basic harmony foundation, add some higher harmonies to really flesh out the sound.
These additional parts don’t have to follow the strict chord outline — you can get creative with passing tones, suspended notes, or even simple doubling of existing parts in higher registers.
Part 4: The Distance Technique
Real choirs have singers at different distances from the microphones. Some are close, some are far back, and others are everywhere in between.
Step away from your microphone and record some of your parts from 3-4 feet back.
This distance technique works better in treated rooms, but even in untreated spaces, you’ll get that sense of depth and space that’s crucial for realistic choir sounds.
I like to record at least two “distant” takes of each part so I can pan them left and right later. This gives me even more spatial options when mixing.
Try the distance technique on:
- Main melody doubles
- Harmony parts
- Octave reinforcements
- Any part where you want that “back of the choir” feel
Part 5: Character Voices for Texture
Here’s where you can get weird (in a good way).
Record some of your parts using slightly unusual vocal characters:
Operatic Voice
Go full opera singer — dramatic, over-the-top, with lots of vibrato. This adds gravitas and classical texture to your choir.
Airy Head Voice
Light, breathy, almost whispered quality. This adds ethereal texture and helps fill in the upper frequencies.
Nasal Tone
Slightly pinched, nasal quality. Use sparingly, but it can add interesting texture when blended with your other voices.
The key is subtlety. You’re not trying to sound like different people — you’re just adding slight variations in tone and delivery that mimic the natural differences you’d hear in a real choir.
Record multiple takes of each character voice, just like all your other parts.
Part 6: Organization and Mixing Preparation
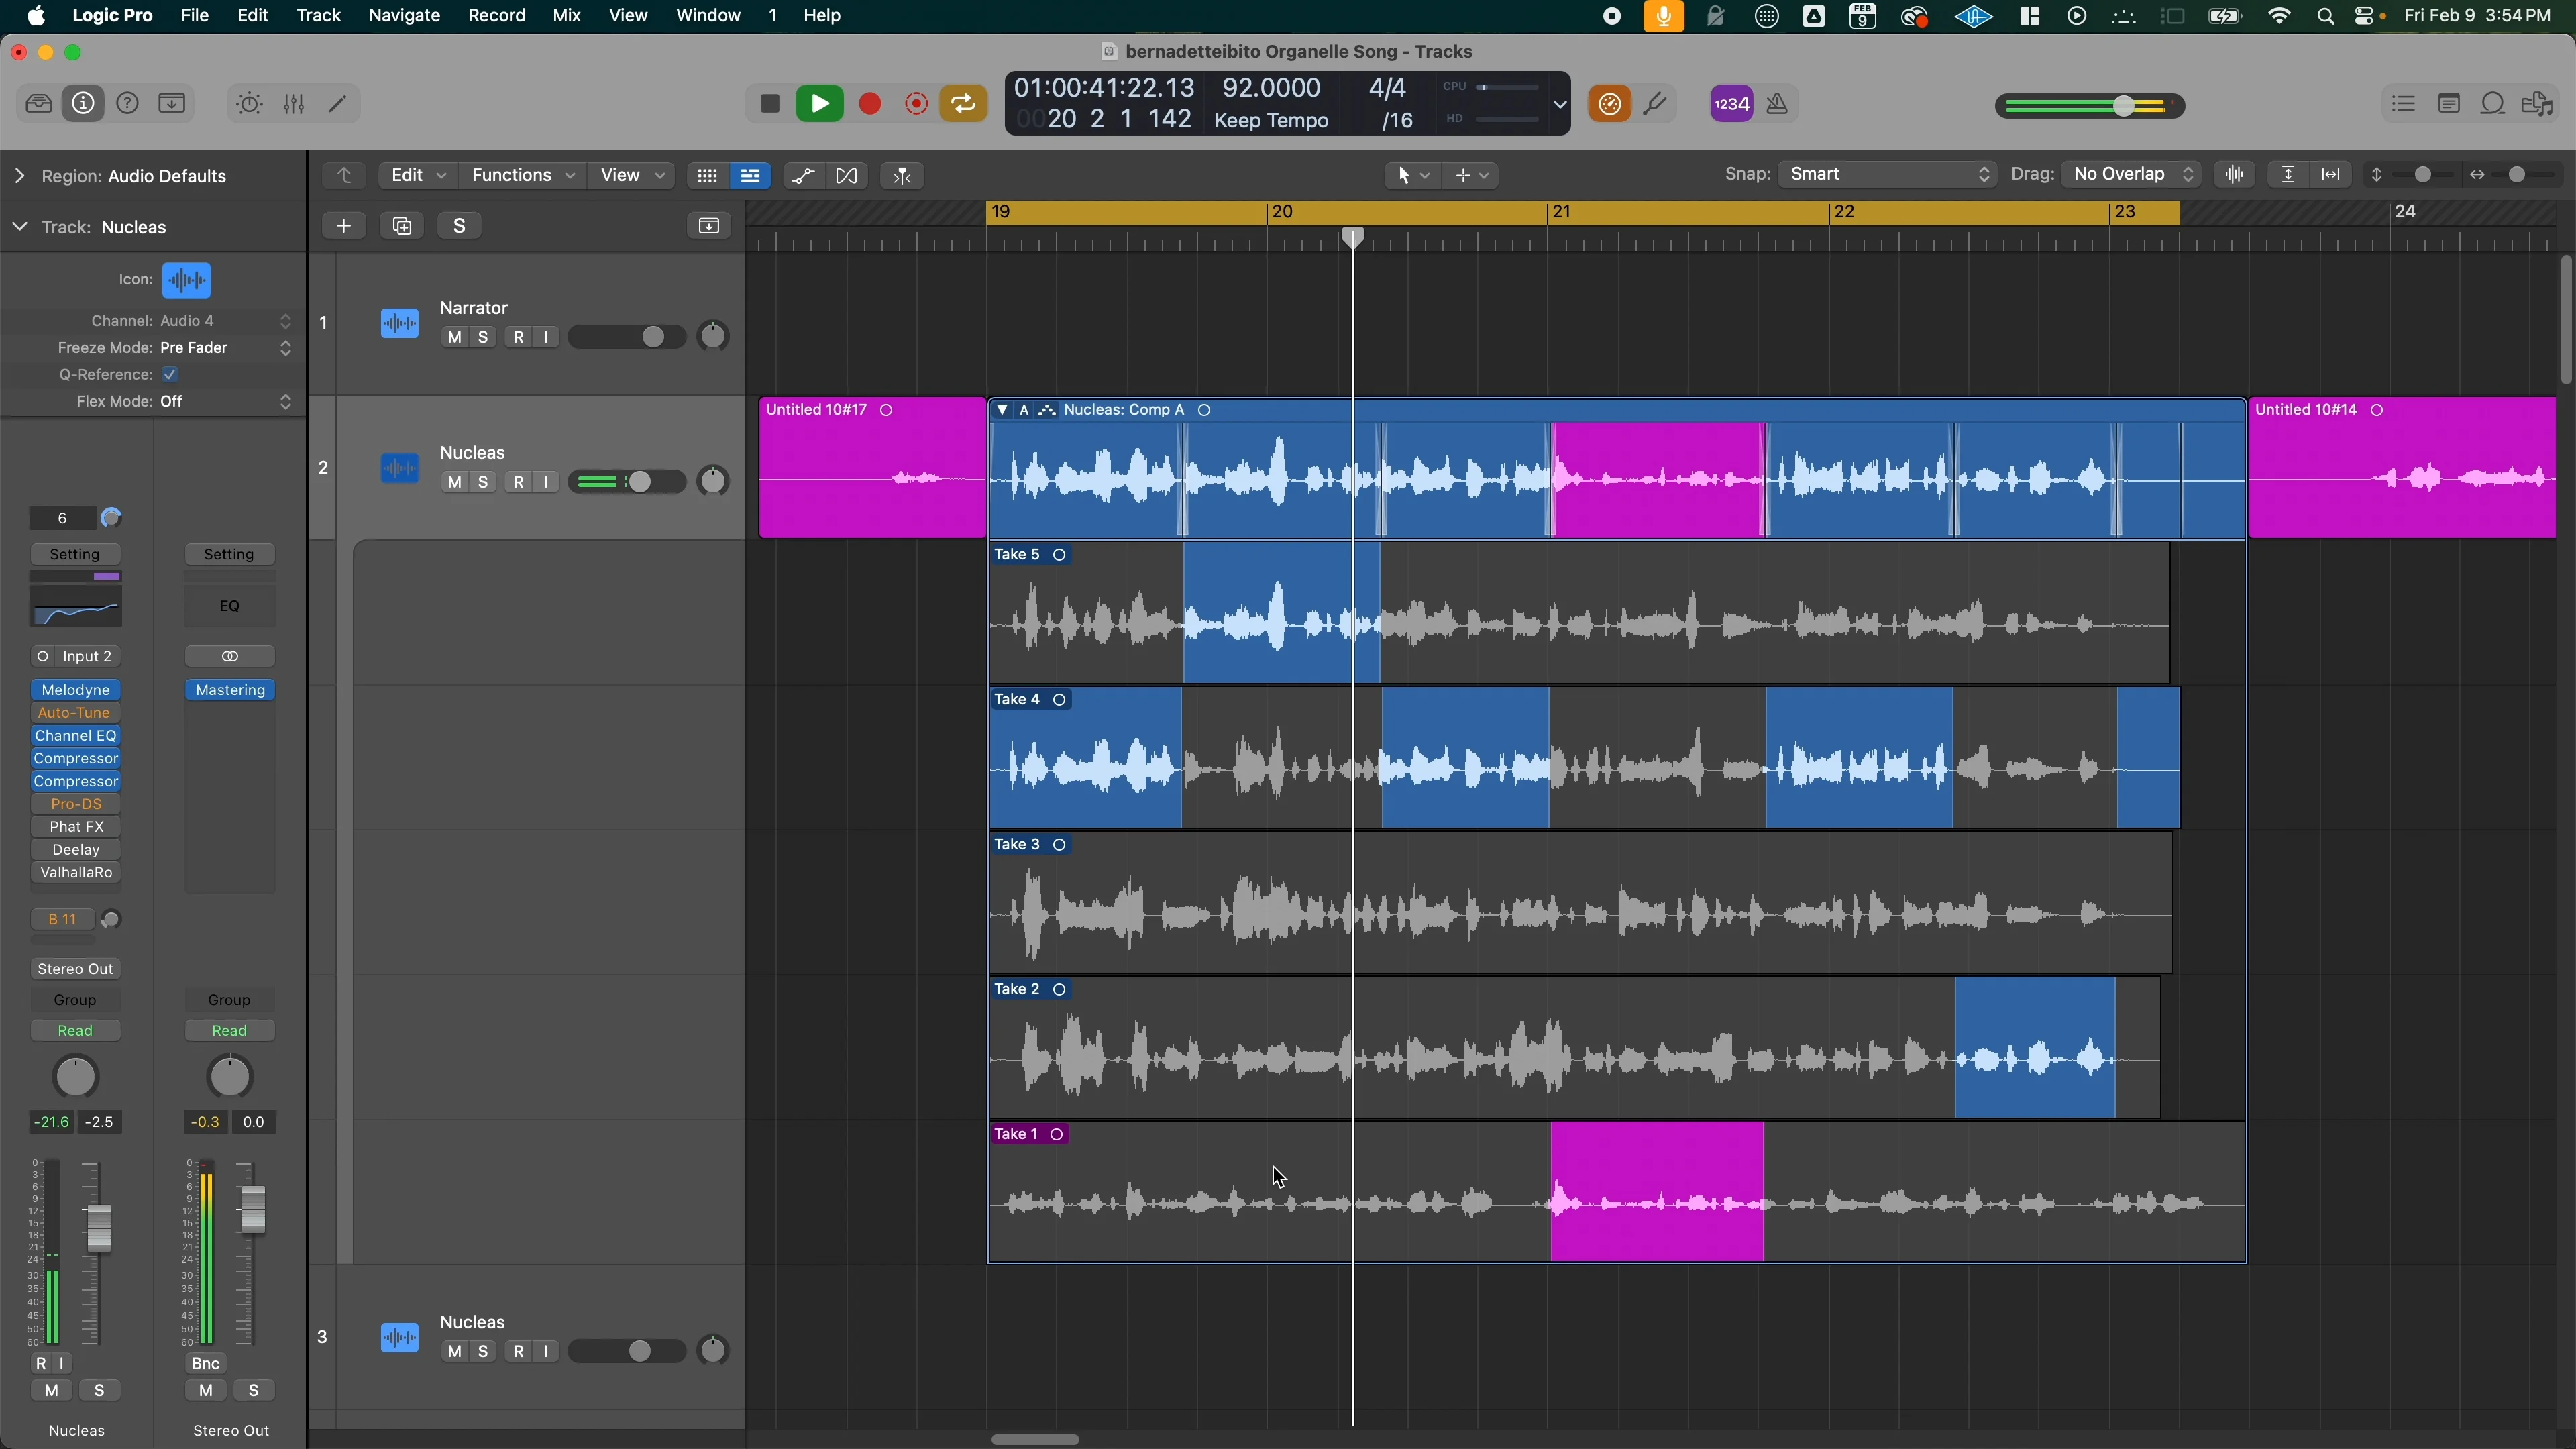
By now, you should have somewhere around 60-80 individual vocal tracks. Yeah, I told you this was going to be a lot of singing.
Time to get organized before mixing:
Grouping Strategy
Create bus channels for different voice types:
- Bass/Baritone (lowest parts)
- Tenor 2 (lower middle parts)
- Tenor 1 (higher middle parts)
- Alto (lower high parts)
- Soprano (highest parts)
- Leads (main melody tracks)
- Distant Leads (far-away main melody)
Color Coding
Use your DAW’s color coding to visually separate different voice types. This makes navigation way easier when you’re dealing with 80 tracks.
Part 7: Processing and Mixing
The good news? With this many voices, your processing can be pretty minimal.
Panning Strategy
Get aggressive with panning. Don’t be subtle here.
- Hard left and hard right placements
- Everywhere in between
- Leave some voices in the center, but make room for your main lead vocal
- Create a wide stereo image that surrounds the listener
The goal is to create a sonic environment where the listener feels completely immersed in the choir.
Bus Processing
For each voice type bus:
EQ: Create a subtle EQ curve to reduce muddiness around 200-400Hz. Nothing dramatic — just gentle cleanup.
Compression: Light compression with:
- Low ratio (3:1)
- Medium-fast attack
- Slow release
- Just enough to glue things together
Volume Balancing
Go through each bus and adjust levels to taste. If any individual voices stick out too much, turn them down within their respective bus.
The choir should sound cohesive, not like a bunch of separate vocal tracks fighting for attention.
Part 8: The Pitch Correction Decision
Here’s something crucial: don’t pitch-correct everything.
Those small tuning differences between vocal tracks are exactly what makes your choir sound big and realistic. If you tune every voice perfectly, you’ll lose that natural choir texture and end up with something that sounds more like a heavily processed lead vocal.
Use pitch correction sparingly — only on voices that are significantly off-pitch or distractingly out of tune.
The goal isn’t perfection. It’s authenticity.
The Psychology Behind Why This Works
Why does this technique create such convincing choir sounds?
Natural variation: Real choirs have natural inconsistencies in timing, pitch, and tone. By recording multiple takes, you’re recreating this human element.
Harmonic complexity: Multiple harmony layers create rich frequency content that fills out the entire spectrum.
Spatial dimension: Distance recording and aggressive panning create a three-dimensional soundscape.
Timbral diversity: Using different vocal characters adds the tonal variety you’d hear from different singers.
Taking It Further
Once you’ve mastered this basic technique, you can experiment with:
- Different microphone positions for various takes
- Room tone variations (if you have multiple recording spaces)
- Dynamic range variations (some takes softer, others more powerful)
- Rhythm variations (slight timing differences between sections)
The Final Result
When you blend all these elements together — main melodies, octaves, harmonies, distant takes, and character voices — you get something magical.
A massive, professional-sounding choir created entirely with your own voice.
The technique works because it mimics every aspect of a real choir: multiple voices, natural variations, harmonic complexity, and spatial depth. Your listeners won’t be able to tell that it’s just one person.
Now grab your headphones, warm up your voice, and start building your choir empire. Your tracks will never sound small again.
Just remember — you’re going to get really, really familiar with whatever song you choose to work on.
Want a professional starting point? My Vocal Magic presets give you ready-made vocal chains for any genre — EQ, compression, reverb, and more, all dialed in and ready to go.
Or grab my free vocal presets to try before you buy.
About Mattie
Mattie is a music producer, songwriter, and educator specializing in Logic Pro and vocal production. With over 10 years of experience in the music industry, he's helped thousands of artists transform their home studio recordings into professional-quality tracks.
As the founder of Music By Mattie, he creates tutorials, presets, and courses that simplify complex production techniques. His mission is to make professional music production accessible to everyone, regardless of budget or experience level.