
How To Record Professional Vocals from Your Home Studio!
You don't need a fancy studio to record amazing sounding vocals! In fact, now a days you can do it all from the comfort of your home studio! You just need to fo

Key Takeaways
- You need a DAW, microphone, and audio interface - these three pieces are non-negotiable
- Acoustic treatment matters more than expensive gear - even blankets or recording in closets helps
- Position your mic at mouth level, stay one hand's length away, and always use pop filters
- Record multiple takes at -16 to -6 dB levels and comp the best parts together
- Focus on passionate performance over perfect pitch - energy can't be fixed in post-production
Recording professional vocals at home isn’t rocket science — but most people get it completely wrong.
I get sent amateur vocal recordings all the time, and honestly? They sound like they were recorded in a tin can. But here’s what drives me crazy: it doesn’t have to be that way.
You don’t need to drop thousands on a professional studio. You just need the right knowledge and a few key pieces of gear to transform your vocals from amateur hour to radio-ready.
Let me walk you through exactly how I record professional-sounding vocals from my home studio — the same techniques I use for every track.
I also made a full video on this…
All the ideas in this article come from the video below. If you don't feel like reading, well, I gotchu.
The Essential Equipment Trinity
Before we dive into technique, you need three things. Not negotiable.
A DAW, a microphone, and an audio interface.
These three pieces work together to capture your voice and get it into your computer where you can actually work with it. The microphone captures the sound, the audio interface converts it to digital, and your DAW records and processes it.
I recently made a deep-dive video comparing my favorite options for each of these, but the key is getting this foundation right first.
Everything else I’m about to show you won’t matter if you’re missing any piece of this trinity.
Room Acoustics: The Game-Changer Nobody Talks About
Here’s what separates amateur recordings from professional ones: acoustic treatment.
If your room sounds like garbage, your vocals will sound like garbage. It’s that simple.
Every sound reflection bouncing around your room gets picked up by your microphone. Then when you add compression and other processing later? Those reflections get amplified and become even more obvious.
Acoustic panels are the solution. They absorb those frequencies bouncing around your room so they don’t make it into your recording.
This is literally the biggest difference between professional and amateur recordings. Not your microphone. Not your preamp. Your room acoustics.
DIY Acoustic Treatment Options
Don’t have acoustic panels? No problem. You can work with what you have:
- Hang blankets on the walls — they’ll absorb some of those reflections
- Lean a mattress against the wall behind where you’re recording
- Record in your closet with clothes on either side of you
I know the closet thing sounds weird, but I’m serious. Part your clothes, stick your mic in there, and let the fabric absorb those frequencies. You’ll get way more controlled, dry vocals than recording in an untreated room.
Don’t skip this step. Your future self will thank you.
Microphone Type: Dynamic vs. Condenser
For vocals, you want a condenser microphone.
There are two main types — dynamic and condenser — and while dynamic mics work fine for live situations, condenser mics give you that crispy high-end detail that makes vocals sound professional.
That’s exactly what you’re hearing in my recordings. Condenser mics capture all those subtle details in your voice that make the difference between a demo and a finished track.
I actually did a full comparison of my favorite vocal mics with live sound tests if you want to hear the differences for yourself.
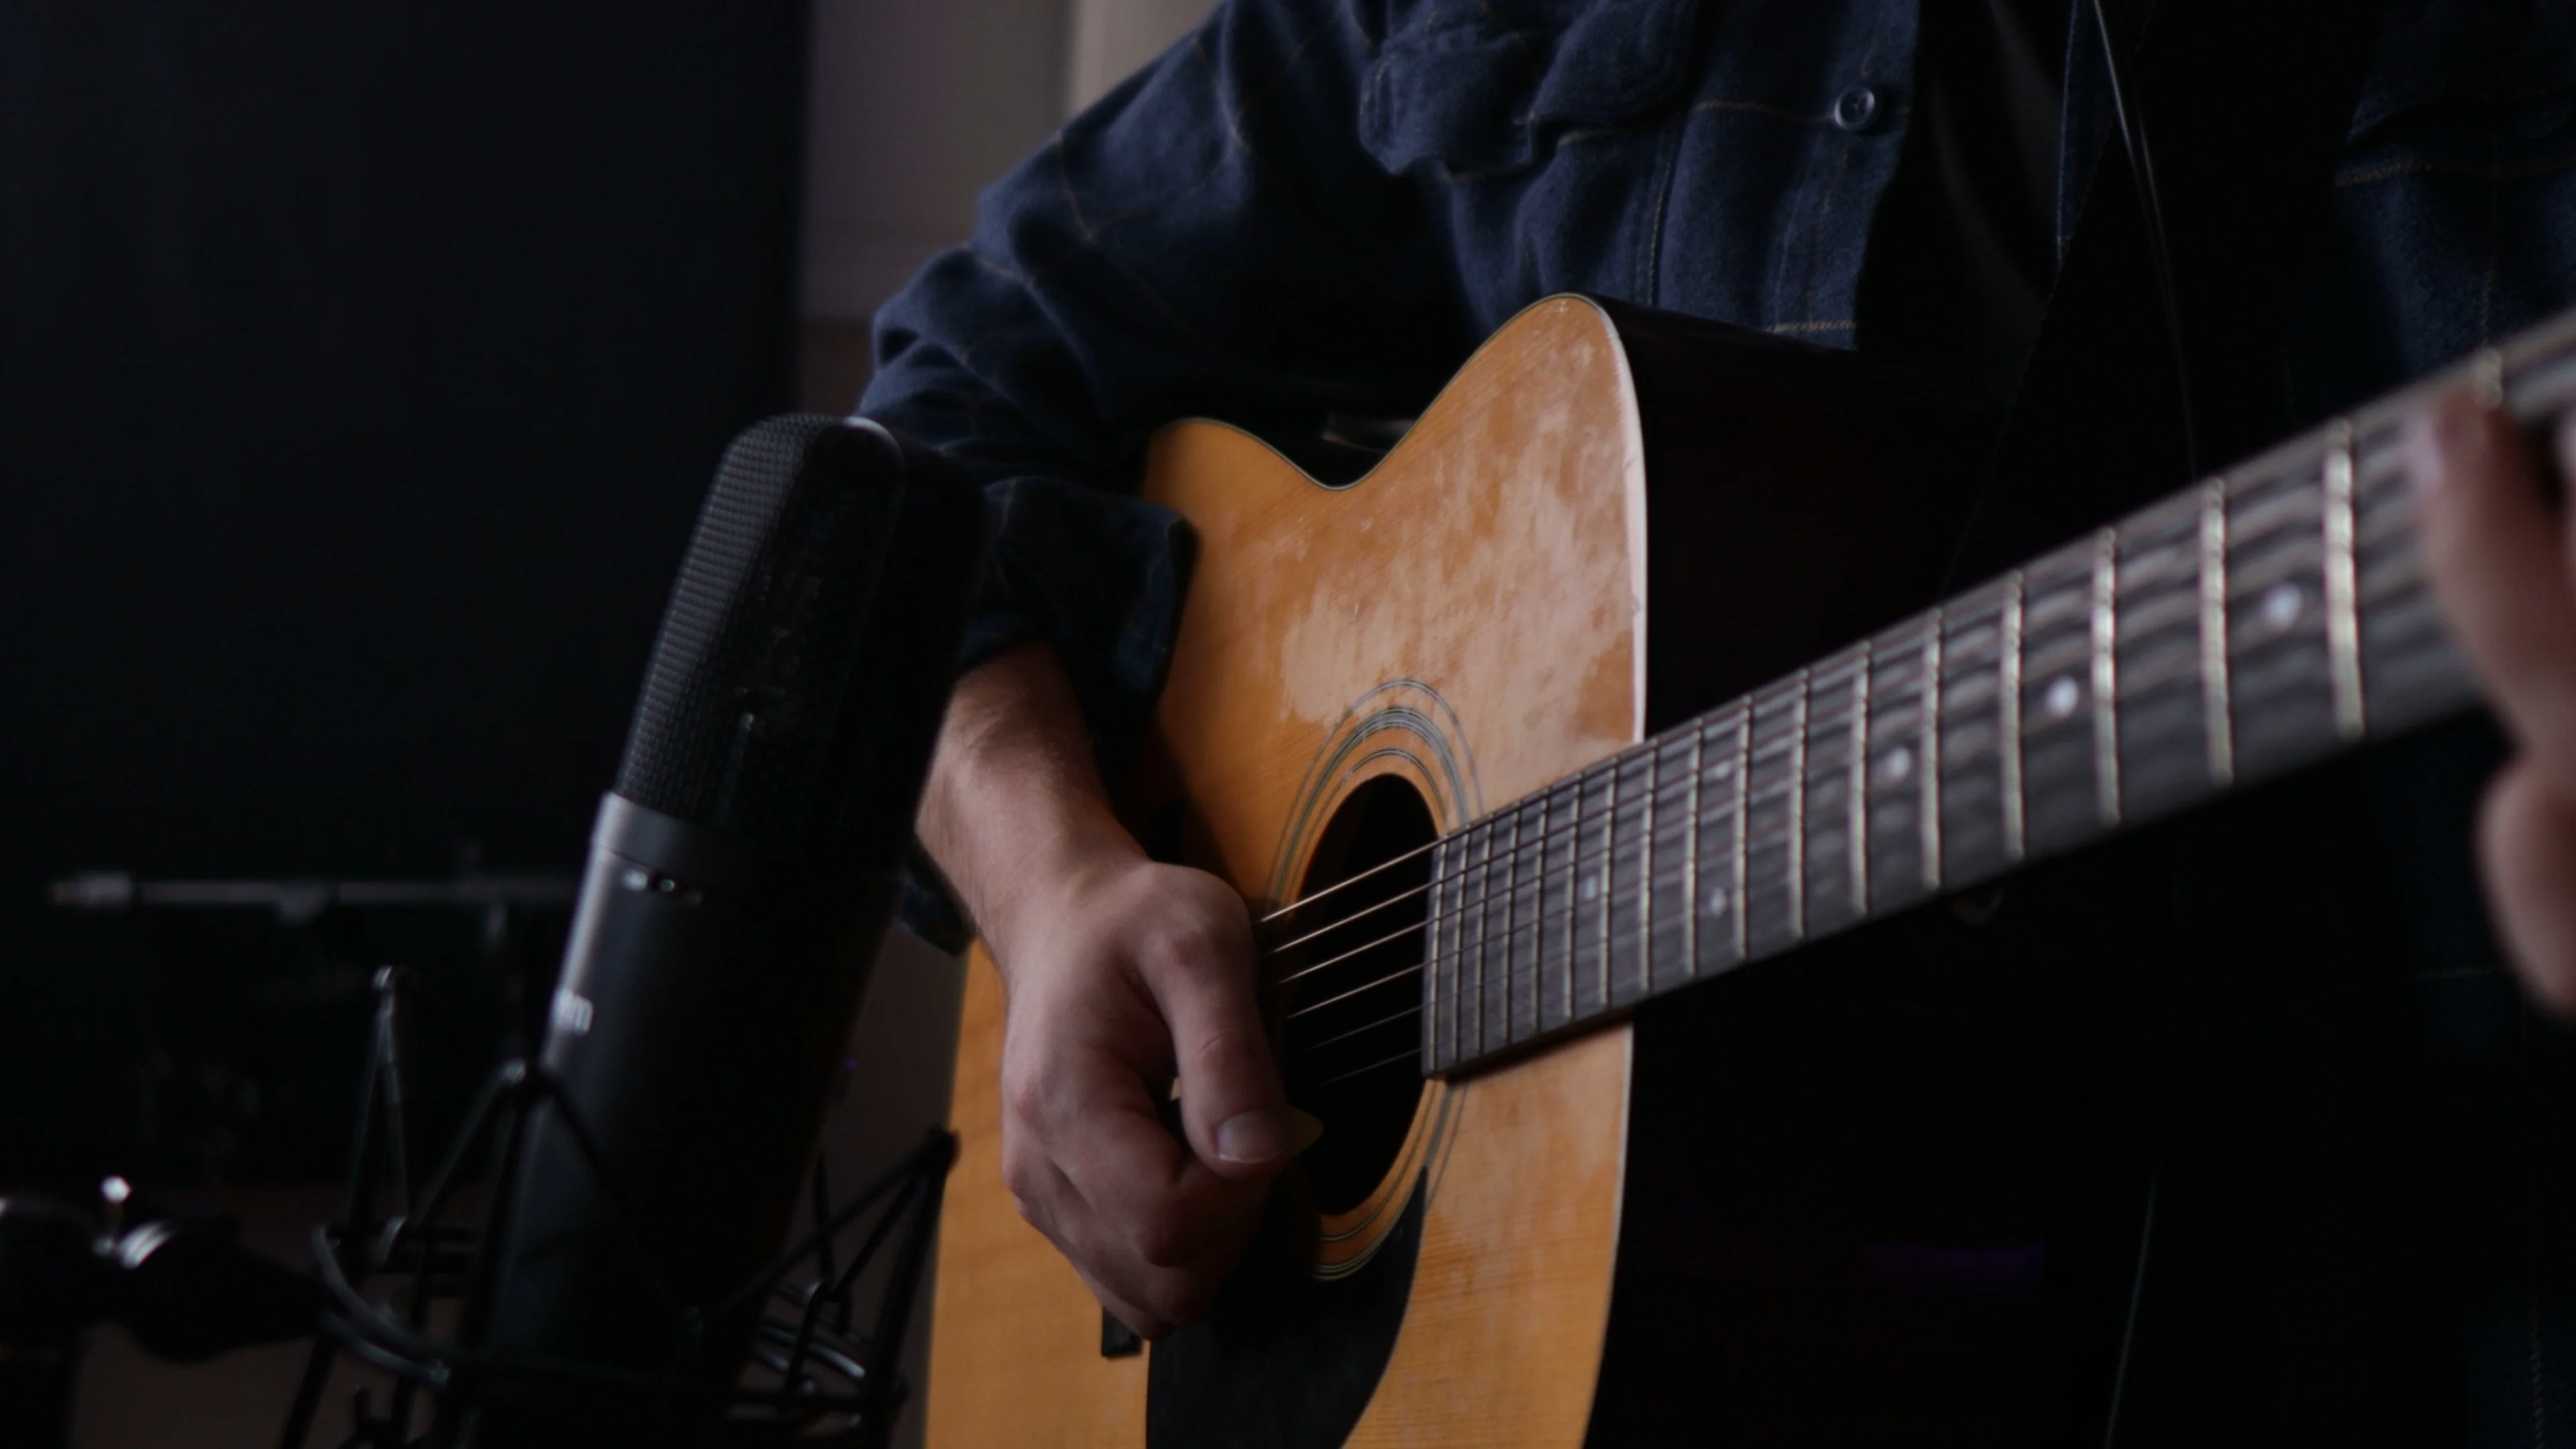
Microphone Placement: The Science of Distance
Where you place your mic changes everything about how your vocals sound.
Most vocal mics have a cardioid pattern — they pick up sound from the front and reject sound from behind. This means you need to sing directly into the front of the mic, not off to the side.
Understanding the Proximity Effect
Here’s where it gets interesting: the closer you get to the mic, the more low-end buildup you’ll hear.
This is called the proximity effect, and you can use it to your advantage:
- Want intimate, soft vocals? Get close to the mic for that warm, bassy sound
- Want a more distant, chant-like vocal? Step back to reduce the low-end and introduce some natural room ambience
The Sweet Spot Setup
Here’s my exact placement technique:
- Position the mic at mouth level — don’t make yourself strain up or down
- Stay about a hand’s length away — roughly 4 to 8 inches from the capsule
- Use a pop filter to maintain consistent distance and reduce plosives
That hand’s length distance is the sweet spot between too close (muddy and bassy) and too far (thin and roomy).
Pop Filters: Your Sibilance Shield
Pop filters aren’t optional. They’re a small mesh screen that eliminates those harsh “s,” “t,” and “k” sounds that can ruin an otherwise perfect take.
Sibilance is way easier to prevent during recording than fix in post. Trust me on this one — spend the $20 on a pop filter and save yourself hours of editing later.
Getting Your Levels Right: The Goldilocks Zone
Recording levels matter more than you think. Too hot and you’ll clip. Too quiet and you’ll bring up room noise when you add compression.
Aim for -16 dB to -6 dB on your peaks. This gives you headroom for loud passages while keeping your signal strong enough to compress cleanly later.
You can monitor this on your DAW’s input meters or directly on your audio interface if it has level indicators.
Anything above -6 dB risks clipping if the singer gets excited. Anything below -16 dB will need so much compression later that you’ll amplify all that room noise you worked so hard to eliminate.
DAW Settings: Minimizing Latency
Before you hit record, optimize your DAW settings for the smoothest recording experience possible.
The key setting is your I/O buffer size. Lower buffer sizes mean less latency — the delay between when you sing and when you hear it back through your headphones.
I recommend starting at 128 samples and going lower if your computer can handle it. If you’re just recording vocals over a backing track, you might be able to get down to 32 samples for near-zero latency.
Logic Pro’s Secret Weapon
Logic has an amazing feature called Low Latency Mode. It automatically calculates your system’s latency and shifts your recordings back by that exact amount so everything stays perfectly in time.
You’ll find it in the control bar (if you don’t see it, go to customize control bar and enable it). I record with this on all the time — just remember to turn it off when mixing because it disables some plugins.
Don’t Forget the Count-In
Set up a 4-beat count-in before your song starts. When you’re recording yourself, you need time to get ready and find your groove.
You can also add a click track if staying on beat is challenging, but don’t become dependent on it.
Monitoring Setup: Hear Yourself Clearly
Turn off your studio monitors — you don’t want the mic picking up playback from your speakers.
Everything should come through your headphones. Adjust the monitor mix on your audio interface until you can clearly hear both the backing track and your voice.
Input Monitoring Magic
Turn on input monitoring in your DAW so you can hear effects on your voice as you sing. In Logic, click the “I” button on your track (if you don’t see it, right-click the track header and enable input monitoring).
Hearing reverb and delay as you sing gives you confidence and helps you deliver a better performance. The processing I use comes from my Vocal Magic preset pack — you can grab 10 free vocal presets to get started.
Performance Tips: The Make-or-Break Moment
Here’s the truth: you can follow every technical step perfectly, but if your performance is weak, nobody will listen.
Five Rules for Killer Vocal Takes
Memorize your lyrics — don’t try to read while singing. Memorized lyrics always sound more genuine and passionate.
Prioritize passion and rhythm — pitch can be fixed later, but energy and timing are much harder to repair in post.
Project your voice — don’t hold back. Confident vocals sound professional.
Enunciate clearly — mumbled lyrics will always sound mumbled, no matter how much processing you add.
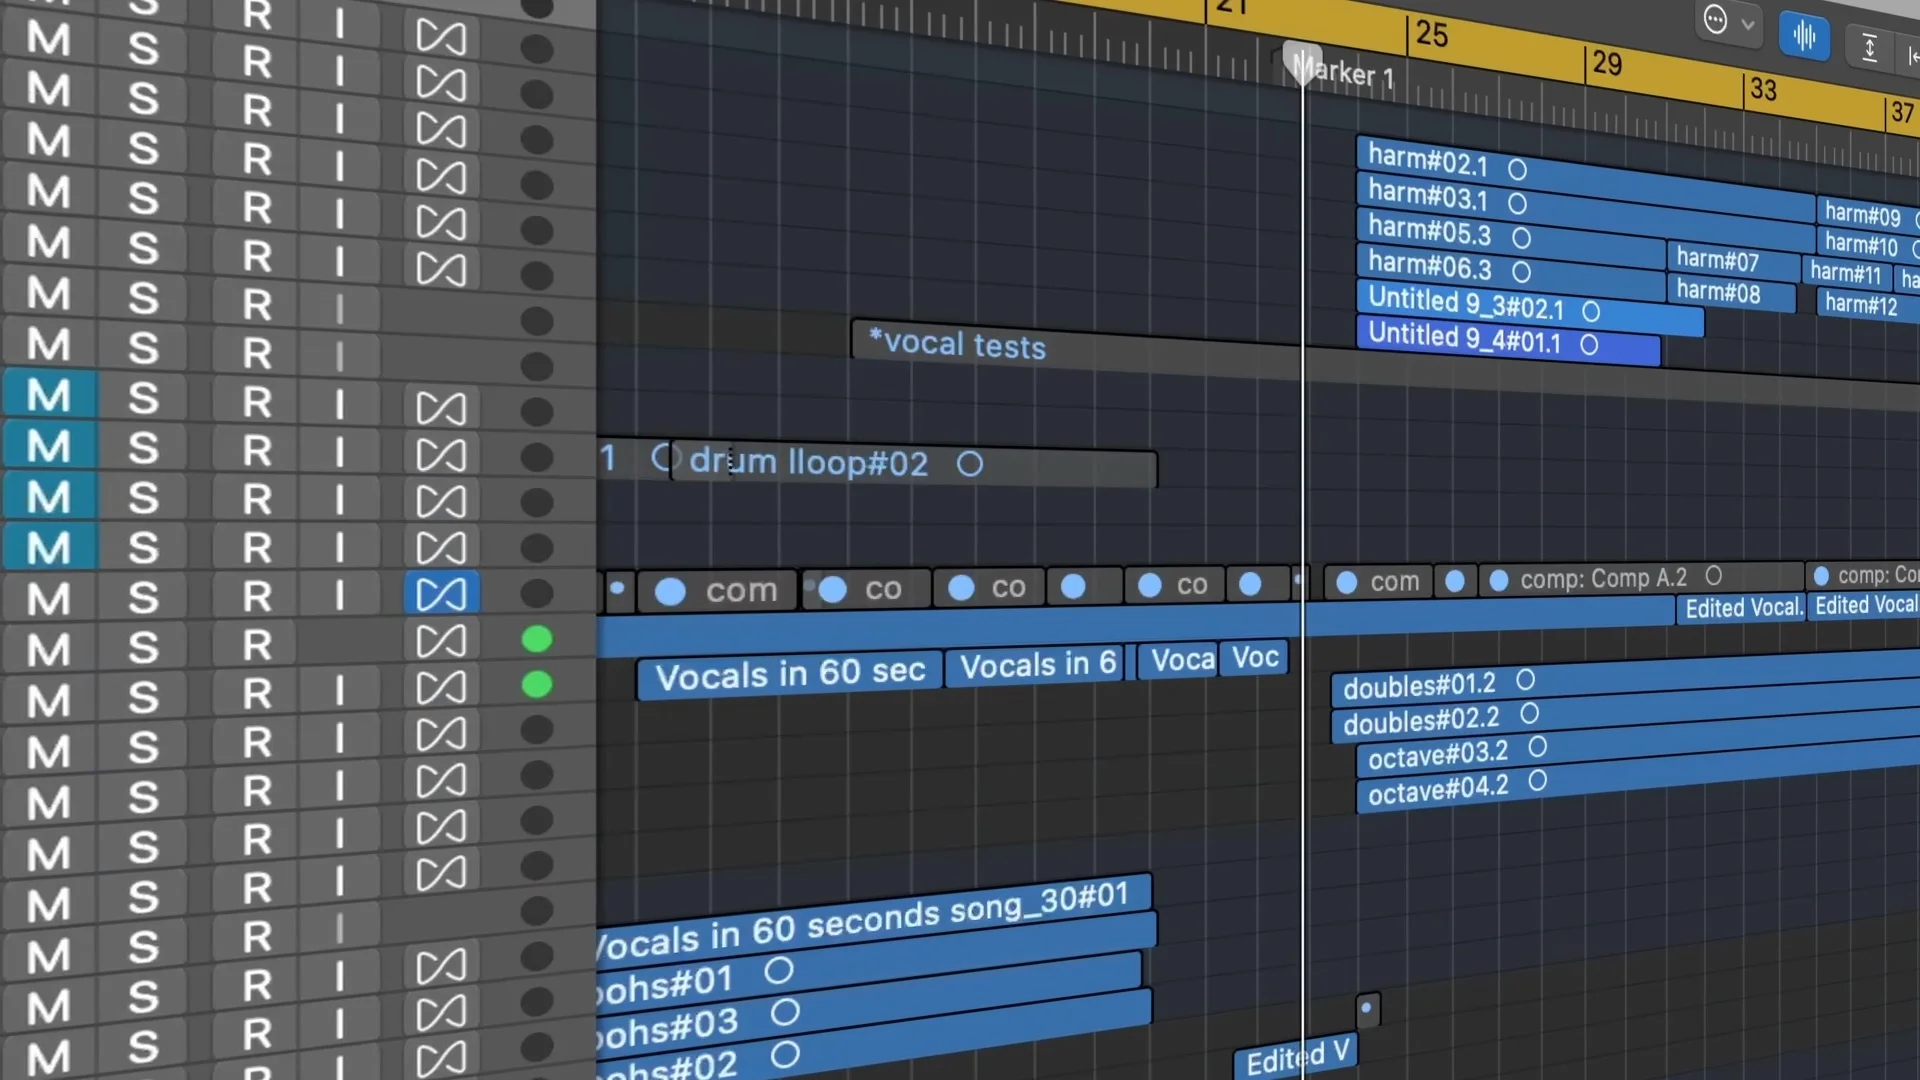
Take multiple takes — record several versions and comp the best parts together. This is standard practice for professional vocals.
Recording multiple takes and combining the best parts (called “comping”) is how every professional vocal you’ve ever heard was made. Don’t try to nail it in one take.
Live Recording Demonstration
Let me show you what this sounds like in practice, using all the techniques I just covered:
[This is where the actual vocal performance would be in the video — the clean, professional-sounding take that demonstrates all the principles in action]
That’s the power of proper technique and room treatment. But that’s just the lead vocal.
Building Vocal Arrangements: Layers and Texture
Professional songs don’t just have one vocal track. They have ad-libs, doubles, harmonies, and background vocals filling every space and adding energy.
Here’s what the same section sounds like with full vocal production:
[This would be the enhanced version with multiple vocal layers]
Hear the difference? Those background vocals fill empty spaces, add interest, and make the lead vocal sound thicker and more powerful.
Some of those layers are:
- Doubles of the exact same part for thickness
- Octave variations for depth
- Ad-libs and delays to fill space
- Harmonies for musical interest
Each layer serves a purpose in the overall vocal arrangement.
Vocal Editing: The Final Polish
Once you’ve recorded all your takes, it’s time to clean them up.
Add fades at the beginning and end of each vocal phrase to eliminate clicks and pops. Cross-fade between takes where you’ve comped multiple recordings together.
Delete empty space between phrases — there’s no reason to leave dead air in your vocal tracks. Clean editing makes everything sound more professional and gives you better control during mixing.
The goal is seamless vocal tracks that sound natural and musical, without technical distractions.
Ready to Mix and Process
After editing, your vocals are ready for mixing and processing. This is where you add EQ, compression, reverb, and other effects to make them sit perfectly in your mix.
But here’s the thing — if you’ve followed everything I just laid out, you’re already 80% of the way to professional-sounding vocals. Good recording technique beats fancy plugins every time.
Recording professional vocals at home comes down to following proven principles: treat your room, choose the right gear, nail your levels, and focus on performance above all else.
You don’t need a million-dollar studio. You just need to understand what actually matters and execute it consistently.
Get those 10 free vocal presets I mentioned and start putting these techniques into practice. Your vocals will never sound the same.
📚 More in the Recording Vocals Series
Want a professional starting point? My Vocal Magic presets give you ready-made vocal chains for any genre — EQ, compression, reverb, and more, all dialed in and ready to go.
Or grab my free vocal presets to try before you buy.
About Mattie
Mattie is a music producer, songwriter, and educator specializing in Logic Pro and vocal production. With over 10 years of experience in the music industry, he's helped thousands of artists transform their home studio recordings into professional-quality tracks.
As the founder of Music By Mattie, he creates tutorials, presets, and courses that simplify complex production techniques. His mission is to make professional music production accessible to everyone, regardless of budget or experience level.