DIY Acoustic Panels (Cheap, Easy, and the #1 Upgrade for Beginners)
If I could recommend one piece of gear to beginners, it’s acoustic panels. Here’s how to build pro-level DIY panels on a budget, plus placement tips for...

Key Takeaways
- Acoustic panels are the #1 beginner upgrade, improving recordings, mixes, and monitoring accuracy.
- DIY panels cost about $24 each versus expensive store-bought options that drain budgets.
- Placement matters more than quantity - focus on first reflection points and corners.
- You only need basic tools like a saw, drill, and staple gun.
- Treat 25-33% of wall space, prioritizing your mixing position and side reflections.
You might be wondering:
“What’s the one piece of gear you recommend for beginners above all else?”
The answer is simpler than you think: acoustic panels.
Forget about them being studio decorations for Instagram. Acoustic panels are fundamental for achieving cleaner recordings, better mixes, and more accurate monitoring.
Why acoustic panels are essential
Part of the Recording Vocals series — For the full picture, read my complete guide to recording vocals at home.
Think of panels like sound-wave collectors. They grab the stray reflections (echo + reverb) that bounce around your room and muddy what you hear.
The result:
- cleaner recordings
- sharper mixing decisions
- more accurate monitoring (you stop “mixing the room”)
The cost barrier (and why DIY wins)
Here’s the catch: professional panels aren’t cheap — especially if you’re just starting out.
So… DIY to the rescue.
Today we’re building acoustic panels from scratch without draining your bank account.
Free building plans (shopping list + step-by-step)
I made the building plans I use available for free — they include the shopping list and the full build process:
Download the DIY plans: Free Downloads
Look for “DIY Acoustic Panels” on that page.
Materials list (what you need)
Keep it simple and cost-effective:
- Fabric: something you like (it’s the visible layer)
- Insulation: the sound-absorbing core
- Wood: for frames
- Fasteners: screws + staples
- Hanging hardware: wire + hooks (or French cleats if you prefer)
What I bought (cost breakdown for 12 panels)
Here’s the exact cost breakdown you provided, organized:
| Item | Quantity | Cost |
|---|---|---|
| Rockwool Safe’n’Sound | enough for 12 panels | $58.98 |
| Black duck canvas | 18 yards | $125.46 |
| Wood boards (1/2” × 4” × 8’) | 12 boards @ $6.57 | $78.60 |
| Screws + staples | — | ~$14 |
| Hanging materials (wire + hooks) | — | ~$15 |
| Total | 12 panels | $292.24 |
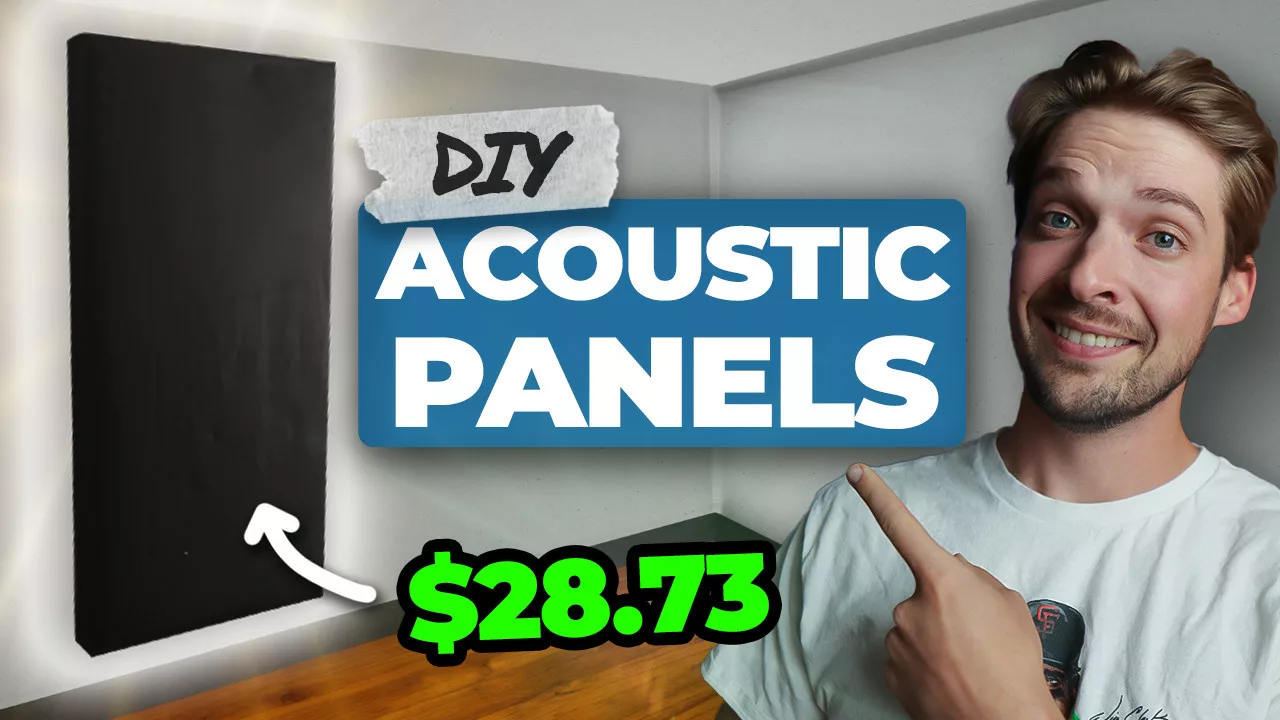
That’s about $24.35 per panel — which is way cheaper than buying pre-made panels.
Tools you’ll need
You don’t need a full workshop. Basic tools are enough:
- saw (or have the store cut boards for you)
- measuring tape
- drill/screwdriver
- staple gun
If you’re missing tools, you can borrow them, or take a slower route with simpler tools — it’ll still work.
The DIY guide: build your acoustic panels
A) Measure and cut the frame
For each panel:
- cut two boards to 4 feet
- cut two boards to 16 inches
- cut one extra 16-inch board for the back support/hanging
Pro tip: measure twice, cut once… and maybe let out a few swears for good measure.
B) Assemble the frame
- Drill two screws into each corner to secure the frame.
- Place the extra support board about 2 cm from the back edge of the frame and screw it in. two boards to 4 feet
That extra board adds strength and gives you a solid place to attach hanging hardware.
C) Add insulation
Drop the insulation into the frame. If everything is cut right, it should fit snugly — this is the “sound absorber” in your acoustic sandwich.
D) Wrap with fabric
This is the step that makes it look studio-ready:
- Stretch fabric over the front (keep it taut).
- Staple it to the frame.
- Fold corners cleanly.
- Optional (but recommended): cover the back too, for a polished look and to protect the insulation.
E) Install hanging hardware
Attach eye hooks to the back support board (aligned and facing up).
Now your panel is ready to hang.
Positioning your acoustic panels (the part most people get wrong)
Placement is a blend of art and science, but here are the big wins:
1) Desk + monitor position
Place your desk/monitors about one-third into the room lengthwise. This helps reduce standing waves.
2) First reflection points (critical)
Find where sound first hits your side walls and reflects back to your ears.
Easy method:
- sit in your mix position
- have a friend slide a mirror along the wall
- wherever you can see your speaker in the mirror = reflection point
Put panels there first.
3) Ceiling reflections
Put a panel above your mixing desk to reduce vertical reflections.
4) Behind your desk/console
Panels behind you help absorb reflections bouncing back toward your ears.
5) Corners (bass traps)
Corners build up low end. If you can add corner panels/bass traps, do it — they’re very effective.
Aim to treat about 25%–33% of your wall space, prioritizing the mix position + reflections.
Hanging your panels (wire method)
- Attach wire to the eye hooks with a little slack.
- Measure from the top of the tight wire to the top of the panel — that tells you where to put your wall hook.
- Hang it, then fine-tune the angle by rotating on the hook.
For ceiling panels, use multiple hooks to distribute weight.
The sound test: before vs after
Do a quick clap test:
- Before panels: long reverb tail + echo
- After panels: noticeably tighter, clearer decay
Acoustic treatment is a transformative studio upgrade — it often out-values the newest plugin or piece of gear because it improves everything you do.
Conclusion
Building your own acoustic panels is cost-effective, surprisingly doable, and makes a huge difference in your recordings and mixes.
Grab the free plans here: Free Downloads
If you want, send me the YouTube link for your acoustic panels video and I’ll embed it in this post.
Want the full walkthrough? My course Pro Vocals in 60 Minutes takes you from raw recording to polished vocal, step by step.
About Mattie
Mattie is a music producer, songwriter, and educator specializing in Logic Pro and vocal production. With over 10 years of experience in the music industry, he's helped thousands of artists transform their home studio recordings into professional-quality tracks.
As the founder of Music By Mattie, he creates tutorials, presets, and courses that simplify complex production techniques. His mission is to make professional music production accessible to everyone, regardless of budget or experience level.