
How to Sound Like The Strokes (Stock Plug-Ins Only)
The Strokes have an iconic vocal sound. If you're looking for grit, distortion, and utter rock goodness, then look no further than this video. In this video, I'

Key Takeaways
- Use a dynamic microphone like an SM7B to naturally capture grittier character than condensers.
- Apply heavy compression with two stages to match The Strokes' consistent, punchy vocal energy.
- Send your vocal to a guitar amp simulator bus for that signature distorted character.
- Your natural vocal performance and attitude matter more than perfect plugin processing.
- Automate the amp effect to add extra aggression during chorus sections.
The Strokes have one of the most iconic vocal sounds in modern rock — that perfect blend of grit, attitude, and raw energy that defined an entire generation of indie music.
But here’s the thing: you don’t need expensive vintage gear or a famous engineer to get that sound. You can nail it with nothing but stock plugins.
I recreated The Strokes’ signature vocal production using only the tools that came with my DAW, and I’m about to show you exactly how to do it. This is the third episode of Behind the Mic — my series where we dissect famous singers’ vocal chains and rebuild them from scratch using stock plugins only.
I also made a full video on this…
All the ideas in this article come from the video below. If you don't feel like reading, well, I gotchu.
Part of the DAWs & Production Software series — For the full picture, read my full DAW comparison guide.
The Challenge: Recreating Julian Casablancas’ Voice
Let me be honest with you upfront: The Strokes’ vocal sound starts with Julian Casablancas himself. That guy’s voice is naturally raspy as hell — like his vocal cords were made of sandpaper.
I recorded a demo track in The Strokes’ style to show you the transformation we’re going for. Here’s what my clean vocal sounds like before any processing:
“Staring out the window at college street trees, city lights flicker in the downtown evening…”
Now compare that to the reference track from “Reptilia” — their most famous song. The difference is massive, but don’t worry. We can absolutely get there with the right processing chain.
Just know that if you’re going for this sound authentically, you’ll want to sing with some natural grit and rasp. I’m not a rock god with naturally distorted vocals, so I’ll be starting with my cleaner voice and showing you how to add that character through plugins.
Step 1: Basic Processing — Clean Up First
Before we get to the fun stuff, we need to handle the fundamentals. Every great vocal starts with solid basic processing.
EQ: Shape the Foundation
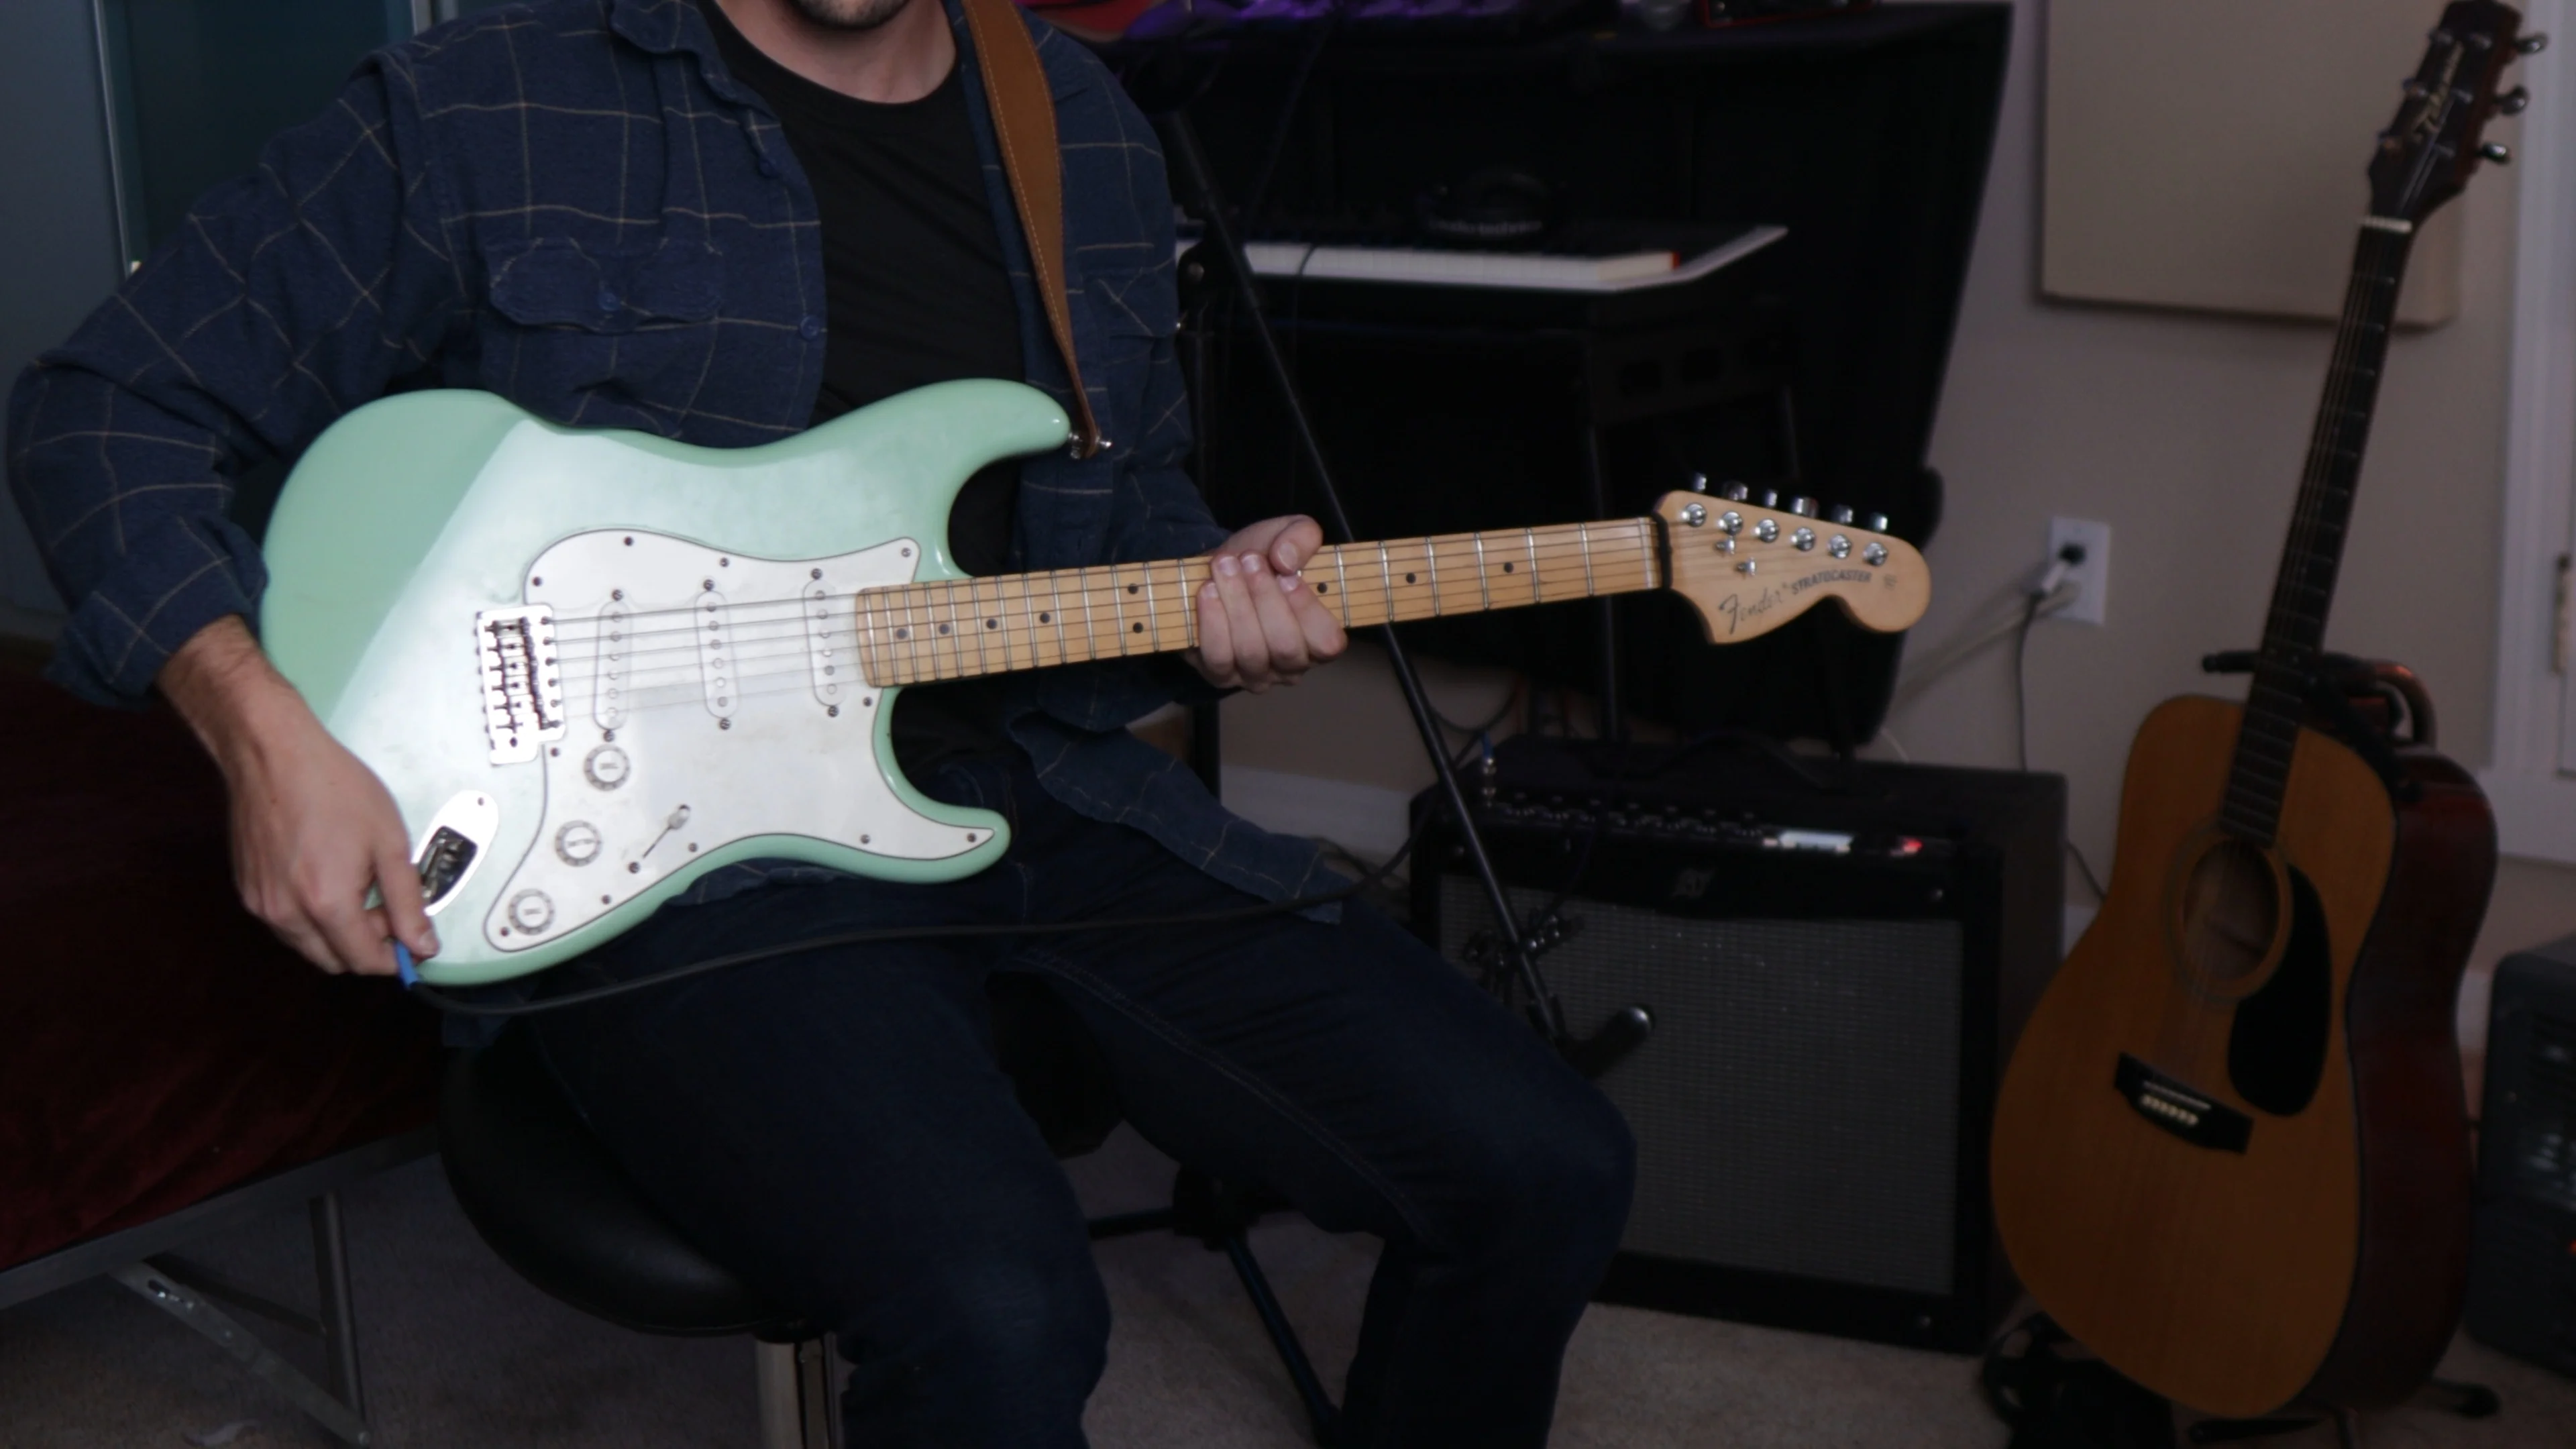
I recorded this vocal on an SM7B, and I’d strongly recommend using a dynamic microphone for this type of rock sound. They naturally capture that grittier character better than condensers.
Here’s the EQ approach I used, and some general guidelines that’ll work for most voices:
- High pass filter until you start cutting into the voice itself
- Dip the mud around 500-600 Hz where things get cloudy
- Add some top-end boost for clarity and presence
The specific frequencies will vary for your voice, but these moves will get you in the ballpark.
Here’s something important though: the EQ isn’t as critical for this vocal sound as it normally would be. There’s a pivotal effect coming later that’s going to completely transform the character of the voice — so don’t stress too much about perfecting every frequency.
Compression: Squash It Hard
Listen to the reference vocal from The Strokes — it sounds heavily compressed. That’s not an accident.
“Please don’t slow me down if I’m going too…”
Hear how consistent and punchy that is? We need to match that energy.
I used two compressors in a row to get a more natural-sounding result while still achieving that heavily compressed vibe. Here are the settings and guidelines:
First Compressor:
- Ratio around 4:1
- Longer release time for more consistent squashing
- Turn off auto gain and use makeup gain to taste
Second Compressor:
- Similar settings but lighter touch
- Add subtle distortion using the drive or saturation controls
This two-stage approach gives you that heavily compressed sound without making it sound obviously processed.
Adding Grit: Overdrive Plugin
Since my vocal cords are more like an ice rink than a cheese grater, I need to add some grittiness artificially. Overdrive is perfect for this.
I used a subtle overdrive setting to enhance the voice and add some harmonic distortion. It’s not extreme — just enough to give the voice some character and edge.
Here’s what the vocal sounds like after basic processing with EQ, compression, and subtle overdrive:
“Staring out the window at college street trees, the city lights flicker in the downtown evening…”
We’re getting closer, but we’re still missing the secret sauce.
Step 2: Spatial Effects — Create the Space
The Strokes don’t drench their vocals in reverb, but there is some spatial processing happening. Let’s add some realistic space with delay and reverb.
Stereo Delay: Add Width
Keep the delay really subtle for a dry vocal like this. Here’s my approach:
- Adjust the wet knobs to keep it understated
- High pass and low pass the sides for better control
- Use different delay times on each side to add more width
The goal isn’t to hear the delay — it’s to feel the voice sitting in a slightly wider space.
Subtle Reverb: Just a Touch
Here are my guidelines for this type of dry rock vocal:
- Start with a preset and adjust from there
- Keep the reverb length or size under 1.5 seconds
- Use the wet knob to mix it in to taste — keep it subtle
Even though we want a dry vocal overall, having some reverb lets you automate it later to fill in empty spaces during quieter sections.
Here’s what the vocal sounds like after adding those spatial effects — subtle but different, and definitely closer to our target.
Step 3: The Strokes Special Effect — Guitar Amp Processing
This is the effect you’re probably here for. This is what makes The Strokes sound like The Strokes.
After digging through forums trying to figure out their secret, I found an interesting post on Gearspace that led me to a Sound on Sound article from Gordon Raphael — The Strokes’ actual engineer.
Apparently, Julian Casablancas achieved some of his vocal sounds by singing through a guitar amp. Now that’s the kind of creative thinking I can get behind.
Setting Up the Amp Bus
To make this effect controllable, I’m going to bus it to a separate track so I can mix it in to taste.
Here’s how to set it up:
- Create a bus by clicking on an empty bus in your DAW
- Add your amp simulator plugin to that bus
- Send your vocal to the bus using a send knob
Amp Settings That Work
I experimented with different amp models and found the sweet spot with these settings:
- Brown head (simulating a Peavey-style amp like the one they used)
- Modern British 4x12 cabinet
- Moderate gain settings — not full distortion, but definitely crunchy
Feel free to experiment with these variables for slightly different flavors. The key is finding that balance between distortion and clarity.
Mixing the Effect
Start with the bus send low and gradually bring it up until you hear the character change. The goal is to blend the clean vocal with the amped version for the best of both worlds.
I also noticed more distortion on the chorus in the reference track, so I automated the bus send to increase during the chorus sections. This gives those parts extra energy and aggression.
Step 4: Vocal Doubles and Layers
To really sell the full sound, I added some doubles and triples — additional vocal layers that fill out the sound and add thickness.
These don’t need to be perfect — in fact, slight imperfections help them sit more naturally in the mix. Record them with the same processing chain, but maybe vary the amp settings slightly for each layer.
The Final Result: How Close Did We Get?
Here’s our final vocal with all the processing:
“My cigarette smoke, sip until you feel and drink until you don’t, smoke a little more and get a little fine, ‘cause this one’s broken…”
Kind of close. Kind of close.
As I mentioned earlier, that raspy original recording is absolutely key to nailing this sound authentically. But even starting with a cleaner voice, we managed to create something with serious character and attitude.
The Real Secret: It Starts with the Performance
Here’s the truth about The Strokes’ vocal sound: the magic happens before you even think about plugins.
Julian Casablancas has a naturally raspy voice, and he sings with this effortless attitude that you can’t fake with processing. The guitar amp trick and heavy compression are just enhancing what’s already there.
If you want to truly nail this sound, work on your singing first. Practice adding natural grit and rasp to your voice. Commit to the attitude and energy of the performance.
The processing I’ve shown you will absolutely get you in the ballpark — and it’ll sound great on its own — but nothing replaces a killer original performance.
Your Turn to Rock
The Strokes proved that you don’t need perfect vocals to make incredible music. Sometimes the imperfections, the grit, and the raw energy are exactly what makes a song unforgettable.
Try this processing chain on your own vocals and see how it transforms your sound. Start with the basic processing, add the spatial effects, then experiment with that guitar amp bus until you find your sweet spot.
And remember — if it sounds good, it is good. Don’t get so caught up in matching the reference perfectly that you forget to make it your own.
What artist should I dissect next? Drop a comment and let me know who you want to see in the next Behind the Mic episode.
Want a professional starting point? My Vocal Magic presets give you ready-made vocal chains for any genre — EQ, compression, reverb, and more, all dialed in and ready to go.
Or grab my free vocal presets to try before you buy.
About Mattie
Mattie is a music producer, songwriter, and educator specializing in Logic Pro and vocal production. With over 10 years of experience in the music industry, he's helped thousands of artists transform their home studio recordings into professional-quality tracks.
As the founder of Music By Mattie, he creates tutorials, presets, and courses that simplify complex production techniques. His mission is to make professional music production accessible to everyone, regardless of budget or experience level.