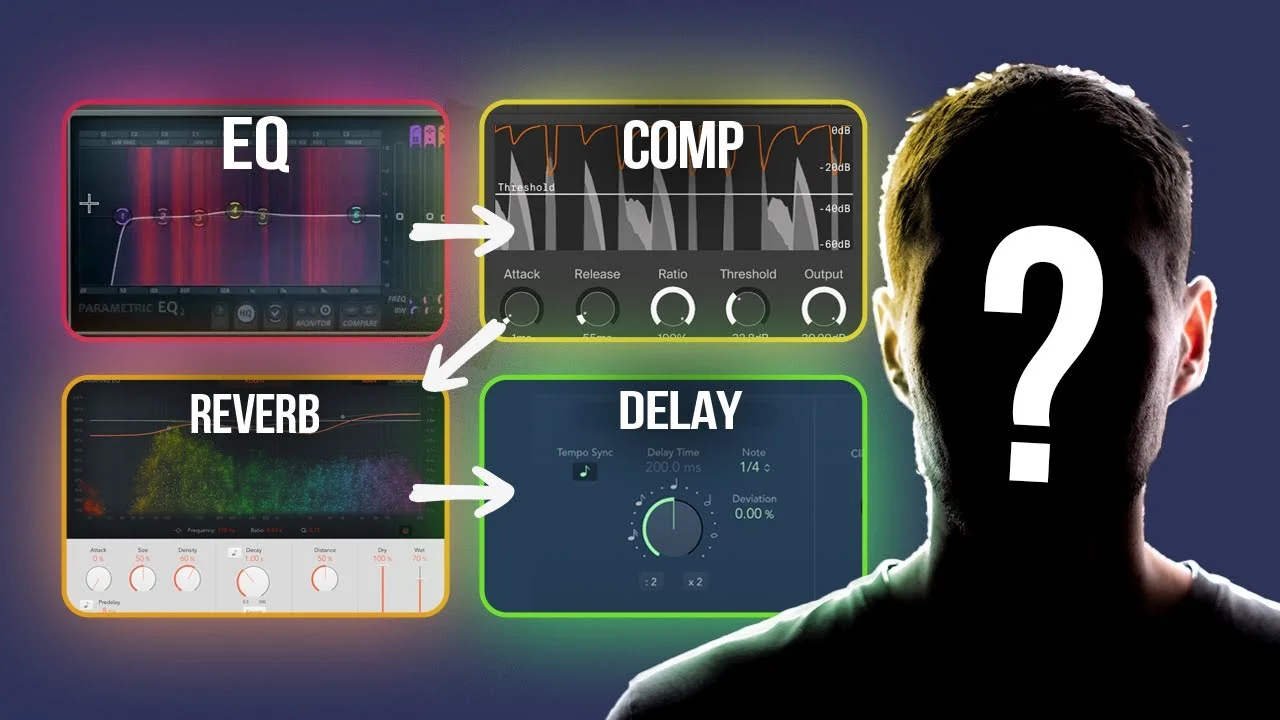
How to Make the Perfect Vocal Chain for YOUR Voice (With Only Stock Plugins!)
Every voice is different. And every voice needs different processing to sound like it's ready for the radio! In this video, I'm going to breakdown exactly the n

Key Takeaways
- Stock plugins are powerful enough to create professional vocal chains without expensive third-party software.
- Record your vocal properly first - no amount of processing can fix bad fundamentals.
- Automate gain before compression to ensure consistent levels hitting your compressor naturally.
- Target -18 LUFS before processing so you can copy exact settings reliably.
- Use two compressors - gentle glue compression first, then aggressive FET-style compression for character.
Most people have absolutely no idea what they’re doing when it comes to vocal processing.
Let’s be honest — learning production isn’t nearly as exciting as writing songs, performing on stage, or signing autographs. But here’s the brutal truth: if you don’t figure out your vocal production, the only person at your concerts will be Casper the ghost.
I get it. Modern DAWs are overwhelming with all their bells, whistles, knobs, and faders. Building a professional-sounding vocal chain feels impossible when you’re staring at dozens of plugin options.
Here’s what makes it even more complicated: every voice, microphone, room, and track needs different processing to sound good. That’s a whole lot to balance.
But that’s exactly why I’m here today. I’m going to show you how to build the perfect vocal chain for your specific voice, room setup, and microphone using only stock plugins.
I also made a full video on this…
All the ideas in this article come from the video below. If you don't feel like reading, well, I gotchu.
Part of the Vocal Mixing series — For the full picture, read my complete vocal mixing guide.
Get These Fundamentals Right First
Before we even think about touching plugins, you need a solid vocal recording. I can’t stress this enough — it’s that important.
This means:
- You sang the right notes
- You had passion behind your performance
- You used proper mic technique
- You recorded in a treated room
- You used a pop filter
- You weren’t clipping your signal on the way in
No amount of processing can fix a fundamentally bad recording. Get this foundation right, and everything else becomes so much easier.
Step 1: Automating Gain for Consistency
First, let’s inspect your vocal waveform — that squiggly line representing the sound you recorded.
If your waveform looks consistent without huge variance between peaks and valleys, congratulations. You probably recorded really well, maybe doing spoken word or rap. You can skip this step entirely.
But most vocals look really dynamic with massive peaks and valleys. These indicate large changes in recorded volume, and they’ll cause problems when we hit the compressor later.
Here’s what we’re going to do: manually adjust the gain of each individual word so they’re more consistent. This ensures that when our vocal hits the compressor, everything’s hitting it at an even rate for a more natural sound.
How to Automate Gain Properly
Add a gain plugin to your vocal track and automate it. Go through your entire vocal and:
- Take down every part that’s too loud
- Bring up every part that’s too quiet
- Aim for consistent volume throughout
Yes, this is tedious. Yes, it’s absolutely worth it for professional results.
Pro tip: Automate the gain plugin itself, not the track fader. This keeps your fader free for later adjustments and gives you better control over your vocal chain.
Use your ears — they’re the best tools we have as producers. Trust what sounds good.
Step 2: Pitch Correction
Next up: pitch correction. This step is straightforward but crucial.
Set your pitch correction plugin to the key of your song, adjust your tune speed, and let it work its magic. If you’re still getting weird artifacts or unnatural sounds, you might need to:
- Re-record your vocal
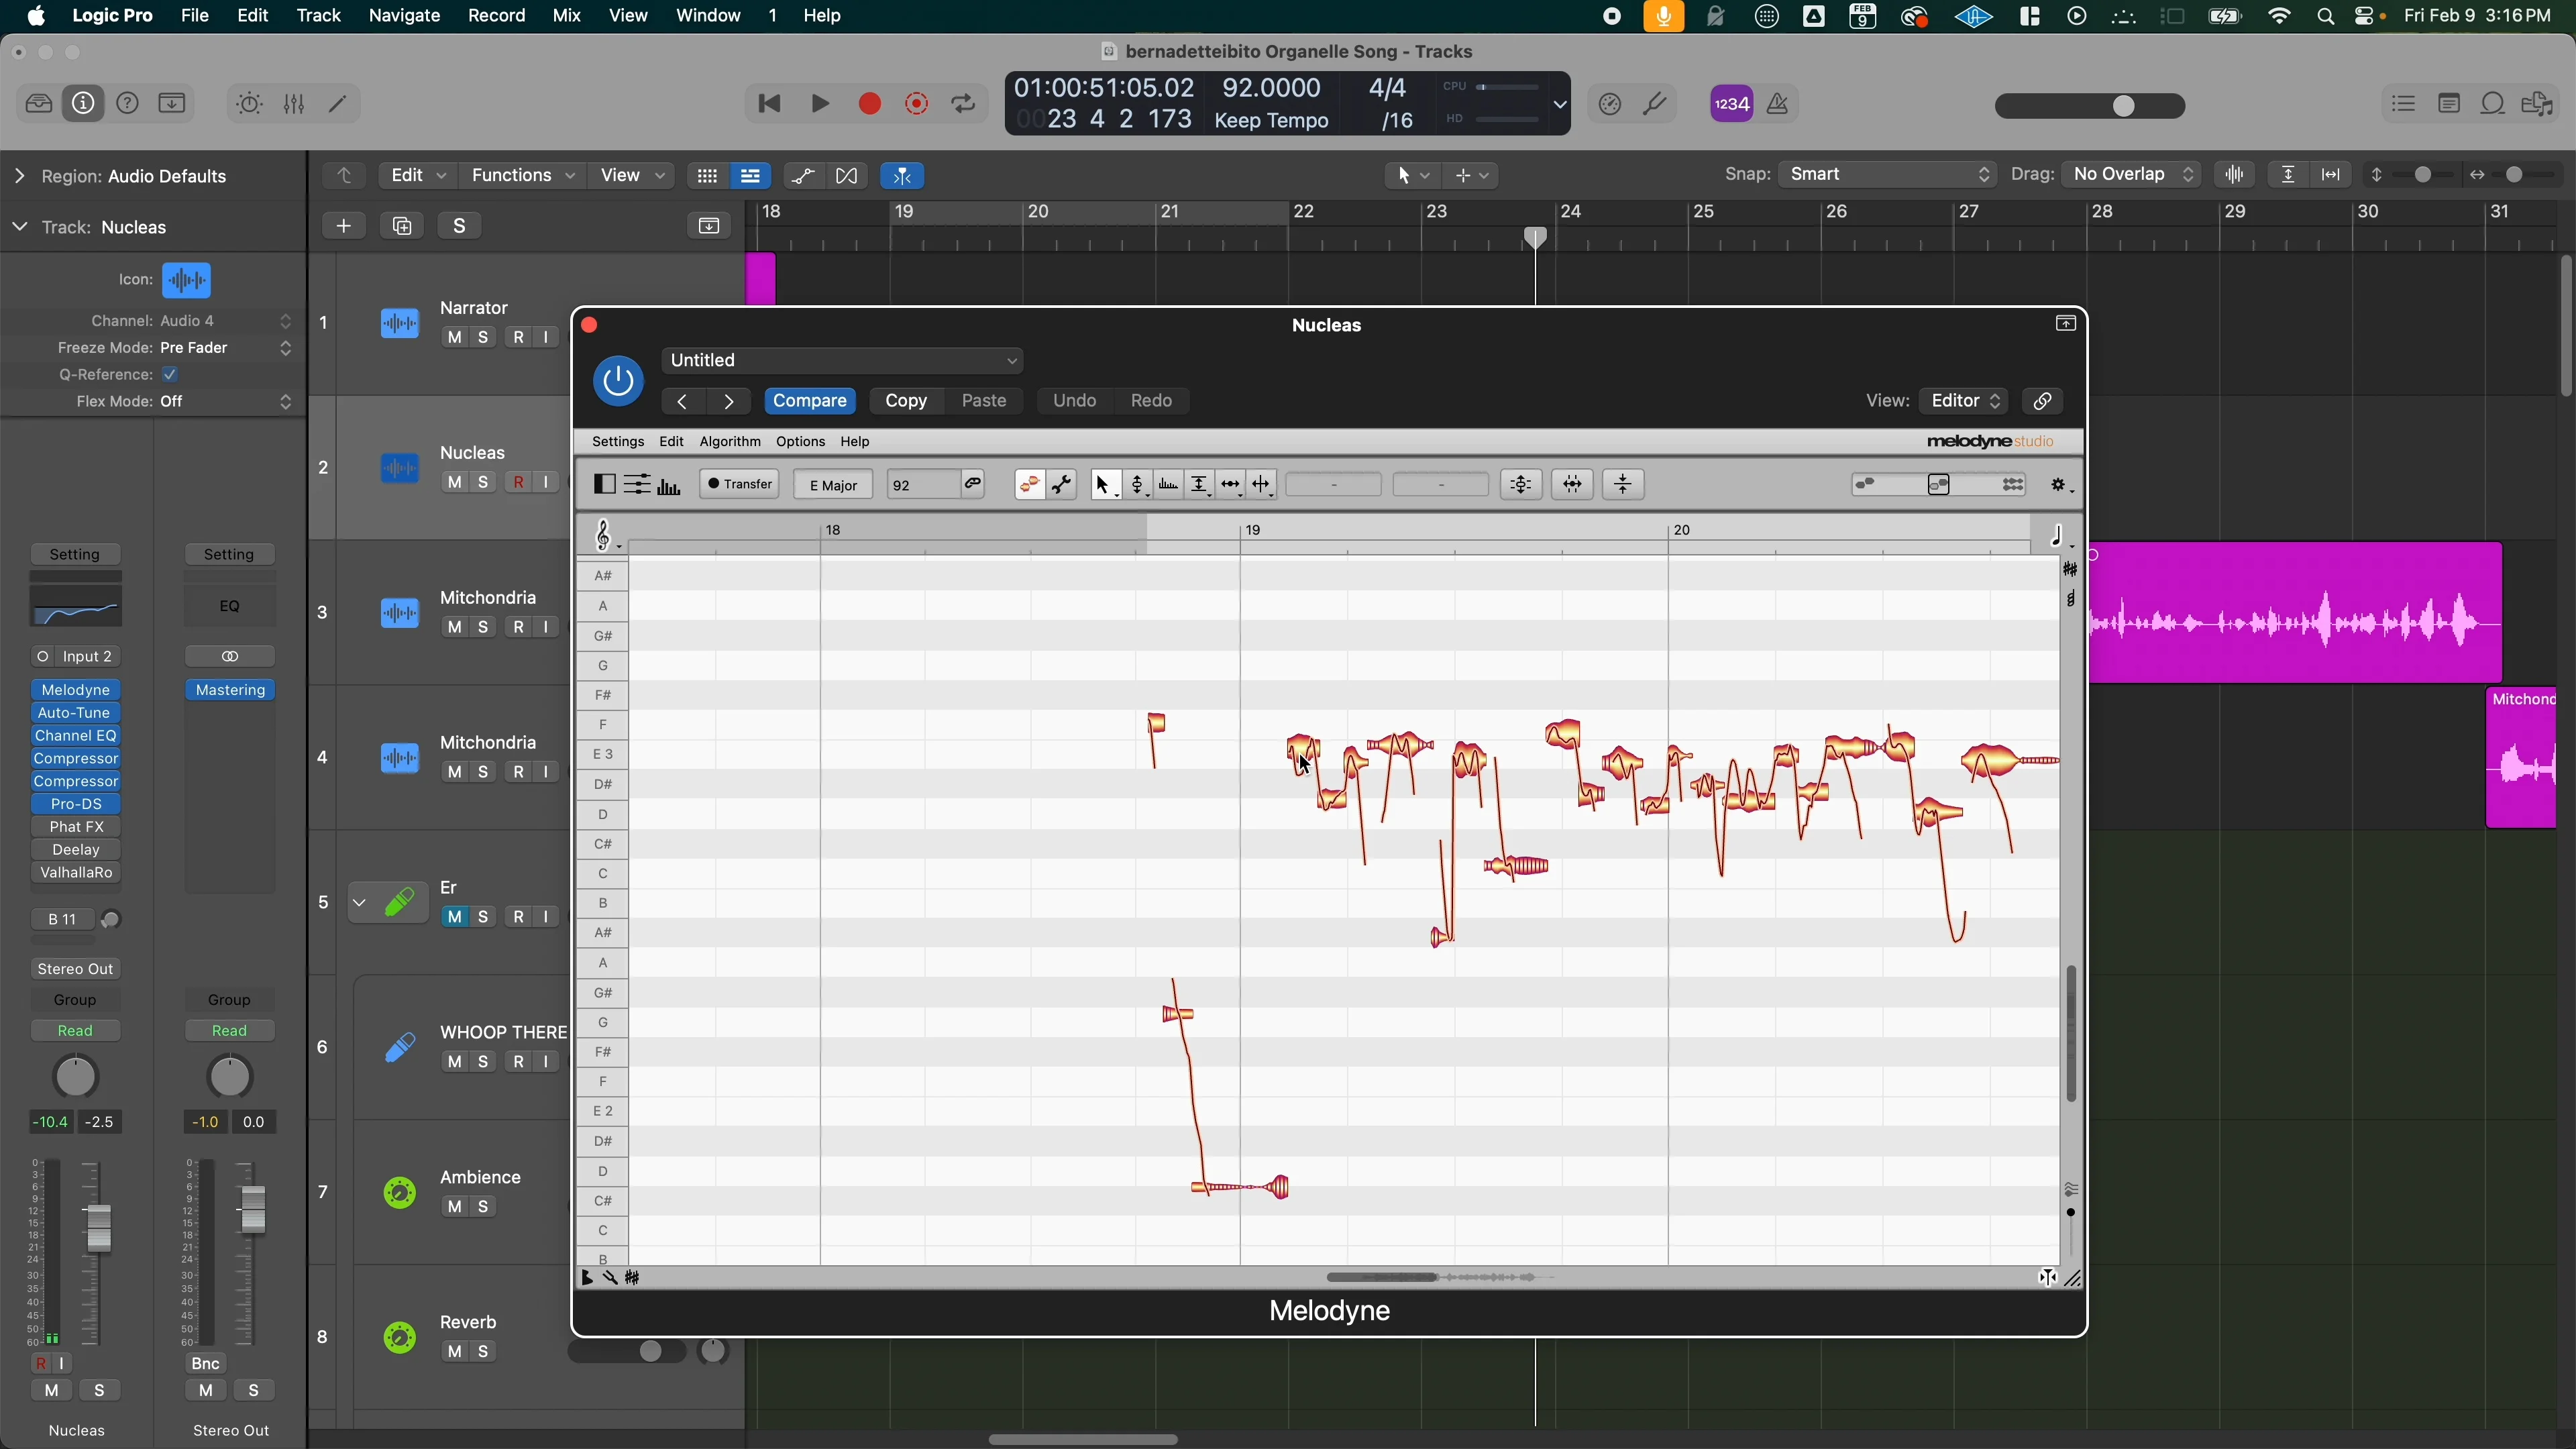
- Use advanced pitch editing software like Flex Pitch, Melodyne, or Auto-Tune’s Graph Mode
 Once everything sounds on-key, we're ready for the main course.
Once everything sounds on-key, we’re ready for the main course.
Step 3: Hitting -18 LUFS (The Secret to Consistent Settings)
Here’s a trick that’ll make copying my exact settings so much easier: get your vocals to the same loudness as mine before any processing.
Add a loudness meter after your gain plugin (but before pitch correction). We’re looking at the S measurement — this measures loudness over a longer period of time.
Target: around -18 LUFS
If your vocal is:
- Too loud: Adjust gain downward using the inspector region
- Too quiet: Adjust gain upward
You can also select all your gain automation data and push it up or down by a few dB simultaneously.
Why this matters: When you’re hitting around -18 LUFS, you’ll be able to use most of the compressor and processing settings I show you. This also works perfectly if you want to apply this vocal chain to other tracks — just get them to -18 LUFS first, copy and paste these plugins, and you’re golden.
Step 4: First Compression — The Glue
Now we’re adding some gentle compression to glue everything together. This compressor helps the vocal feel more consistent, especially if you did those gain automations by hand (and let’s face it, you probably didn’t nail them perfectly).
Compression Settings:
- Ratio: 2:1 (gentle)
- Attack: Around 10 milliseconds (faster)
- Release: Longer release time
- Threshold: Adjust until you’re getting around -5 dB of gain reduction
Since we’re hitting around -18 LUFS, these settings should work well as a starting point. Don’t worry about compressing too hard here — we’ll compress harder later.
The goal is subtle gluing, not aggressive squashing.
Step 5: EQ — The Game Changer
EQ is the biggest factor in getting a professional-sounding vocal chain. It’s also what changes the most between different microphones, rooms, and singers.
High Pass Filter (Essential for Everyone)
First thing: add a high pass filter. I don’t care who you are — there isn’t any useful information in the sub frequencies for vocals. All that low-end does is take up frequency space from your bass.
How to set it: Gradually raise the high pass until you start hearing a slight change in the low-end tone of your voice. Then dial it back until you hear nothing.
- Males: Around 125 Hz
- Females: Around 175 Hz
- But trust your ears — every voice is different
The higher you go, the thinner your voice sounds. Sometimes that’s desirable.
Proximity effect consideration: If you recorded really close to the microphone, you might want to cut even more low-end. Most mics add boominess in the lower frequencies when you get close.
Cutting Low-Mid Muddiness
Next, we’ll tackle the muddy frequencies that plague most vocal recordings.
Where to cut:
- Males and lower singing parts: Around 500 Hz
- Females and higher singing parts: Closer to 1,000 Hz
Make a gentle dip of about 3 dB. Work in 3 dB increments — this gives you enough change to actually hear what’s happening.
Pro tip: If you can’t identify these frequencies, temporarily boost them way up to hear exactly what you’re cutting, then dial in your cut.
This cut isn’t necessary for every vocal, but I find myself cutting this range on the vast majority of vocals I work with.
Adding Top-End Shine
Time to make your vocal sparkle. Most modern vocal recordings have significant ultra high-end frequencies to make them shine.
Add a high shelf starting around 8K and boost until you’re satisfied. Again, work in 3 dB increments when starting out.
Be careful: Really overdo it first to hear what it does to your voice. It makes the S sounds stick out and can get harsh quickly. Find the balance where it’s clear and airy without being overly bright.
Logic Pro Bonus: Tube EQ
In Logic, I’ve been loving their Pultec-simulated EQ called Tube EQ for adding that high-end shine. Same concept as the visual EQ, but it adds some nice color and warmth.
Set it to 8,000 Hz with high bandwidth and adjust to taste.
Step 6: EQ Part 2 — Fine-Tuning Your Sound
After that first EQ pass, your vocal should already sound significantly better. But we’re not done yet.
This is where you really need to listen to your specific voice and make adjustments. Every microphone and room combination will need slightly different treatment.
Listen for:
- Harsh frequencies that need cutting
- Missing presence that needs boosting
- Resonant peaks that stick out awkwardly
Don’t be afraid to add multiple EQ plugins if needed. Sometimes it’s easier to make several small adjustments than one big one.
Step 7: Second Compression — The Modern Sound
Think we’re done with compression? No, no, no, no, no.
Even though we’ve automated gain and added subtle compression, we need more aggressive compression for that modern vocal sound.
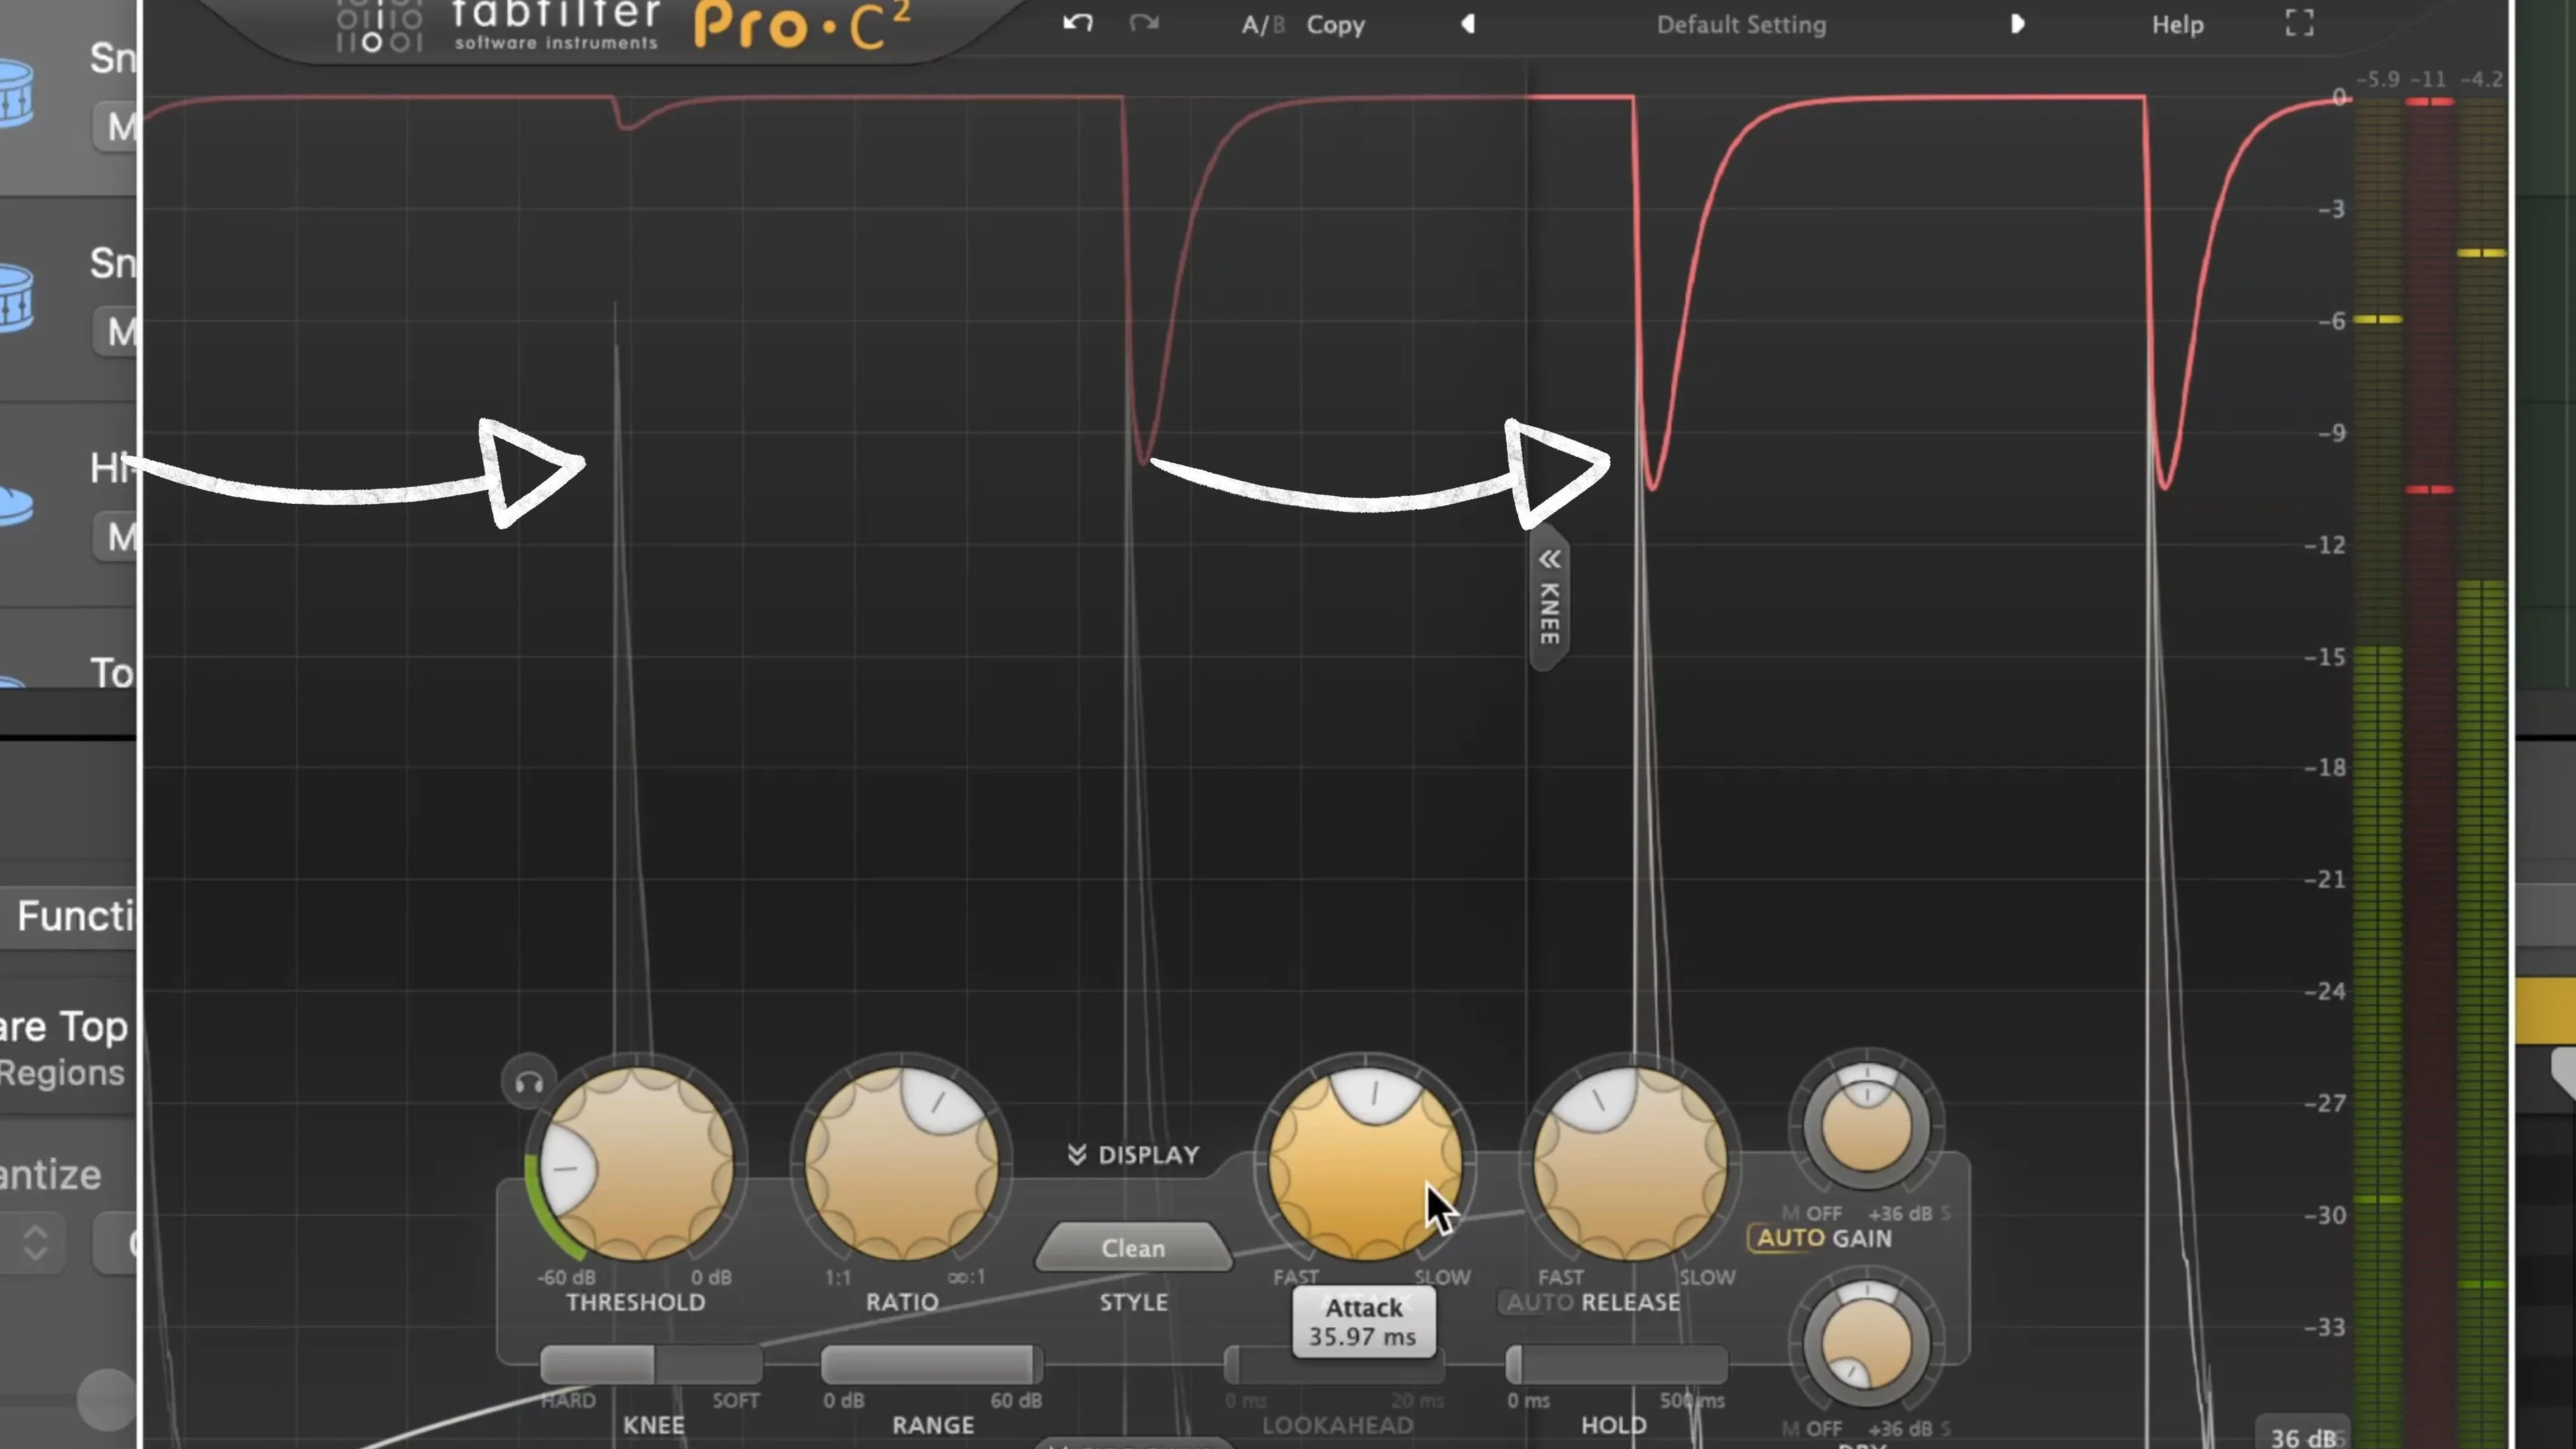
FET Compressor Settings
Add a FET-type compressor (modeled after an 1176). This adds color to your voice and sounds incredible on vocals.
Settings:
- Ratio: 4:1 (more aggressive)
- Attack: Medium speed, around 20 milliseconds
- Release: Around 50 milliseconds
- Threshold: Aim for 5-10 dB of gain reduction
Turn off auto-gain to prevent clipping.
Critical warning: Don’t overdo the compression. Too much will suck the life out of your vocal performance. Balance the amount of compression with the energy of your original performance.
If your voice still has volume inconsistencies between words, go back and fix your gain automation. You can add another compressor, but be careful — it’s more likely to sound over-compressed.
Step 8: Delay — Adding Movement and Interest
Delay is highly specific to each song, genre, and singer. I’ll give you the framework to craft your own approach.
Two Main Approaches:
- Direct on track (simpler)
- Delay bus/send (more control)
For simplicity, we’ll go direct on the track.
Key Settings:
Mix/Dry Knob: Set to 100% dry signal. Adjust wet knobs to taste for how much delay you want.
Feedback: Controls how long delays last. Higher feedback = longer delay tails.
Delay Length: The biggest determinant of your delay sound. Most plugins sync to your song’s BPM automatically.
Pro tip for standout delays: Desync from BPM. Delays that aren’t directly on the beat tend to stick out more and grab attention.
I typically use eighth note and quarter note delays as starting points, then adjust from there based on the song’s needs.
Step 9: Reverb — Creating Space and Depth
Just like delay, reverb can go directly on the track or through an auxiliary bus. Buses give more control, but we’ll keep it simple and go direct.
I like putting reverb after delay so the delays aren’t completely dry, but experiment to see what works for your voice.
Reverb Settings:
Dry Knob: 100% (you want your original vocal) Wet Knob: Mix to taste
Two Biggest Factors:
- Type of space: Hall, room, special effects, plate
- Length of reverb: Long reverbs sound awesome but can clutter your mix
My recommendation: Start with presets (there are usually tons), but for vocals specifically, I love plate-style reverbs.
Like everything else, experiment to find what works for your genre and song.
The Final Result — Before and After
Building your own vocal chain takes experimentation. Don’t expect to nail it the first time. Use these settings as starting points and tweak them for your individual voice, mic, and room.
The transformation from a raw vocal recording to a polished, professional-sounding vocal is dramatic. You’ll hear:
- Consistent volume throughout the performance
- Clear, present midrange without muddiness
- Sparkling high-end that cuts through the mix
- Controlled dynamics that sound natural
- Spatial depth from delay and reverb
Remember, this process works because we’re building each element systematically:
- Foundation: Good recording + gain automation
- Correction: Pitch correction + level matching
- Control: Gentle compression + targeted EQ
- Character: Colored compression + high-end shine
- Space: Delay + reverb for dimension
Every plugin serves a specific purpose, and when combined, they create something much greater than the sum of their parts.
The beauty of this approach? Once you dial in your vocal chain, you can use it on all your tracks. Just make sure to hit that -18 LUFS target before applying your chain, and you’ll get consistently great results.
Your voice is unique. Your room is unique. Your microphone is unique. But with this systematic approach, you can build a vocal chain that makes all three work together to create something truly professional.
Now stop reading and start experimenting. Your vocals are waiting.
Want a professional starting point? My Vocal Magic presets give you ready-made vocal chains for any genre — EQ, compression, reverb, and more, all dialed in and ready to go.
Or grab my free vocal presets to try before you buy.
About Mattie
Mattie is a music producer, songwriter, and educator specializing in Logic Pro and vocal production. With over 10 years of experience in the music industry, he's helped thousands of artists transform their home studio recordings into professional-quality tracks.
As the founder of Music By Mattie, he creates tutorials, presets, and courses that simplify complex production techniques. His mission is to make professional music production accessible to everyone, regardless of budget or experience level.