
How I Transformed My Workflow: The Ultimate Guide to Logic Pro X Templates
Are you tired of the same old, clunky workflow in Logic Pro X? Do you want to take control and craft your very own, streamlined process? Then buckle up, because

Key Takeaways
- Templates eliminate setup time so you can capture musical ideas before creative momentum dies
- Create buses for instrument groups to mix entire sections with single faders and controls
- Start with your most-used instruments and build templates around your actual workflow patterns
- Color-code tracks consistently to navigate projects instantly when working at high speed
- Shared reverb buses across all instruments create natural cohesion like a real room
Ever find yourself staring at a blank Logic Pro workspace, knowing exactly what you want to create but somehow taking forever to get started?
That frustrating gap between the idea in your head and actually getting it recorded is where most creative momentum dies. But there’s a simple solution that most producers overlook — Logic Pro templates.
Templates aren’t just studio decoration or something only pros use. They’re your secret weapon for turning creative lightning into actual music, fast.
I also made a full video on this…
All the ideas in this article come from the video below. If you don't feel like reading, well, I gotchu.
Part of the DAWs & Production Software series — For the full picture, read my full DAW comparison guide.
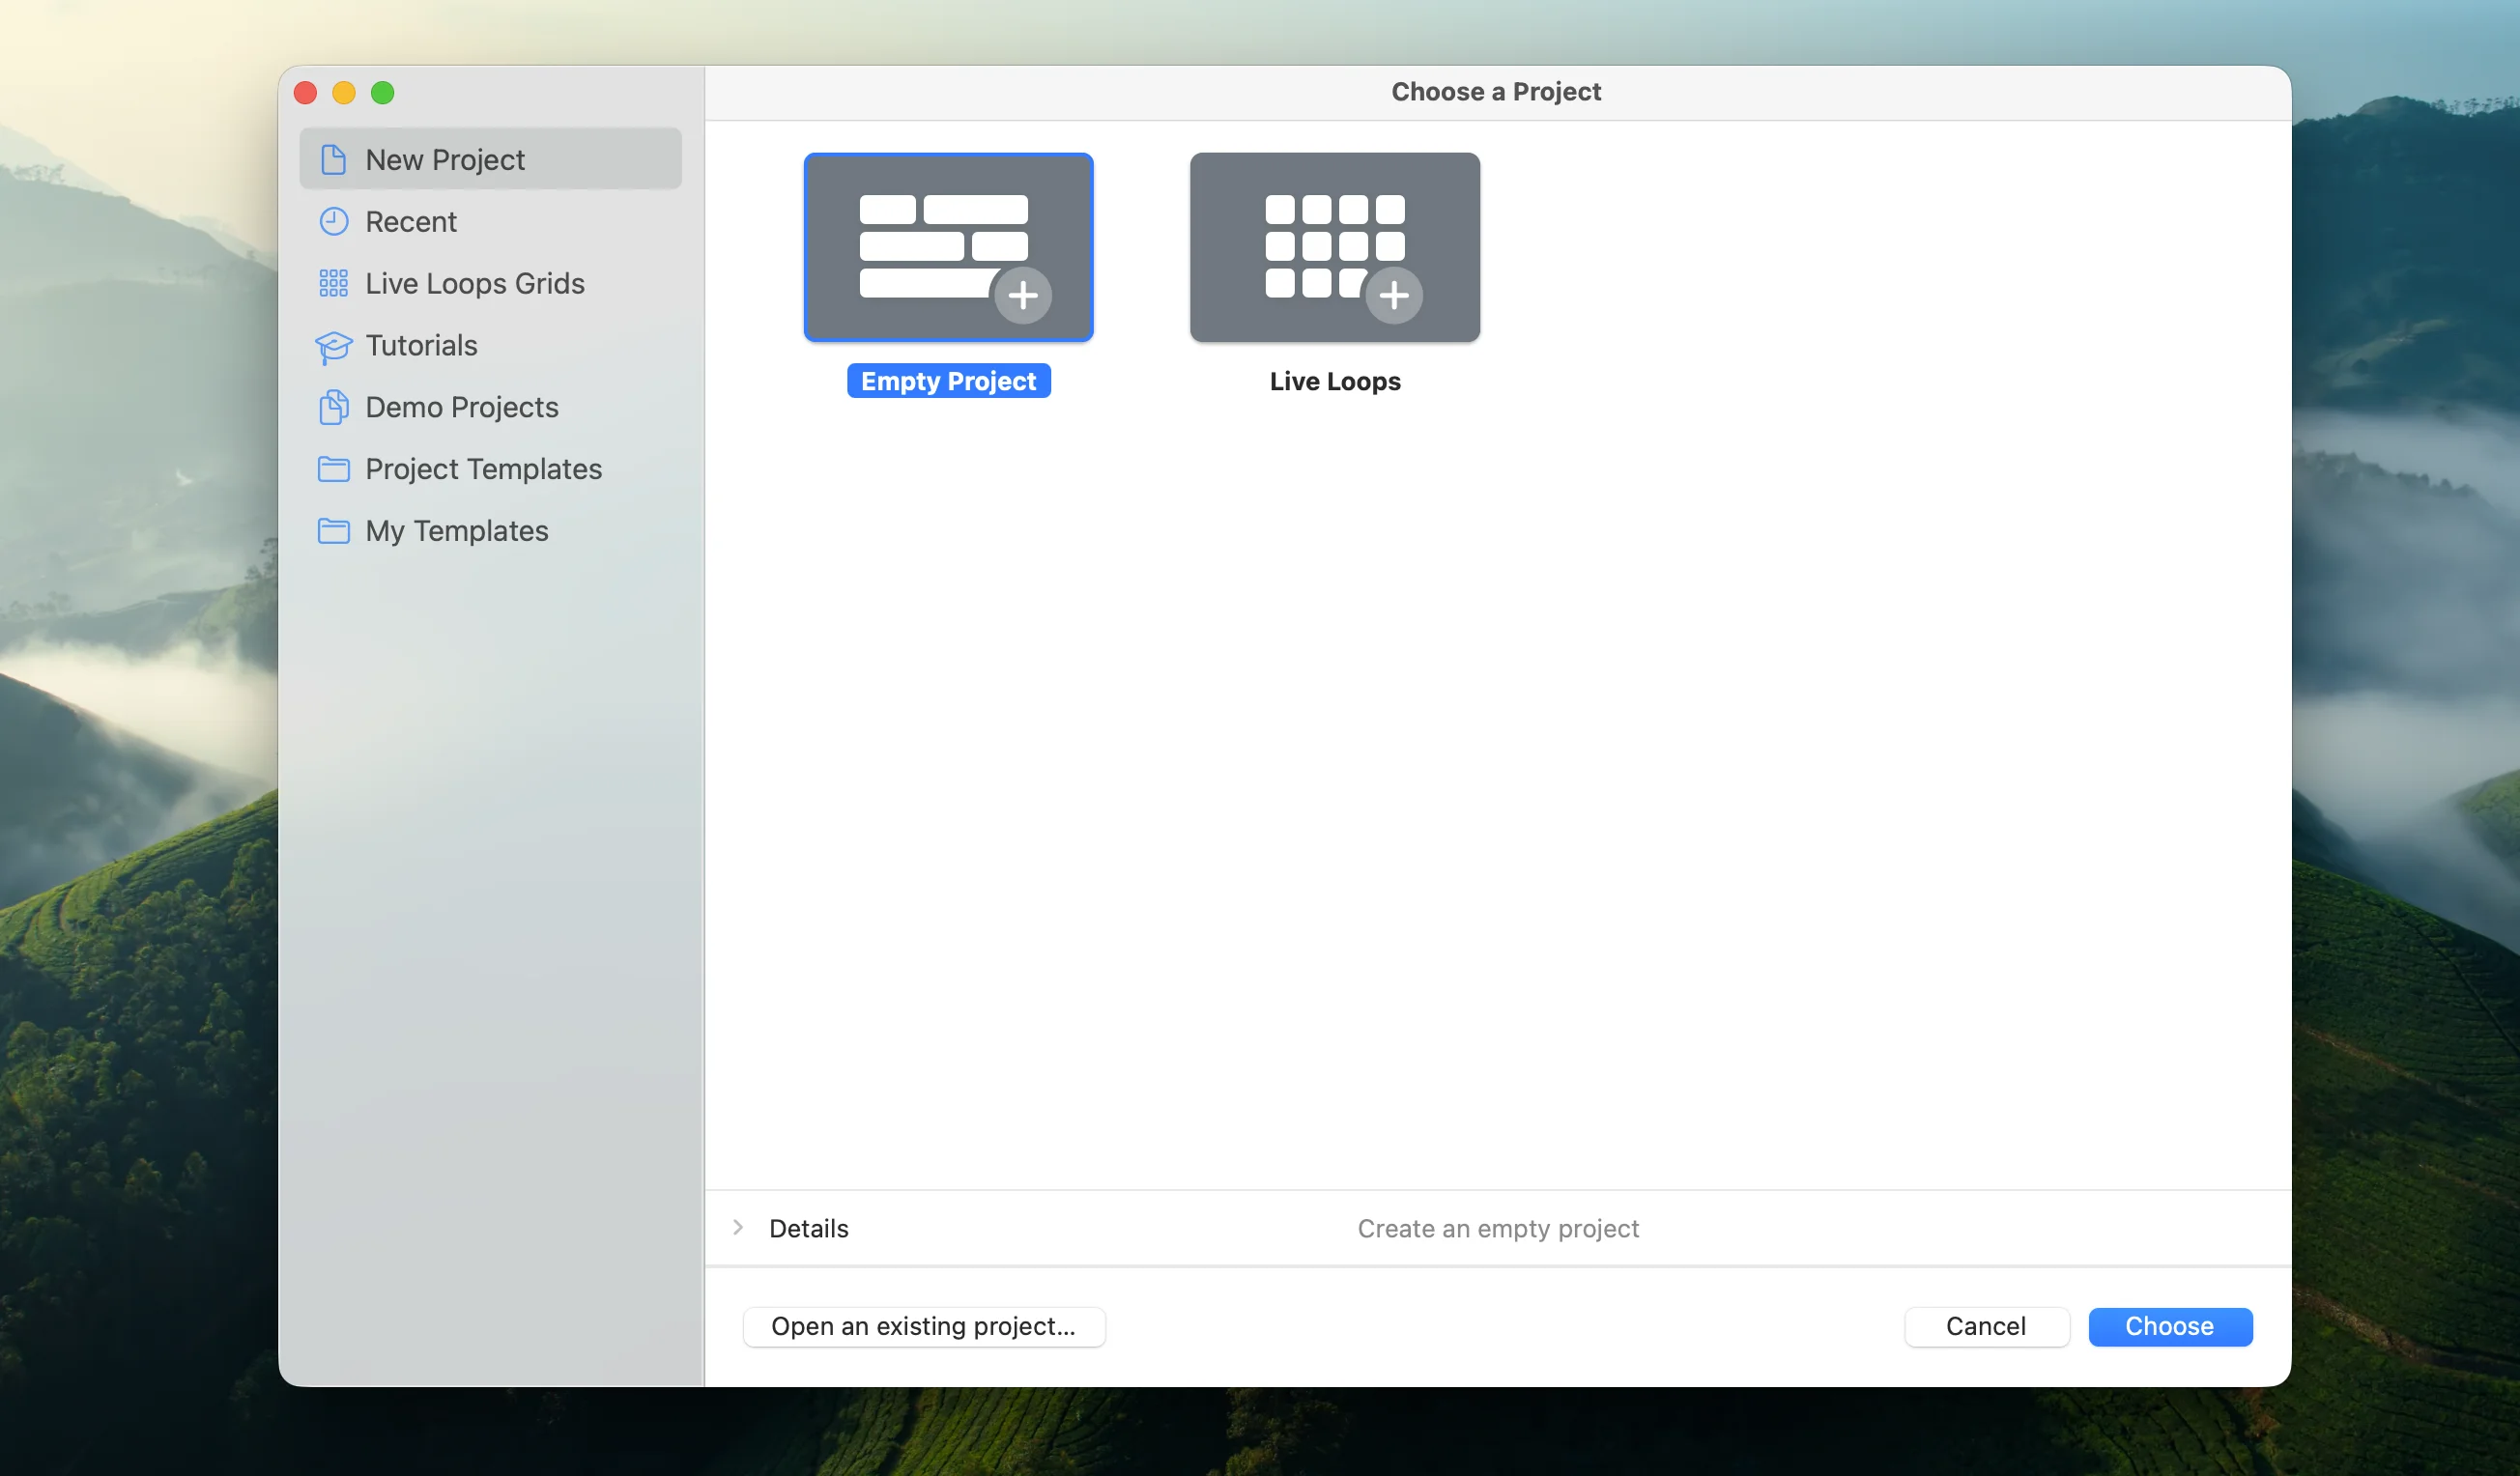
What Exactly Is a Logic Pro Template?
A template in Logic is anything that’s predetermined to help you save time.
Think of it as a preset for your entire project. Instead of starting with that intimidating blank workspace every single time, you’re loading up a pre-built environment with your favorite instruments, effects, and routing already in place.
There are templates for everything — vocals, mixing, mastering, drums, you name it. But today we’re talking about whole project templates. The kind that transforms your entire workflow from the ground up.
The concept is dead simple: reduce the time it takes for an idea in your head to make it into the computer.
Why Templates Will Change Everything
Here’s the thing — templates aren’t technically necessary for music production. You can absolutely make great music starting from scratch every time.
But why would you want to?
Those “small” time savings add up fast. Maybe it’s 10 seconds here to load your go-to piano. Another 20 seconds there to set up your vocal chain. Seems insignificant, right?
Wrong.
When you’re in the creative flow and inspiration strikes, those extra steps become creativity killers. By the time you’ve manually loaded instruments and configured routing, that perfect melody you had in your head? Gone.
Templates solve the “blank slate” problem. Sometimes starting with absolutely nothing leads to analysis paralysis. Having familiar instruments already loaded gives you instant creative momentum.
Plus, templates help organize your thoughts and projects from day one. No more wondering where to put that guitar idea or how to route your vocals — it’s all predetermined and ready to go.
The real magic happens when you multiply these time savings across entire projects. What used to take 30 extra minutes of setup time is now instant. When you’re working with clients or trying to capture fleeting inspiration, that’s game-changing.
How to Build Your Own Logic Pro Template
Creating templates is completely personal — there’s no “perfect” template that works for everyone.
If you’re making electronic music, you’ll want synths and electronic drums loaded up. Hip-hop producers might include trap drums and bass. Singer-songwriters probably want acoustic guitars and vocals ready to go.
I’ll walk you through my process, but remember — customize everything to match your workflow.
Step 1: Start With Your Core Instruments
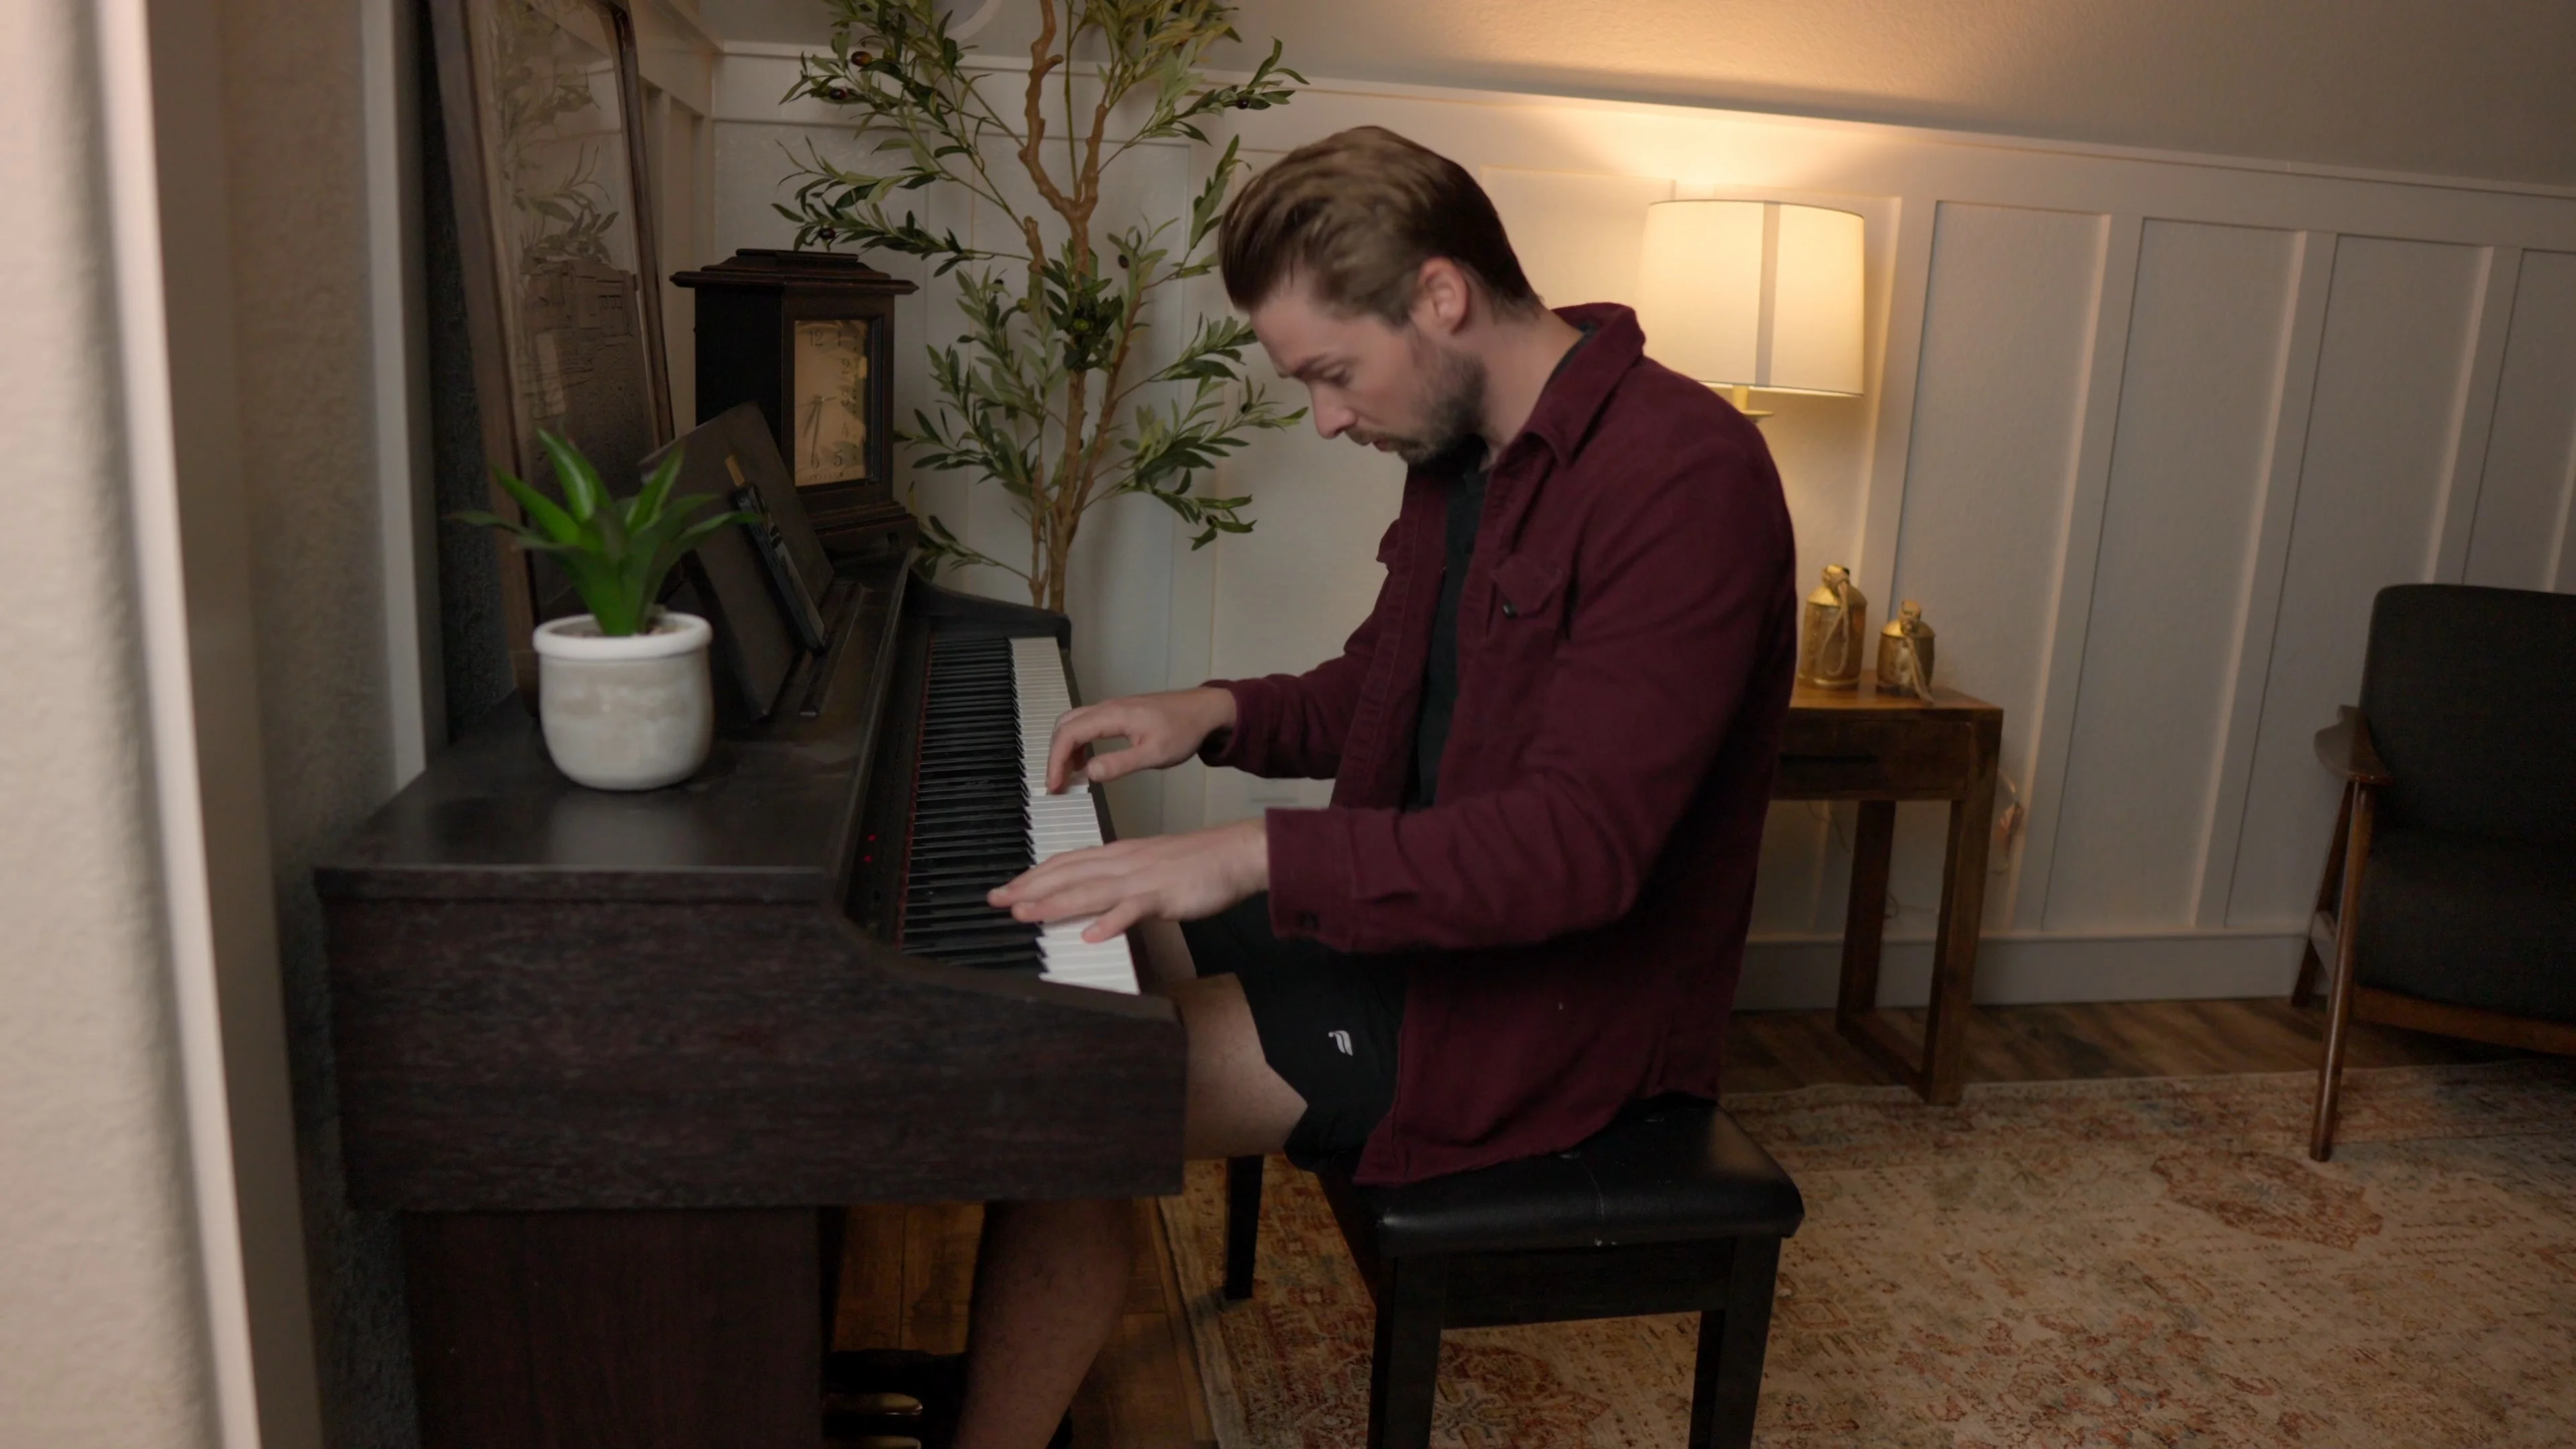
Open a new Logic document. You’ll get one software instrument by default — the Classic Electric Piano.
I actually love keeping this in my templates. The Classic Electric Piano is perfect for getting MIDI ideas from my keyboard straight into the computer quickly. It responds well and doesn’t get in the way creatively.
But I also want a real piano available, so I duplicate that track and swap it for the Steinway Grand Piano. This is my favorite piano sound in Logic and my go-to for laying down demos and main piano parts.
Step 2: Add Your Essential Audio Tracks
Most of my songs include guitar, so I create an audio track and name it “Guitar.” I set the input to Input 1 (wherever my guitar comes in) and change the icon to a guitar so I can see it visually.
Here’s where templates get powerful — I can preload plugins. Instead of choosing an amp every time I record guitar, I load up Amp Designer with the Silver Dollar preset. This emulates a Fender Reverb amp with a clean sound that works perfectly with my Strat.
Now when inspiration hits, I grab my guitar and I’m recording immediately. No amp selection, no setup time.
Step 3: Set Up Vocal Workflows
Vocals are in almost every song I make, so I add another audio track set to Input 2 (my vocal mic input). I name it “Vocals” and change the icon to a microphone.
But here’s the thing — I rarely use just one vocal track. Most songs need 4, 8, sometimes 16 vocal layers. So I create four vocal tracks right off the bat.
Then I create a summing stack by selecting all the vocal tracks and creating a folder stack. This creates a vocal bus where I can affect all vocals at once instead of processing each track individually.
This bus workflow is crucial. It saves massive amounts of time during mixing because you’re processing groups of similar instruments together. Less flexibility per individual track, but way faster overall workflow.
Step 4: Add Rhythmic Elements
I include drums in most projects, so I add a software instrument track with the Electronic Drum Kit. My current favorite is the Dembo kit — great sounds that work across multiple genres.
Step 5: Color Code Everything
Visual organization is huge for fast workflows. I use Alt+C to open Logic’s color wheel and assign colors consistently:
- Red for drums — they’re the foundation, the base of everything
- Green for pianos — matches Logic’s default MIDI track color
- Blue for guitars — matches Logic’s default audio track color
- Purple for vocals — my personal choice for vocal identification
This might seem minor, but when you’re working fast, visual cues help you navigate instantly.
Step 6: Advanced Bus Setup
For even more workflow optimization, I include project-wide reverb and delay buses.
I create two reverb sends — Bus 10 for ambiance and Bus 11 for main reverb. Then I route these sends to all my instrument groups.
Why use the same reverb for everything? In real life, if you’re listening to a band, the reverb is the same for everyone because they’re in the same room. Using shared reverb buses glues your mix together and creates cohesion.
I also set up a delay bus that I can dial in on any instrument when needed.
Step 7: Save Your Template
Once everything’s set up, go to File > Save as Template. Name it whatever makes sense to you — I called mine “Mattie’s Template 1.0.”
Your template is now available every time you start a new project.
My Personal Template Breakdown
Let me show you what my most-used template looks like and why I chose these specific elements.
The template includes:
- Bass track with my favorite bass amp loaded
- Multiple drum options — acoustic and electronic
- Synth section with 3-4 of my go-to synth sounds
- Guitar section with different amp setups
- Vocal bus with 4 vocal tracks already routed
- Shared reverb and delay buses
- Consistent color coding across everything
Everything’s organized into buses so I can make mixing decisions for entire instrument groups at once. Want to turn down all the guitars? One fader. Need more reverb on all the drums? One send knob.
The real power shows when you know your template inside and out. I can load this up and have a complete song demo within minutes because I’m not making technical decisions — I’m making musical ones.
Workflow In Action: 8-Minute Song Challenge
To prove templates really work, I set an 8-minute timer and created a complete song using my template.
Starting with the piano, I laid down a simple chord progression. Then I added bass to lock in the foundation. Drums came next with a basic pattern that fit the vibe.
For the melody, I used one of my synth tracks to create a lead line. Then I grabbed my guitar and recorded a simple but effective part through the pre-loaded amp.
Finally, I improvised some vocals — both a main melody and some harmonies using the vocal bus setup.
The result? A complete song idea with multiple instruments, arrangement, and vocals in 8 minutes flat.
Without the template, just the setup time alone would have taken longer than that.
Templates Aren’t Limiting — They’re Liberating
Some producers worry templates will make their music sound the same or limit creativity.
That’s backwards thinking.
Templates handle the technical busywork so you can focus on the creative decisions that actually matter. You’re not spending mental energy on amp selection or routing — you’re writing melodies and crafting arrangements.
The instruments in your template are starting points, not endings. You can always swap them out, add new elements, or go completely off-script. But having that foundation lets you capture ideas at the speed of thought.
Making Templates Work for You
Your template should reflect your workflow, not mine.
If you’re making lo-fi hip-hop, include some vinyl simulation and warm tape saturation. If you’re doing metal, load up high-gain amps and tight drum sounds. Singer-songwriter? Acoustic guitars and intimate vocal chains.
The key is knowing what you reach for most often and having it ready to go.
Start simple — maybe just your favorite piano, a vocal track, and one other instrument you use frequently. As you identify patterns in your workflow, add them to your template.
And remember, templates aren’t set in stone. Mine has evolved over months of use. I’ve added elements that I found myself using repeatedly and removed things that just sat there unused.
The Real Secret: Speed Kills Doubt
Here’s what nobody talks about — the faster you can get ideas recorded, the less time your inner critic has to kill them.
That perfect melody you hummed in the shower? If it takes 5 minutes to get it recorded, you’ll probably second-guess it before you hit record. If it takes 30 seconds, you capture it before the doubt creeps in.
Templates aren’t about being lazy or taking shortcuts. They’re about removing friction from the creative process. They turn your DAW from a technical obstacle into a transparent tool for musical expression.
Your best ideas deserve to be captured at the speed of inspiration. Logic Pro templates make that possible.
Set yours up today, and watch how quickly your workflow — and your music — transforms.
Want a professional starting point? My Vocal Magic presets give you ready-made vocal chains for any genre — EQ, compression, reverb, and more, all dialed in and ready to go.
Or grab my free vocal presets to try before you buy.
About Mattie
Mattie is a music producer, songwriter, and educator specializing in Logic Pro and vocal production. With over 10 years of experience in the music industry, he's helped thousands of artists transform their home studio recordings into professional-quality tracks.
As the founder of Music By Mattie, he creates tutorials, presets, and courses that simplify complex production techniques. His mission is to make professional music production accessible to everyone, regardless of budget or experience level.