
Logic Pro Settings I Changed For The Better
The Logic Pro settings I changed to speed up my workflow, improve audio quality, and stop wasting time. Quick tweaks that make a real difference.

Key Takeaways
- Set your buffer size to 1024 and use Low Latency Mode instead of constantly adjusting settings
- Enable Advanced Features immediately to unlock all editing, mixing, and customization tools
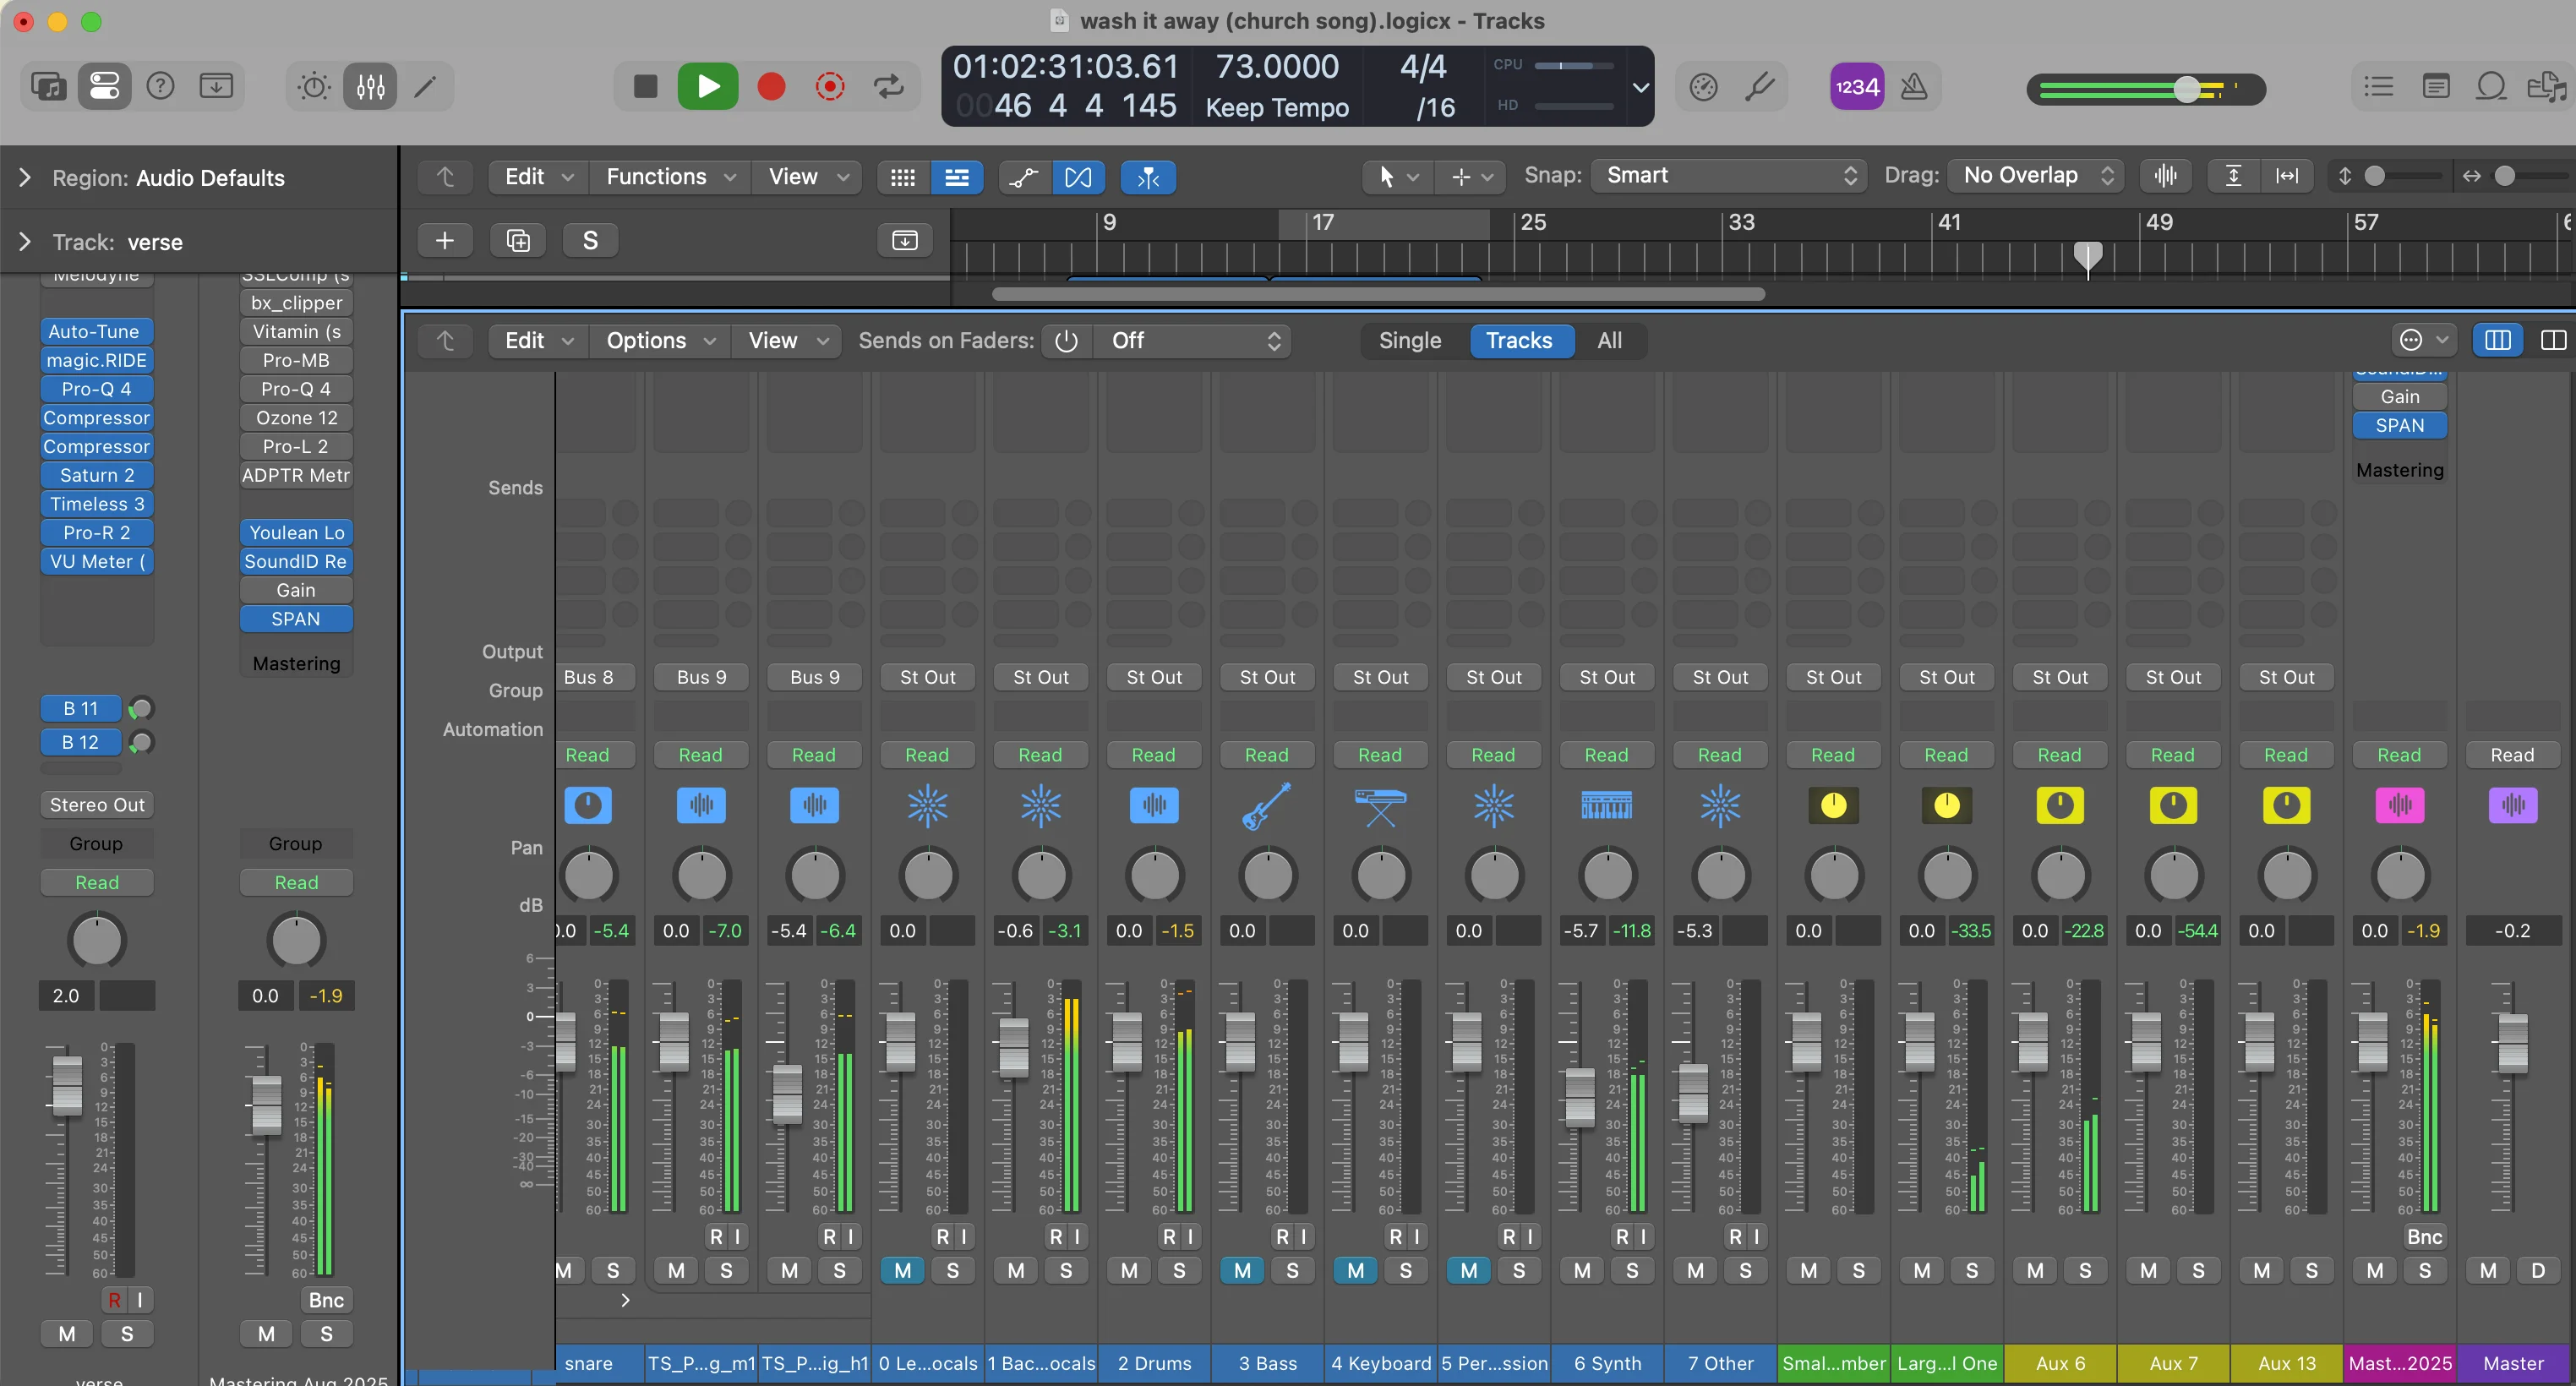
- Change auto bus assignment to buses above 32 to prevent stock reverbs from cluttering your mixer
- Customize your plugin manager by organizing favorites into logical folders for faster workflow
- Turn on MIDI Chase for notes so you hear chords when starting playback mid-song
Logic Pro is awesome for making music — but some of the settings it comes with out of the box are illogical.
After over 10 years of using this software, I’ve identified the exact settings you should change right now to make your music-making life a whole lot easier. These aren’t just minor tweaks — they’re fundamental changes that’ll save you hours of frustration and make Logic actually work the way it should.
I also made a full video on this…
All the ideas in this article come from the video below. If you don't feel like reading, well, I gotchu.
Part of the DAWs & Production Software series — For the full picture, read my full DAW comparison guide.
Enable Advanced Features First
Before we dive into the technical stuff, there’s one thing you need to do immediately: enable complete features.
Go to your settings and find “Advanced” — then click on “Enable Complete Features”.
Even if you’re just starting out, enabling these advanced features will unlock a whole lot more helpful things with editing, mixing, and customization. There’s literally no downside to turning this on, and it gives you access to all the tools you’ll eventually need anyway.
Think of it like this — would you rather learn to drive in a car with half the dashboard missing?
The I/O Buffer Size Truth Nobody Tells You
Here’s where I’m going to give you some controversial advice that goes against what everyone else says online.
Everyone talks about I/O buffer size like it’s rocket science. Here’s how it actually works:
- Lower buffer size = less latency, but your computer works harder
- Higher buffer size = more latency, but smoother playback
The common wisdom says to keep your buffer size as low as possible while recording to minimize latency, then increase it during mixing so your computer doesn’t crash. Solid advice in theory, but it’s way too many steps.
Working like this means every time you want to record, you have to go into that menu and change the settings. Then every time you want to mix, you have to go back and change it again. It’s annoying as hell.
My Better Solution
Set your buffer size as high as it can go — I recommend 1024.
“But Mattie, won’t that result in too much latency?”
Yes, it will. But I’ve got a fix for that latency issue that doesn’t require you to constantly fiddle with settings. We’ll solve it with Low Latency Mode, which I’ll explain in a minute.
For now, just set it to 1024 and forget about it. Your computer will be able to process all the tracks with no problem, and we’ll handle the latency a smarter way.
Customize Your Control Bar and Display
The default control bar in Logic is missing some essential tools that you’ll use constantly.
Click the little arrow next to the control bar, then select “Customize Control Bar and Display”. This opens up a dialogue box with tons of options.
Essential Settings I Recommend:
Views: Keep all of them on so you can see everything at a glance.
Transport: The basics you need are:
- Stop
- Play
- Record
- Cycle
You don’t need “Free Tempo” recording unless you’re doing something very specific.
LCD Display: These are the key ones:
- Tempo
- Time signature
- Key signature
- Performance meter (shows how well your computer’s performing)
The Game-Changing Settings
For the love of all things rhythm — turn on your metronome and count-in. I can’t tell you how many people struggle with timing simply because they’re not using the metronome.
If you play guitar or any instrument that needs tuning, turn on the tuner.
But here’s the most important one that fixes our buffer problem: Low Latency Monitoring Mode. This little toggle is going to save your sanity.
Once you’ve got everything set up, click “Save as Default” so every new project opens with these settings.
Low Latency Mode — The Real Solution
Remember how we set our buffer size high and created latency? Here’s where we fix that without constantly changing settings.
When you enable Low Latency Monitoring Mode in your control bar, it adds a stopwatch icon that you can toggle on and off. Logic recognizes your latency (in our case, almost 50 milliseconds) and when you turn on this mode, it automatically compensates by moving your recordings back that exact amount.
This gives you perfectly timed recordings without having to mess with that audio settings window every time.
How to Use It
- While recording: Turn Low Latency Mode ON (the button should be orange)
- While mixing: Turn it OFF
It’s that simple — just one button click instead of diving into menus.
The Trade-offs
Low Latency Mode isn’t perfect. It disables some features and plugins while recording, including:
- Pitch correction
- Reverb
- Other CPU-intensive plugins
But there’s some wiggle room here. Go to Logic Pro > Settings > Audio > General Tab and find “Low Latency Monitoring Mode.” Set your limit to 30 milliseconds — the highest possible.
This gives you the benefits of low latency while still allowing you to hear some plugins like pitch correction and reverb. Best of both worlds.
MIDI Chase — Fix Those Cut-Off Chords
Ever started playback in the middle of a MIDI chord and heard… nothing? That’s because Logic doesn’t know what notes should be playing.
MIDI Chase fixes this problem, and it sounds way cooler than it actually is (sorry, it’s not an action movie).
This is a project setting, not a global one. Go to File > Project Settings > MIDI, then click on the “Chase” tab.
Click on “Notes” — that’s all you need.
Now when you start playback in the middle of a chord, you’ll actually hear it. The sound might be slightly different than if you played from the beginning (you won’t get the natural attack), but it’s helpful for 99% of situations.
Set Up Your Tools Properly
Your default tools should be:
- Left click: Cursor/Pointer tool
- Command + click: Marquee tool
I use the Marquee tool constantly for editing, and having it on Command+click makes workflow so much faster. This might already be the default, but if it’s not, change it.
You can find these settings in the tool palette at the top of your screen.
Auto Bus Assignment — Stop the Clutter
This setting annoys me to no end, and Logic should just fix it by default.
When you load default instruments from Logic’s library, many come with built-in reverb that automatically gets routed to your first available buses. So if you load a few instruments, suddenly buses 2, 3, 4, and 5 are clogged up with stock reverbs you probably don’t even want.
The Fix
Go to Settings > Audio > General and change “Automatic Bus Assignment Uses” from “All Buses” to “Buses Above 32”.
Now all those stock reverbs get routed to bus 32 and beyond, keeping your main bus area clean for your own routing. The reverbs are still there and accessible, but they’re out of the way like a well-behaved dog.
This simple change keeps your mixer organized and makes it way easier to add your own buses where you actually want them.
Optional Customization Settings
These next ones are more about personal preference than functionality, but they can make Logic feel more comfortable to work in.
View Settings
Go to Settings > View for these options:
Inspector: I like to use “Large Inspectors” — easier to see and work with.
Tracks: Add horizontal lines and make them a bit bigger than normal. This makes the track area less cramped.
Show Track Number: Sometimes I enable “Show Track or Bar Number While Scrolling.” It can be annoying with it on, but occasionally it’s useful for navigation.
Auto-Assign Colors
Under track colors, you can set Logic to “Auto Assign to 24 or 96 Colors”. This means each new track gets a different color automatically, which can look really nice and help with organization.
I mainly do this on vocal projects to break up the monotony of having 100 vocal tracks that all look the same. Most of the time I leave this off so I can use my own color-coding system for organization.
Plugin Manager — Fix Logic’s Biggest Weakness
Logic’s plugin management system is garbage. There, I said it.
You have to navigate through multiple nested menus to find the plugin you want, and if you have lots of plugins from one vendor, it becomes a real pain to find anything quickly.
The Solution
Go to Settings > Plugin Manager and customize your plugin folders.
Drag and drop your favorite plugins into categories that make sense to you. For example, I might put Doubler into my “Pitch” folder even though it’s technically a delay plugin, because that’s how I use it.
This is a one-time setup that’ll save you tons of time. Instead of navigating through manufacturer folders and scrolling through huge lists, you can find your go-to plugins instantly.
Click “Done” when you’re finished, and now your most-used plugins are exactly where you expect them to be.
Why These Changes Matter
I might have sounded harsh toward Logic in some of these explanations, but here’s the truth — Logic is my favorite DAW. These settings exist because Logic is incredibly powerful and flexible. The problem is that the defaults aren’t always optimized for real-world music production.
These changes transform Logic from a powerful but sometimes frustrating tool into a streamlined music-making machine that actually helps your creativity instead of getting in the way.
The Low Latency Mode setup alone will save you hours of menu-diving and timing corrections. The plugin organization will speed up your workflow dramatically. And the bus assignment fix will keep your projects clean and organized from day one.
Take 10 minutes right now to implement these settings. Your future self will thank you when you’re in the middle of a creative flow and everything just works the way it should.
Want the full walkthrough? My course Pro Vocals in 60 Minutes takes you from raw recording to polished vocal, step by step.
About Mattie
Mattie is a music producer, songwriter, and educator specializing in Logic Pro and vocal production. With over 10 years of experience in the music industry, he's helped thousands of artists transform their home studio recordings into professional-quality tracks.
As the founder of Music By Mattie, he creates tutorials, presets, and courses that simplify complex production techniques. His mission is to make professional music production accessible to everyone, regardless of budget or experience level.