How to Master With Stock Plugins in Logic Pro X in 2024
In this video, we'll show you how to get professional masters from your Logic Pro tracks using the Mastering Assistant combined with stock plugins. Together, th

Key Takeaways
- Logic's Mastering Assistant won't fix a bad mix, so get your mix right first
- Aim for -12 dBFS headroom before mastering to avoid clipping and distortion problems
- Target -8 to -9 LUFS for competitive genres, not the streaming standard of -14 LUFS
- Always high-pass filter around 25-30 Hz with Linear Phase EQ to remove muddy low-end rumble
- Keep all mastering EQ moves subtle and broad — we're talking 1-2 dB maximum adjustments
Getting professional-sounding masters from Logic Pro’s stock plugins isn’t some pipe dream — it’s totally achievable if you know what you’re doing.
I’ve spent years learning the hard way that mastering isn’t about waving a magic wand and hoping for the best. It’s about understanding your tools, making smart moves, and avoiding the amateur mistakes that make tracks sound like garbage.
Today I’m breaking down exactly how to master your tracks using only Logic Pro’s Mastering Assistant and stock plugins. No expensive third-party gear required.
I also made a full video on this…
All the ideas in this article come from the video below. If you don't feel like reading, well, I gotchu.
Part of the DAWs & Production Software series — For the full picture, read my full DAW comparison guide.
Before You Even Think About Mastering
Here’s the truth that nobody wants to hear: mastering won’t fix a bad mix.
It’s like putting lipstick on a pig. You can polish it all you want, but if your mix is fundamentally broken, your master is going to sound broken too.
Get the mix right first. Seriously.
The other crucial thing? Headroom. Your track needs breathing room to avoid sounding like a distorted mess. Most producers completely ignore this and wonder why their masters fall apart.
The Easy Way to Stop Clipping (VCA Tracks)
If you’re already clipping or running into distortion problems on your stereo out bus, here’s a dead-simple fix that most people don’t know about.
VCA tracks are your secret weapon.
Here’s how to set them up:
- Select all your vocal tracks — click the first one, then shift-click to select them all
- Open the mixer by pressing X
- Go to Options > Create New VCA for Selected Channel Strips
- Repeat for your instrument tracks so you have separate VCAs for vocals and instruments
Now here’s the magic: you can control both VCAs together without affecting any of your mix settings.
If your mix is too hot, just select both VCAs (shift-click to pair them) and pull them down together. All your plugins are still hitting the exact same levels, but you’re giving yourself headroom on the master bus.
I recommend getting your mix to around -12 dBFS before mastering. Even -10 to -9 dBFS is totally fine. If you’re sitting at -4 or -3, you definitely want to turn it down.
Understanding Loudness (And Why It Matters)
Before we dive into the actual mastering, you need to understand LUFS — Loudness Units Full Scale.
LUFS measures perceived loudness, which is way more important than peak levels when it comes to how loud your track actually sounds to listeners.
I use the Youlean Loudness Meter for this. It’s completely free and way better than Logic’s built-in options. You can grab it from the link in my resources.
Here’s what you need to know about LUFS targets:
- Streaming services recommend -14 LUFS as their standard
- Anything above -14 LUFS gets turned down by Spotify’s algorithms
- For competitive genres like EDM and pop, -8 to -9 LUFS hits way harder
If you’re only uploading to streaming platforms, -14 LUFS makes sense. But if you want your track to compete with the big boys on Spotify playlists? You’re gonna want to push it harder.
The algorithm will turn it down later anyway, but your track will have way more perceived loudness and punch compared to other tracks at -14 LUFS.
Logic Pro’s Mastering Assistant (The Good and The Bad)
Logic’s Mastering Assistant is a great starting point — especially if you’ve never touched mastering before.
But let’s be real: it’s not going to make your mixes sound like a professional did them.
It’s a solid foundation, but we’re going to supercharge it with stock plugins to get those radio-ready results.
Setting Up the Mastering Assistant
Load up the Mastering Assistant and let it analyze your track. Pick the loudest section of your song for analysis — usually the chorus — because that’s what’s going to be most affected by your mastering moves.
The plugin will automatically create EQ curves based on what it thinks your track needs.
Character Settings
You’ve got four character options:
- Clean — transparent and neutral
- Valve — adds some tube warmth
- Punch — more aggressive and forward
- Transparent — minimal coloration
For most genres, I like Punch the best. It gives you that forward, competitive sound without going overboard.
Dialing In Your Loudness
Here’s where things get tricky. The loudness control doesn’t work how you’d expect.
When you set it to the middle (0), you get around -14 LUFS — optimized for streaming. But if you boost it to +1, you don’t get -13 LUFS. You might jump all the way to -5 LUFS.
You have to use your ears and your metering plugin. Adjust the loudness slider until your LUFS meter shows what you’re targeting. For competitive pop/EDM tracks, I’m usually shooting for -8 to -9 LUFS.
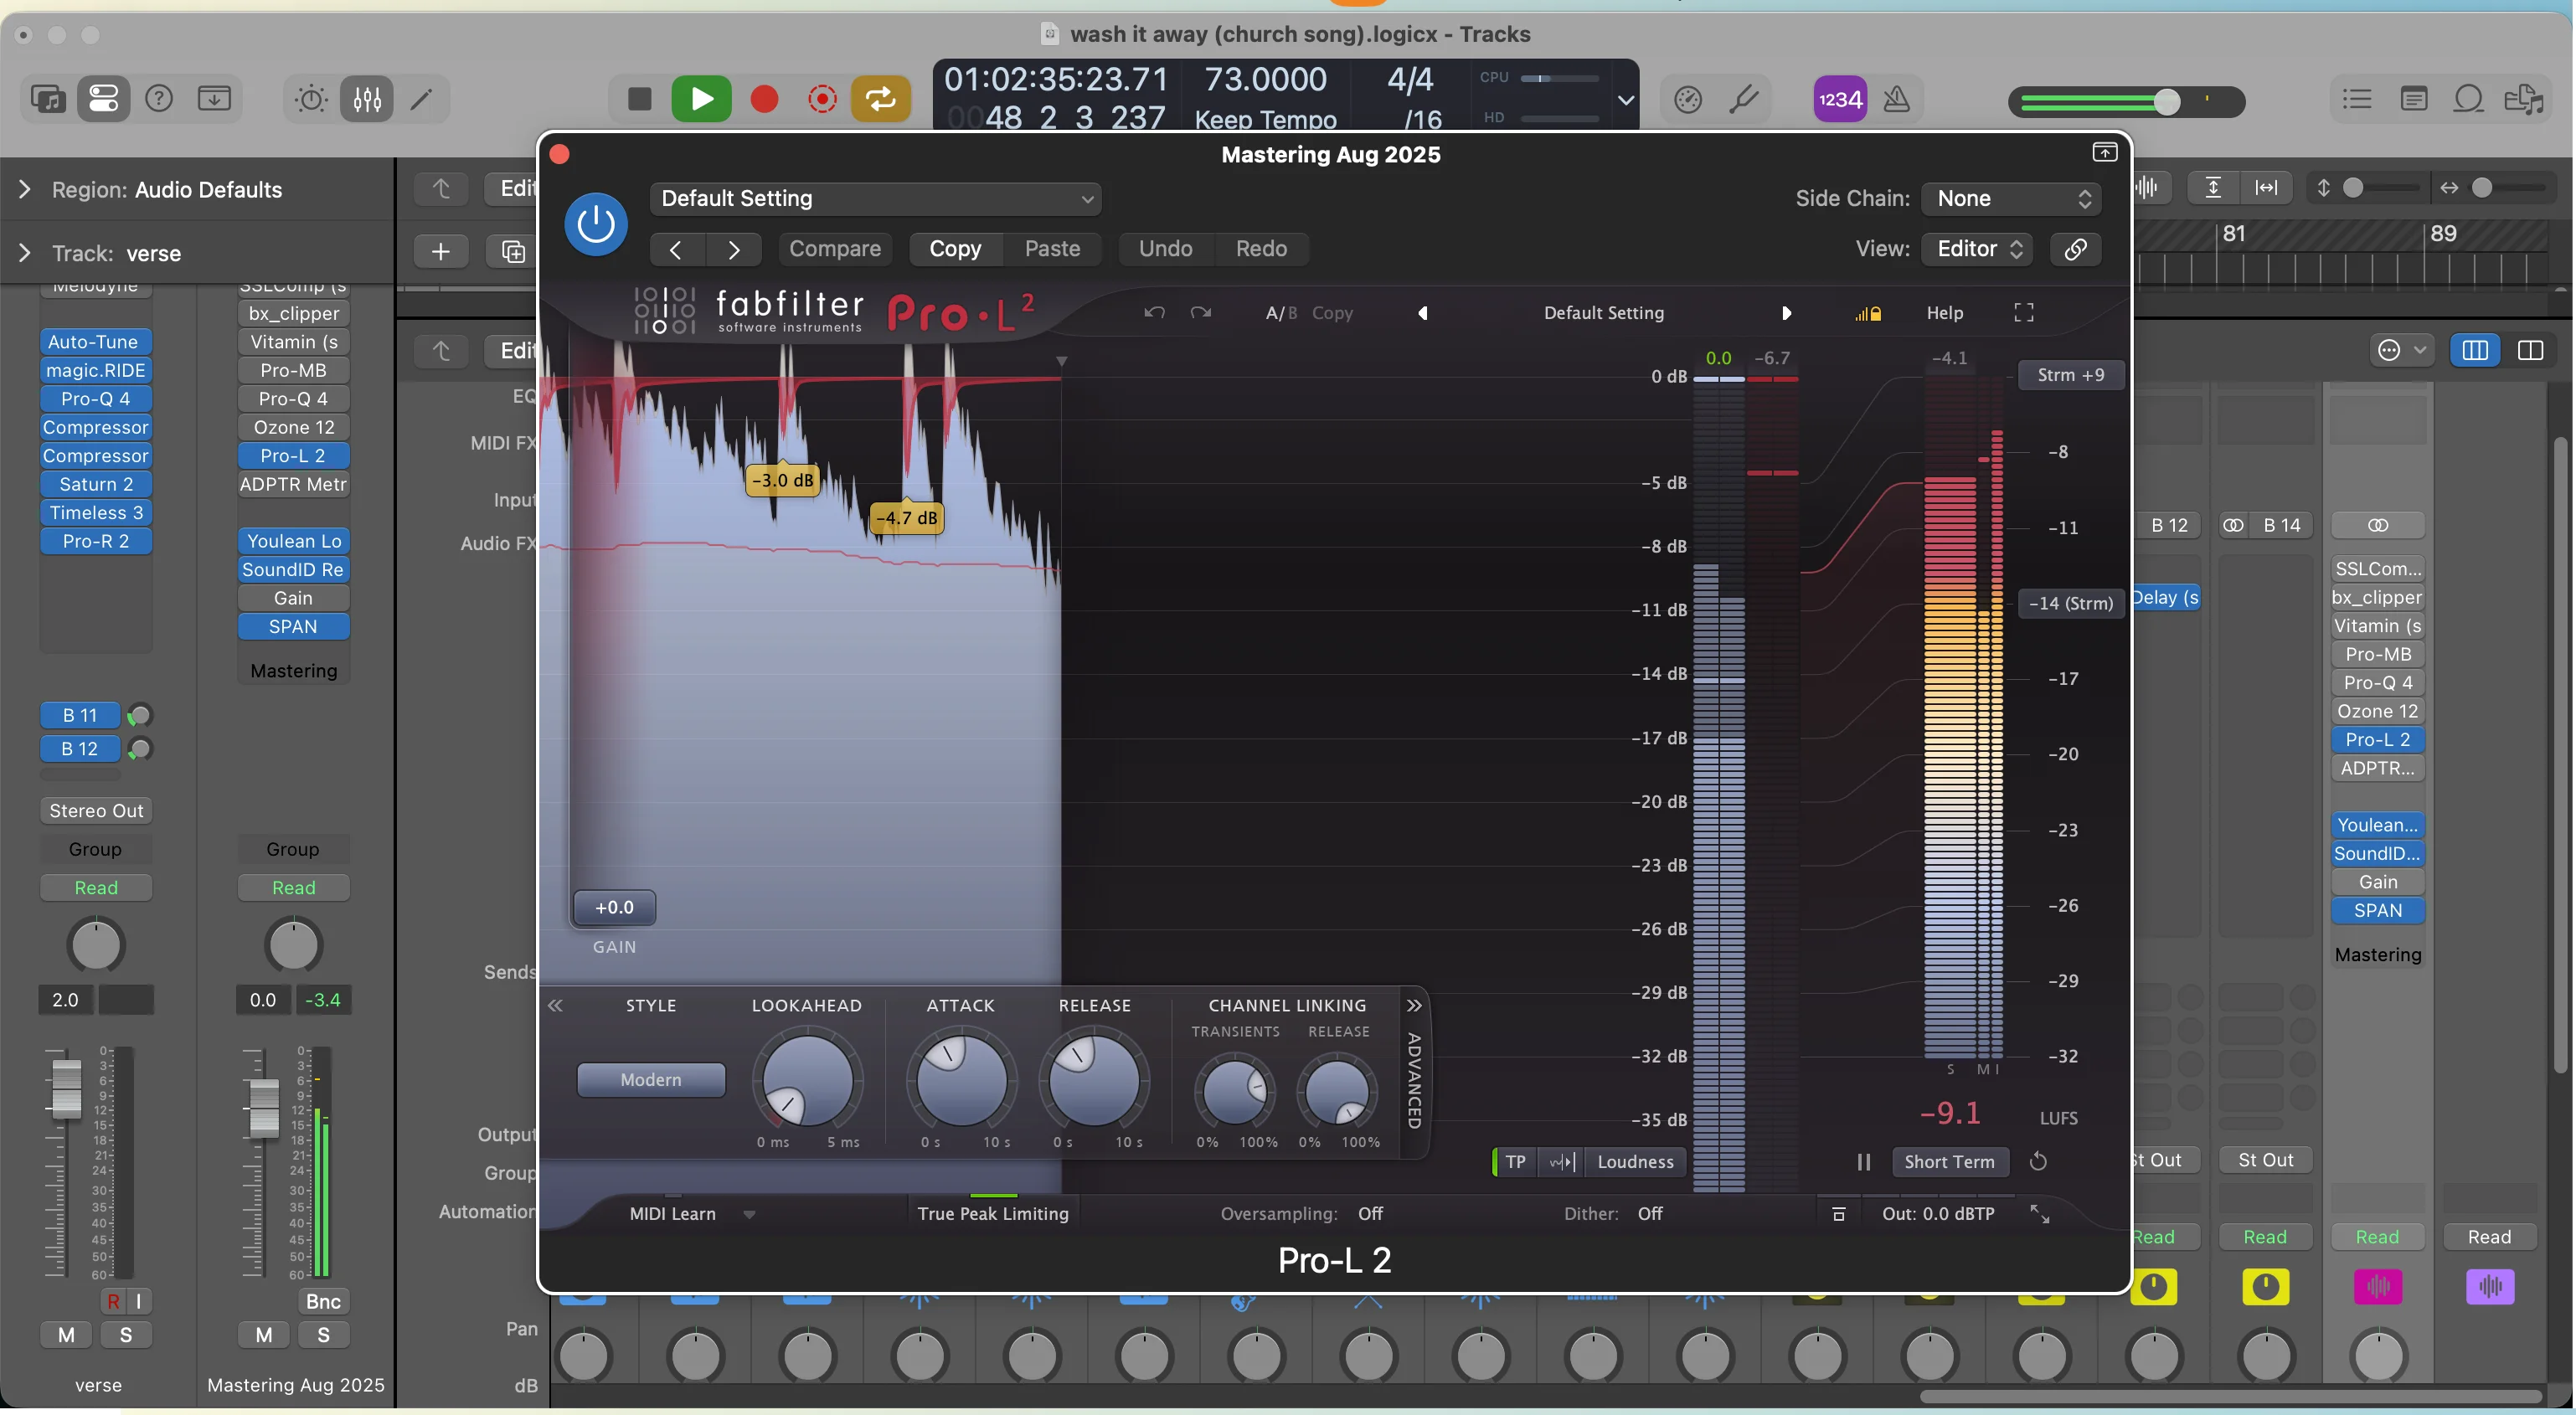
Keep an eye on your True Peak setting too. I usually set this to -1 dB to avoid any intersample peaks that might cause problems on streaming platforms.
Adding Width (Carefully)
The width control can add some nice stereo spread, but don’t go crazy with it.
Too much width kills your punch and makes everything sound weird and phasey. Subtle is the name of the game here.
Ideally, you want more width in the high frequencies and keep your low end more centered, but the Mastering Assistant doesn’t give you that level of control. That’s why we’re adding our own plugins.
Watch your correlation meter — you want to stay somewhere between 0 and +1. If you’re hitting negative numbers, you’ve gone too wide.
EQ Adjustments
The Mastering Assistant’s EQ is pretty basic — just low, mid, and high controls that work on top of the AI-analyzed curve.
For most tracks, I like to:
- Take out a bit of mid-range to clear things up
- Add some high-end for brightness and air
- Boost the AI’s peaks and valleys slightly for more character
But this three-band approach is limiting, which is why we’re adding our own EQ next.
Adding Stock Plugins (Where the Magic Happens)
This is where we take your master from “decent” to “damn, that sounds professional.”
Linear Phase EQ (Your Secret Weapon)
First up: Linear Phase EQ. You’ll find this under EQ > Linear Phase EQ.
The black background tells you it’s linear phase, and these EQs are way more transparent for mastering work than regular EQs.
My first move is always a high-pass filter. I’m cutting out everything below around 25-30 Hz with a steep 36 dB/octave slope.
This low-end rumble adds nothing but muddiness to your track. Getting rid of it opens everything up immediately.
Here’s my typical Linear Phase EQ chain:
- High-pass around 25-30 Hz (36 dB/octave slope)
- Broad boost around 600 Hz (+1 dB, wide Q) for midrange presence
- Gentle high-shelf around 10 kHz (+1-2 dB) for air and brightness
Keep your moves broad and subtle. We’re talking 1-2 dB max, with wide Q settings. Mastering EQ is about surgical precision, not sledgehammers.
Exciter (Better Than the Built-In Version)
The Mastering Assistant has an exciter, but it’s just one button. Logic’s dedicated Exciter plugin gives you way more control.
Load up the Exciter and try these settings:
- Frequency around 10 kHz for that top-end sparkle
- Very subtle amount — we’re talking barely audible
- Try different harmonic colors until you find what works for your track
You can also try exciting around 6 kHz to bring out vocal characteristics, but be careful not to add harshness.
Fat Effects (Saturation and Enhancement)
Here’s where we add some analog mojo to our digital master.
Load up Fat Effects and strip out all the default plugins — we’re building our own chain:
- Gentle tape saturation via the Distortion module (very subtle)
- Bass enhancer set to a lower frequency to add low-end harmonics
- Keep everything really subtle — you should barely hear it working
The bass enhancer is particularly cool because it doesn’t just turn up the volume — it adds harmonics that make your low end more noticeable in the mix.
The Hard Clipping Trick (Advanced)
If you need more volume and your limiter isn’t getting you there, hard clipping through Logic’s BitCrusher can be surprisingly transparent.
Set the Downsampling to 1 and Resolution to 24-bit. Then add just a tiny bit of drive.
Hard clipping literally cuts off the peaks of your waveform, but when done subtly, it’s more transparent than soft clipping (which adds audible distortion).
I don’t always use this technique, but it’s good to know about when you need that extra push.
Why You Probably Don’t Need the Adaptive Limiter
Logic’s Adaptive Limiter is solid, but since we’re using the Mastering Assistant, its internal limiting is probably enough.
The Mastering Assistant’s limiter is doing the heavy lifting, so adding another limiter usually just creates more problems than it solves.
Avoiding Common Mastering Mistakes
Here are the amateur moves I see constantly — don’t be that person.
Cranking the Loudness Too Hard
Just because you can push your LUFS to -4 doesn’t mean you should.
When you push too hard, the dynamic range falls apart. Everything starts sounding distorted and lifeless. The low end gets muddy. The transients disappear.
There’s a sweet spot for every genre. Classical might sound best at -16 LUFS. Pop and EDM might work at -8 LUFS. Hip-hop might go even harder.
Find what works for your music and your audience.
Not Boosting Enough
On the flip side, leaving your master at -20 LUFS because you’re scared of “the loudness wars” isn’t helping anyone.
Your track will sound quiet and weak compared to everything else on Spotify. You need to compete at the level your genre demands.
Ignoring Your Ears
All the metering in the world won’t save you if your track sounds like garbage.
Trust your ears. If it sounds harsh, back off the high end. If it sounds muddy, check your low end. If it sounds squashed, ease up on the compression.
Numbers are guides, not rules.
Before and After: Hearing the Difference
Let’s talk about what we actually achieved with these moves.
Before: The track sounded decent but lacked punch and clarity. The low end was muddy. The high end was dull.
After: With the Linear Phase EQ cutting the rumble, the Exciter adding brightness, and the gentle saturation from Fat Effects, everything sounds cleaner, punchier, and more professional.
The bass is tighter and more defined. The highs are crisp without being harsh. The whole track has more presence and impact.
The key is that we didn’t change the Mastering Assistant settings at all. We just enhanced what it was already doing with surgical precision.
Your Professional Mastering Workflow
Here’s my complete Logic Pro stock mastering chain, in order:
- Youlean Loudness Meter (for monitoring)
- Linear Phase EQ (high-pass + surgical moves)
- Exciter (high-end sparkle)
- Fat Effects (saturation + bass enhancement)
- Mastering Assistant (main compression/limiting)
This chain will get you 90% of the way to professional-sounding masters using nothing but stock plugins.
Remember: mastering is about balance and subtlety. You’re enhancing what’s already there, not completely transforming your mix.
Every move should be surgical. Every plugin should have a purpose. And most importantly — trust your ears over your meters.
The Mastering Assistant gives you an incredible starting point, but adding these stock plugins takes your masters from “good enough for streaming” to “damn, this sounds like it came from a professional facility.”
Experiment with these techniques. Listen critically. And don’t be afraid to make bold moves when your track calls for it.
That’s how you get those radio-ready masters that make people stop what they’re doing and ask “who produced this?”
Want the full walkthrough? My course Pro Vocals in 60 Minutes takes you from raw recording to polished vocal, step by step.
About Mattie
Mattie is a music producer, songwriter, and educator specializing in Logic Pro and vocal production. With over 10 years of experience in the music industry, he's helped thousands of artists transform their home studio recordings into professional-quality tracks.
As the founder of Music By Mattie, he creates tutorials, presets, and courses that simplify complex production techniques. His mission is to make professional music production accessible to everyone, regardless of budget or experience level.