
How to get your vocals to sit in the mix (Without being pasted on top)
If your vocals feel pasted on top of your beat, that's a problem. Here are the three techniques I use to blend them properly.

Key Takeaways
- Vocals sit on top of the beat for one of three reasons: a crowded beat, an uncontrolled vocal, or wrong space.
- Carve out space in the arrangement before you reach for EQ - if instruments are in the vocal range, no plugin will save you.
- Use a vocal rider before compression to even out dynamics, then compress for color, not for control.
- Shared reverb buses across instruments and the vocal make everything sound like it's in the same room.
- Sidechain the vocal against the reverb return so the lead stays clear when the wet signal swells.
If your vocals sound like they’re sitting on top of the beat instead of inside it, you’re in the right place.
Most vocals don’t sit in the mix for one of three reasons:
- The beat is too crowded
- The vocal itself is uncontrolled
- The space of the vocal doesn’t match the rest of the song
Fix those three things and a vocal that previously sounded glued onto the song suddenly feels like it was always part of it.
I also made a full video on this…
All the ideas in this article come from the video below. If you don't feel like reading, well, I gotchu.
What “sitting in the mix” actually sounds like
A vocal that sits in the mix has two qualities at the same time:
- You can hear every word clearly
- It sounds like the entire recording was made in one single room
Most amateur vocals nail the first part and miss the second. The lyrics are clear, but the voice feels like it was bolted onto the beat rather than blended with it.
The fix isn’t a magic plugin. It’s three steps, in order. Skip a step and the next one won’t save you.
Step 1: Stop the beat from fighting the vocal
The best vocals that sit in the mix are pre-planned to do so.
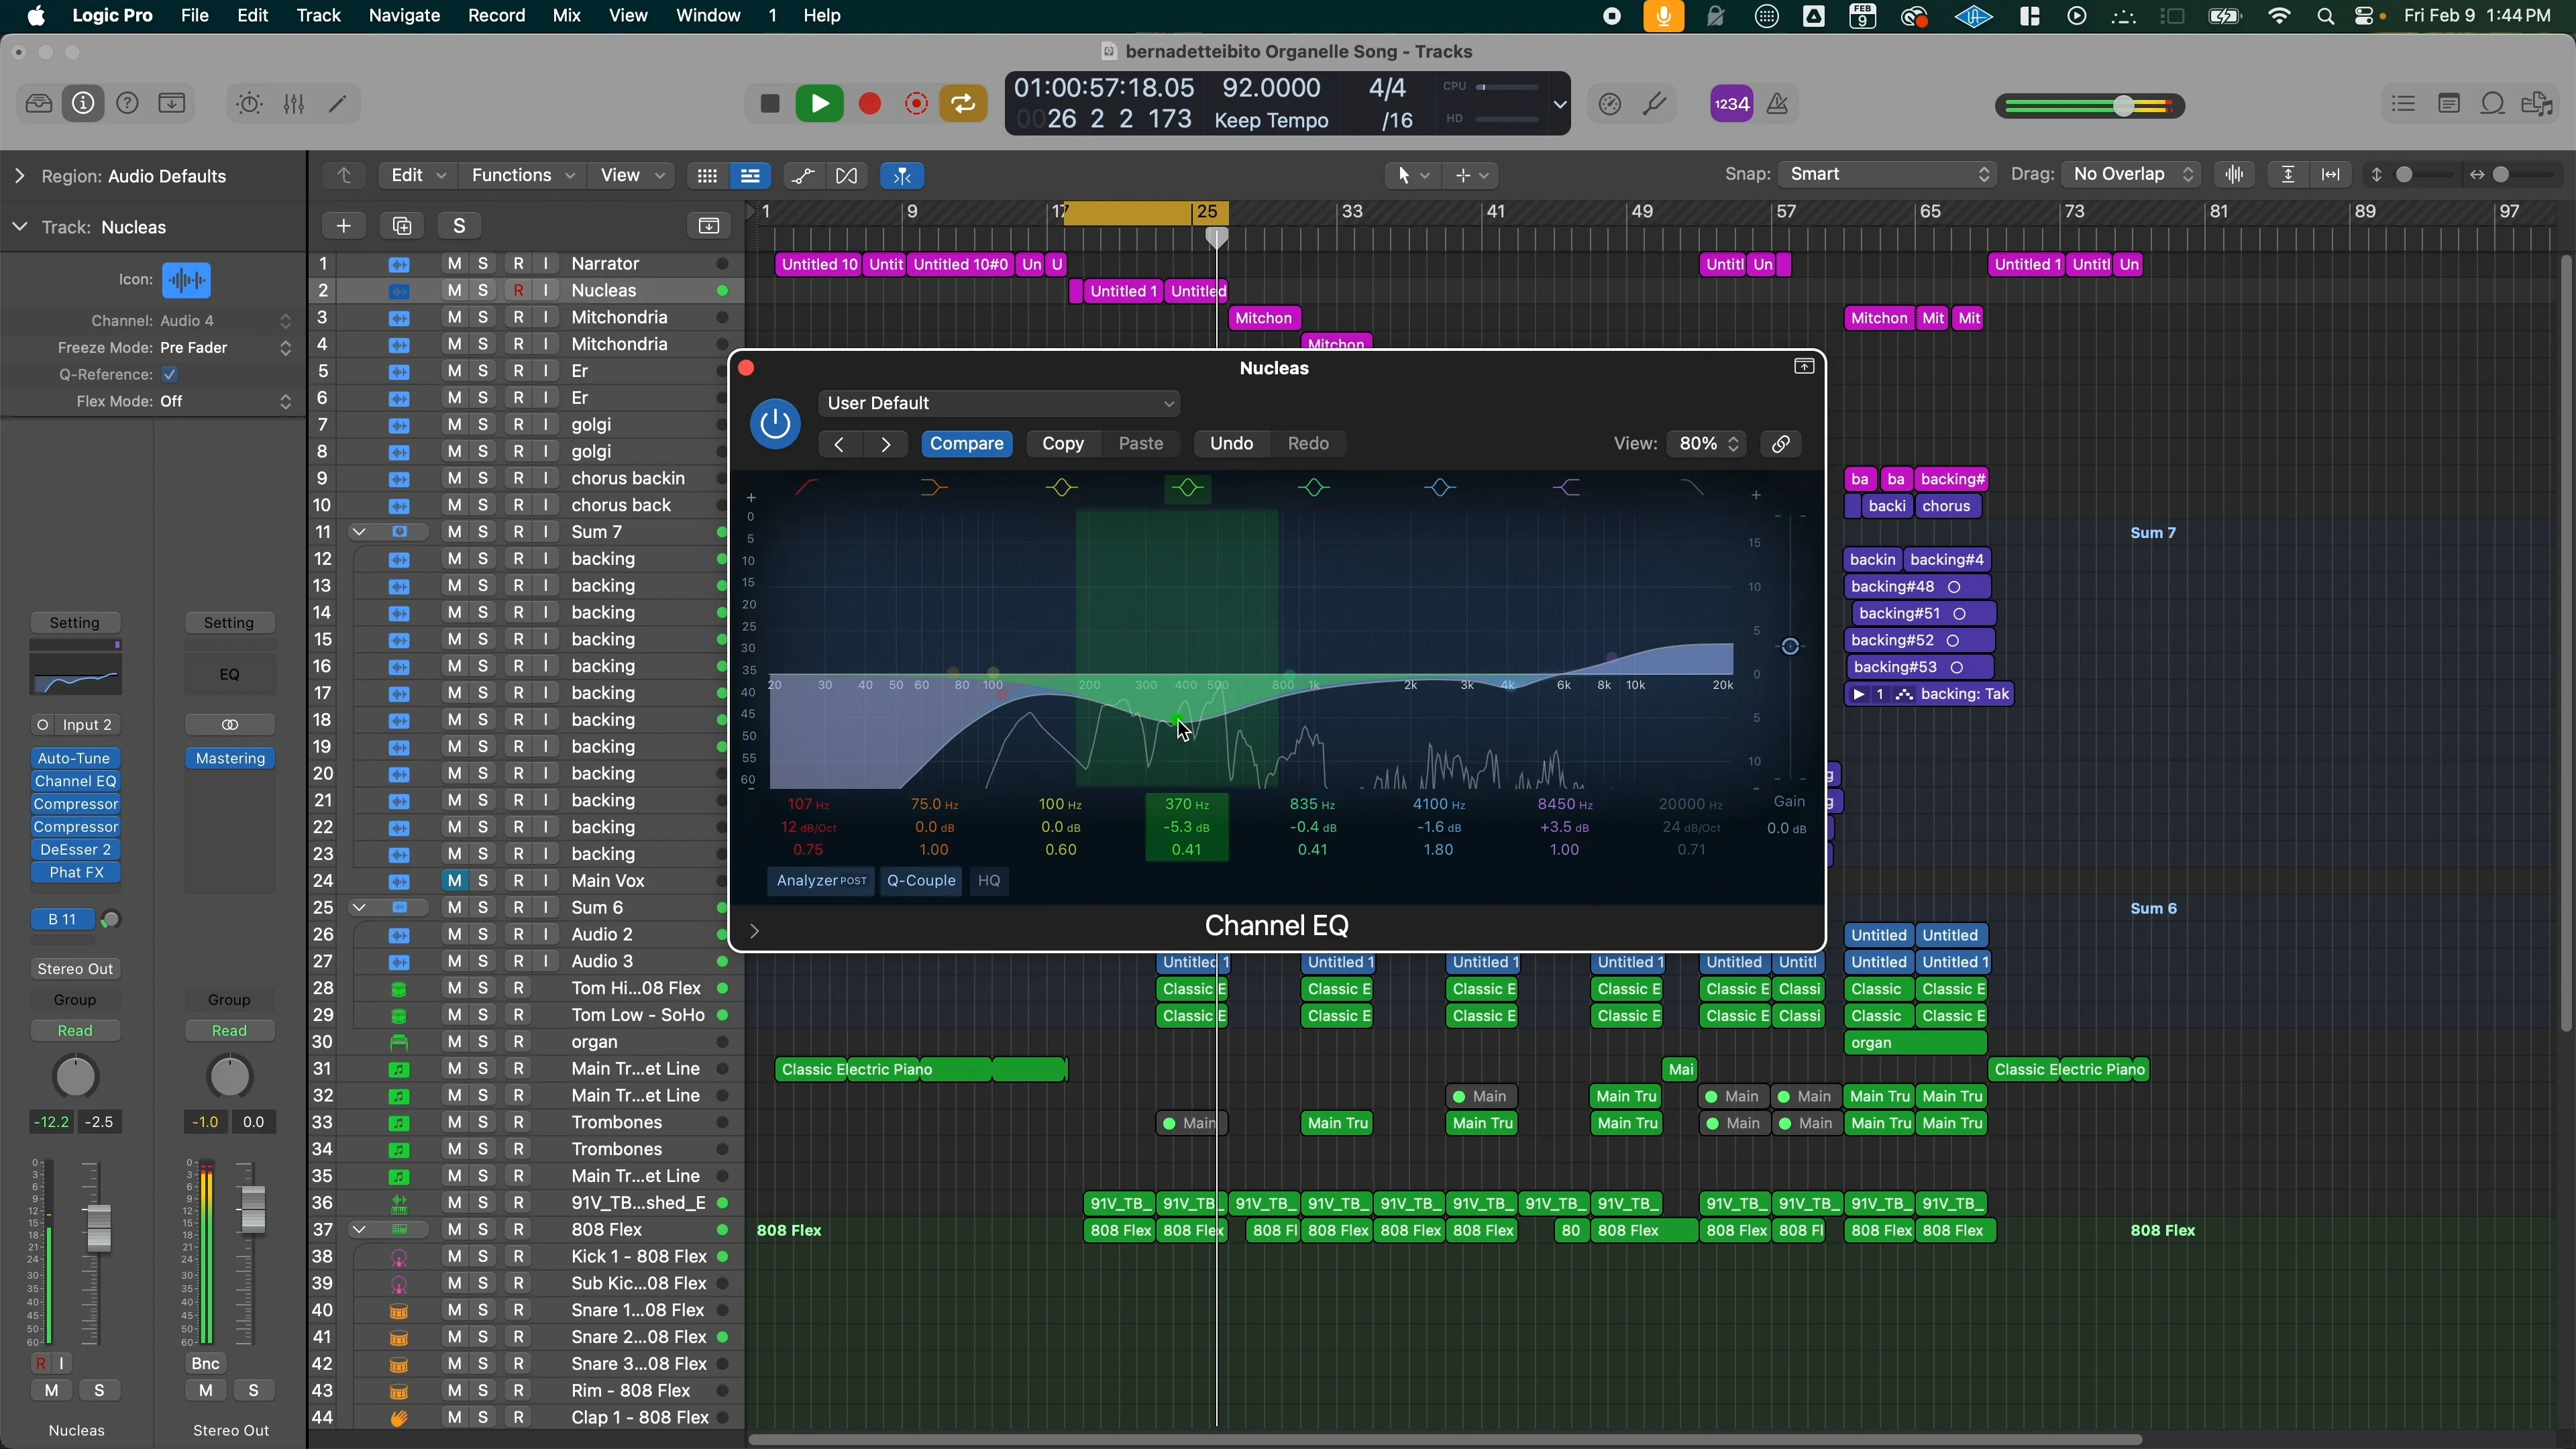
Before you touch the vocal at all, look at the beat in a spectrum analyzer with the vocal soloed. The main beef of a vocal lives between 500 Hz and 4 kHz. If your beat has instruments hammering away in that exact range, no amount of EQ on the vocal will save you.
In my own session, I had a piano and a high organ playing in the same upper-mid range as the vocal. They were eating it alive.
The fix isn’t EQ. It’s arrangement.
I went through the synth bus and deleted some of the upper octaves the instruments were playing. That single change opened up an entire frequency window for the vocal to live in. Listen to the vocal back without any processing - it already sat better just because the beat made room for it.
The biggest culprits I see in beginner mixes:
- Guitars - especially clean guitars that double the vocal’s range
- Pads - the slowest, sneakiest space-eaters in any mix
- Synths - especially leads playing in the same octave as the lead vocal
Pull those down, change the voicings, or transpose them. Carve a hole and then drop the vocal into it.
Step 2: Control the vocal
Once the beat has space for the vocal, it’s time to fix anything wrong with the recording itself.
When you reach for EQ, compression, or pitch correction, you should have a distinct end goal in mind. Don’t throw on a plugin because you saw me do it. Don’t copy my exact settings either. Listen to your vocal and ask: what’s wrong with it?
For EQ, I’m usually looking for three things:
- Muddiness - around 200-500 Hz, makes vocals feel woolly
- Harshness - around 4 kHz, makes vocals feel pokey or sharp
- Presence - 10 kHz and up, the air and shimmer
My usual EQ moves on a vocal:
- High-pass up to 100 Hz to clear out sub frequencies you don’t need
- Cut the muddy frequencies (in my session it was a low-mid honk around 500-1k)
- Cut any harshness (around 4 kHz, especially on the “me” sounds)
- Add a touch of sheen at 10 kHz and above
If you’re not sure where to start with the diagnosis, upload your vocal to my Vocal Analyzer. It’s free, it loads your vocal, runs the frequency analysis, and gives you specific recommendations for your specific voice. Saves you a lot of guesswork.
Step 3: Control the dynamics
Once the EQ is right, the next thing fighting your vocal is dynamics.
If your vocal jumps from whisper to shout, no compressor in the world will land it consistently in the mix. You need to even out the levels first, then compress.
You can clip-gain every line manually so they’re visually similar in the DAW. That works. But it’s slow.
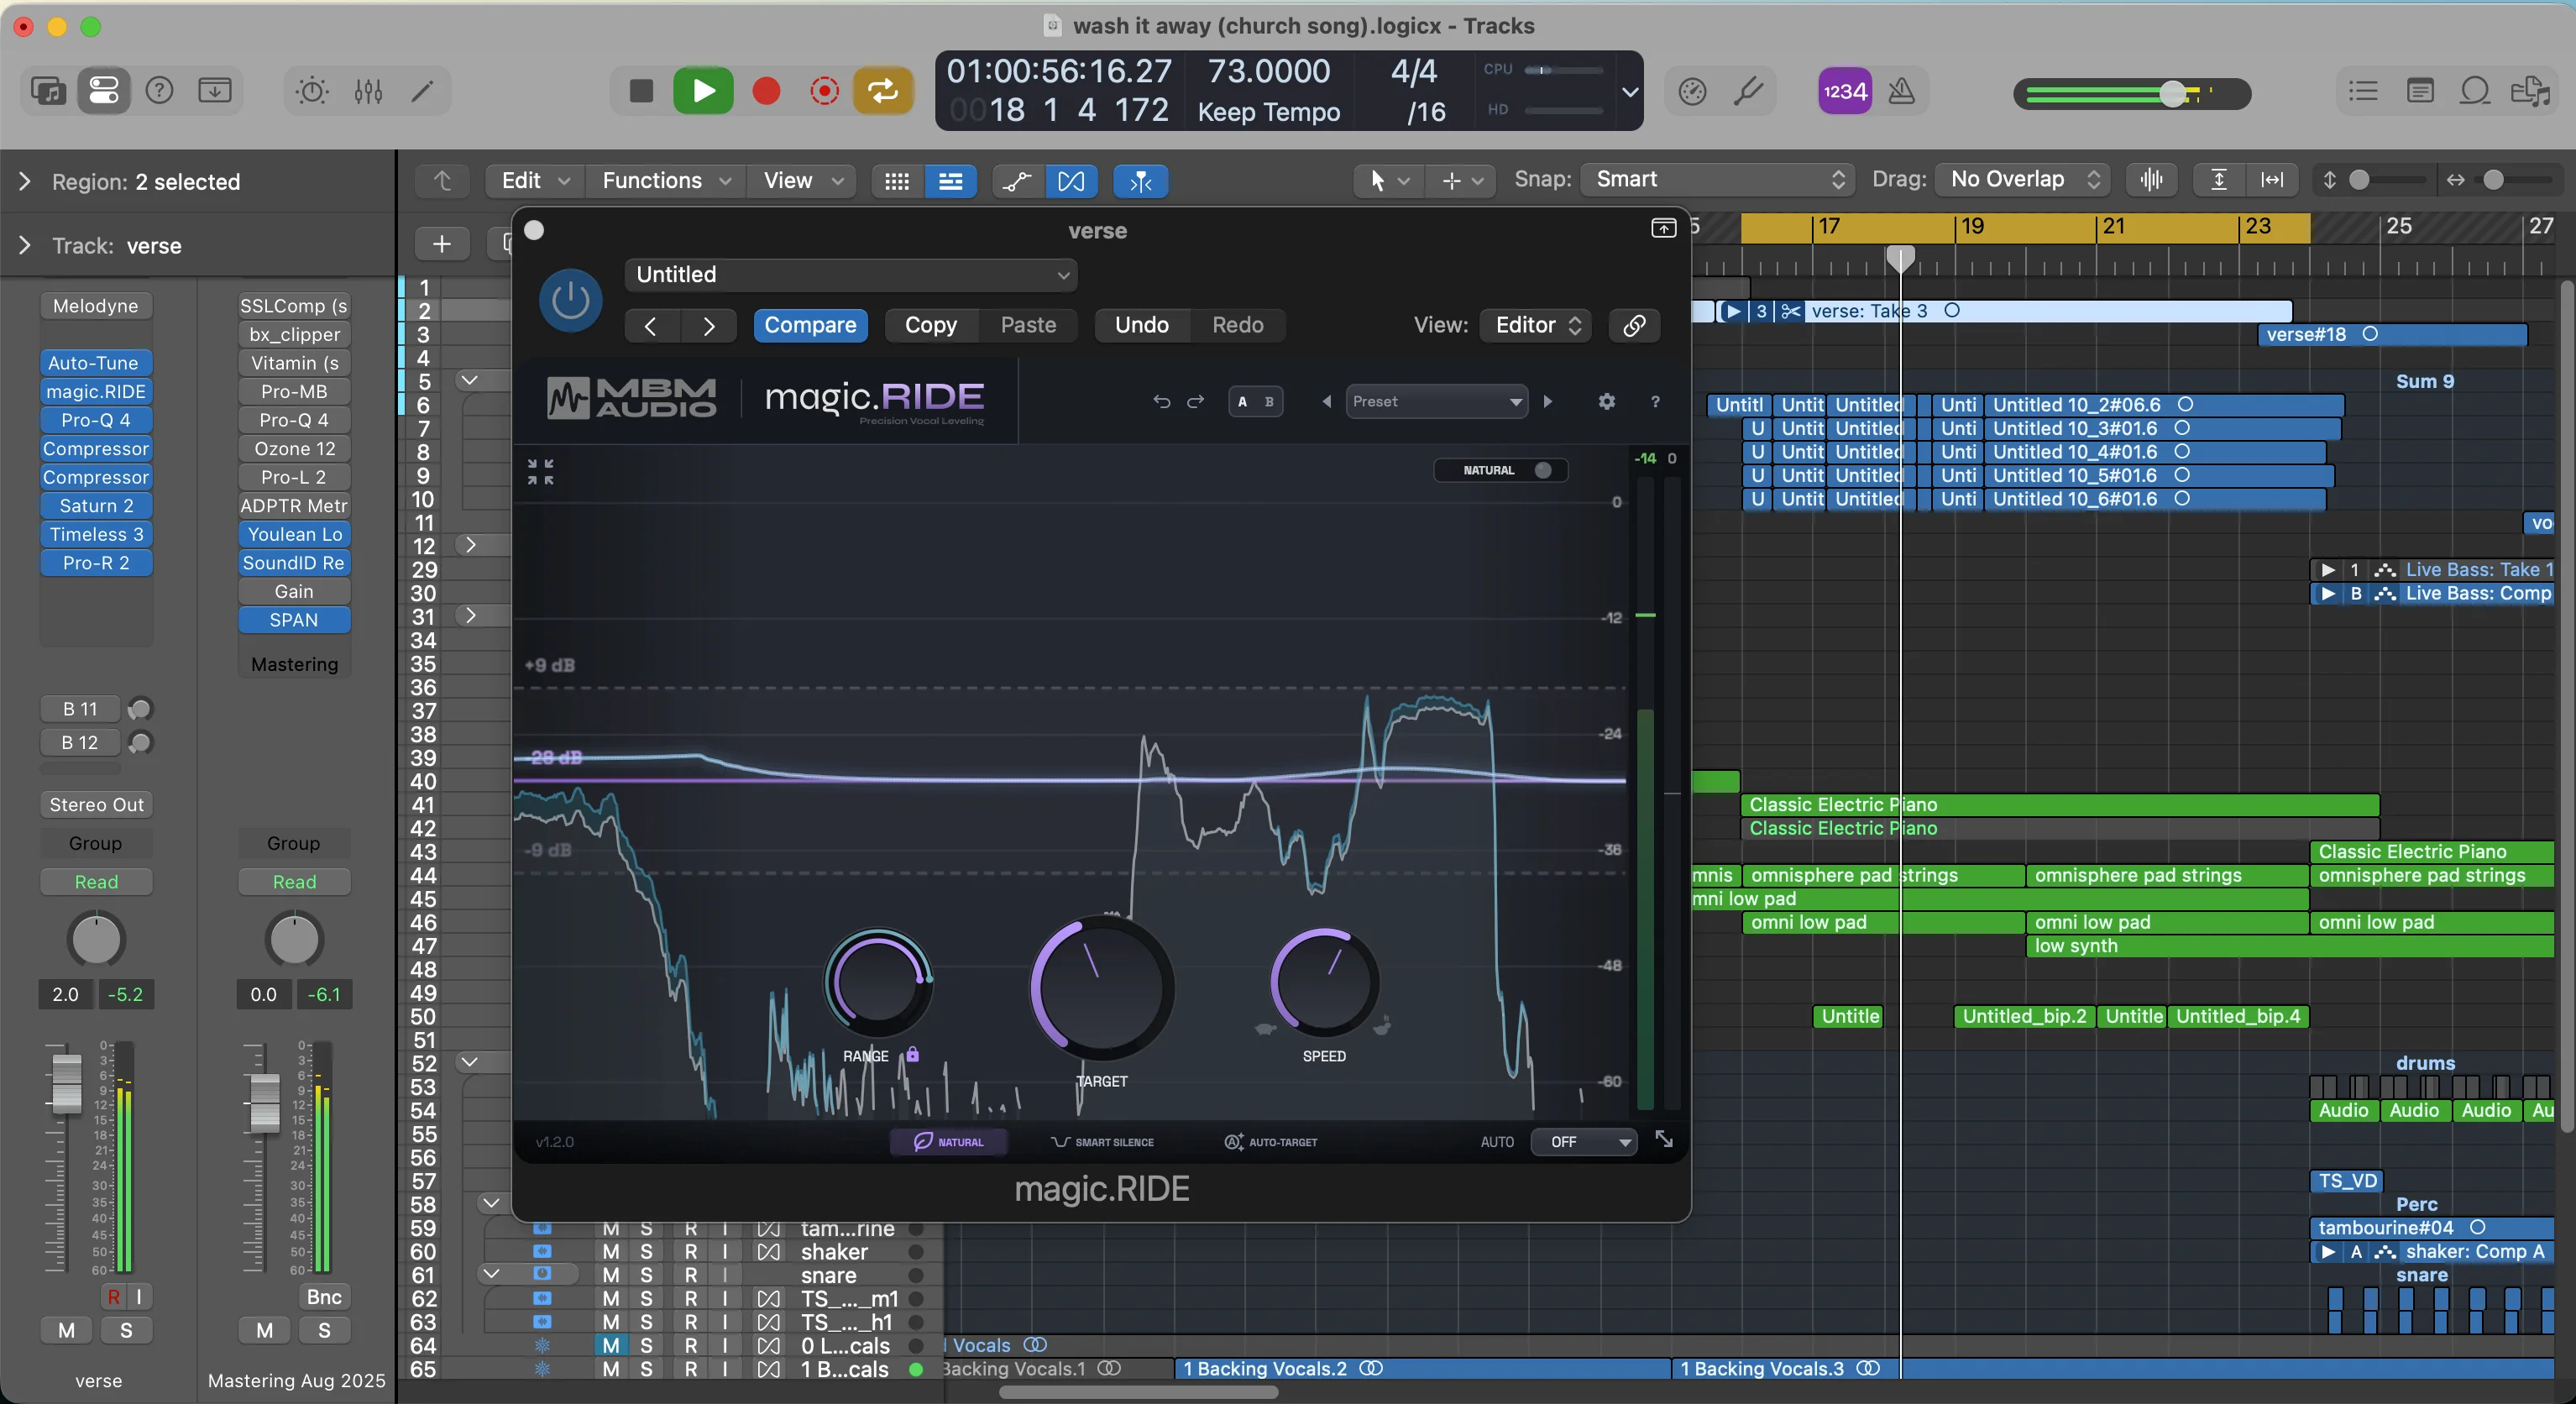
Faster way: use an automated vocal rider plugin. My favorite is magic.RIDE - drop it on the vocal, set the range, hit auto-target, and it’ll level the whole performance for you. Adjust the speed so it doesn’t pump weirdly into your compressor.
Then I add compression after the rider. Once the dynamics are already smoothed out, the compressor isn’t doing the heavy lifting anymore - it’s there for color and glue, not control.
This is the order that matters: rider first, compressor second. Get it backwards and your compressor will pump on every loud syllable.
Want a starting point that already has the EQ, rider, and compression dialed in? My Vocal Magic presets are full vocal chains ready to drop on any vocal in any DAW.
Step 4: Polish the pitch
Pitch is the last vocal-control step before you start working on space.
If your performance was good and you’re only slightly off pitch in spots, you can get a much more polished sound with Melodyne or Auto-Tune. I use Melodyne. It’s transparent enough that the listener won’t notice it’s there - they’ll just notice the vocal feels tighter.
One important thing: pitch correction can’t fix a bad performance. It can polish a good one - and which pitch correction plugin you use does change the result. If you’re catching pitch all over the place, re-record. No pitch tool will save it - it’ll just make it sound robotic.
Step 5: Put the vocal in a shared space
Now that the vocal isn’t fighting the instrumental, it’s time to make them sound like they live in the same room.
The trick: shared reverb buses. Don’t put a reverb on the vocal in isolation. Send the vocal and the instruments to the same reverb buses, so they share an acoustic space.
I usually run two reverb buses:
- Bus 23 - a convolution reverb (real room recordings, the most realistic)
- Bus 24 - a shorter ambience reverb for general cohesion
For the convolution reverb on bus 23, I use the Quantec Room Simulator (QRS) with a “Private Concert” preset. Convolution reverbs are some of the most realistic-sounding reverbs available because they’re literally recordings of real rooms - the math just plays them back over your audio.
Crank the reverb level up. Don’t be afraid of it. The next step keeps it from washing out the vocal.
Sidechain the vocal against the reverb
Here’s the trick that makes loud reverb usable on vocals:
Sidechain a compressor on the vocal to duck down whenever the reverb return is playing.
Setup:
- Add a compressor on the vocal after the send to reverb
- Set the sidechain input to the newest vocal track (or the reverb return, depending on your routing)
- Pull the threshold down so it ducks
- Turn auto-gain off
- Lower the release so it holds slightly longer than you’d think Sidechain a compressor on the vocal to duck down whenever the reverb return is playing.
When the reverb tail is loud, the vocal ducks slightly. When the reverb dies, the vocal pops back. The result: a wet, full mix where the vocal is still front and center.
The final glue
Once the vocal sits in its proper space, I add a subtle SSL-style glue compressor across the master bus. This brings everything together one more notch.
Then a limiter for level.
I’d recommend doing this in small batches as you go - each instrument or group will need slightly different reverb amounts and compression settings. Don’t slap a glue comp on a finished mix and hope for the best. Build up to it.
Putting it all together
Three steps, in order:
- Carve out frequency space in the arrangement so the vocal has somewhere to live
- Control the vocal - EQ for tone, vocal rider plus compression for dynamics, pitch correction for polish
- Use shared space - shared reverb buses, sidechain the wet signal against the dry vocal, glue the whole thing together
Skip step one and the rest is a band-aid. Most beginner mixes fail because they try to fix in step two what should’ve been done in step one.
If you want a deeper diagnosis on what’s actually wrong with your vocal before you start mixing, run it through the Vocal Analyzer - it’ll tell you whether you’ve got a recording, frequency, dynamics, or sibilance problem so you know what to focus on.
Want a professional starting point? My Vocal Magic presets give you ready-made vocal chains for any genre — EQ, compression, reverb, and more, all dialed in and ready to go.
Or grab my free vocal presets to try before you buy.
About Mattie
Mattie is a music producer, songwriter, and educator specializing in Logic Pro and vocal production. With over 10 years of experience in the music industry, he's helped thousands of artists transform their home studio recordings into professional-quality tracks.
As the founder of Music By Mattie, he creates tutorials, presets, and courses that simplify complex production techniques. His mission is to make professional music production accessible to everyone, regardless of budget or experience level.