How to Record Professional Sounding Vocals with an iPhone!
In today's video, we're breaking the barrier of high-tech audio equipment and venturing into the realms of the accessible, everyday tech you've got right in you

Key Takeaways
- Set Voice Memos to 'Lossless' audio quality in your iPhone settings before recording anything.
- Hold your iPhone 5-8 inches from your mouth and maintain consistent distance throughout recording.
- Record in soft-surface rooms with carpet, curtains, or clothing to minimize harsh reflections.
- The real magic happens in post-production with proper EQ, compression, and pitch correction.
- iPhone recordings need EQ cuts in lower-mids and high-pass filtering to sound professional.
Your iPhone has a surprisingly capable microphone that can capture professional-sounding vocals — and I’m about to prove it.
Forget the myth that you need a $10,000 studio setup to create quality recordings. The secret isn’t in the gear — it’s in the technique, the effort, and knowing how to work with what you’ve got.
I recorded an entire vocal demo using nothing but an iPhone, and the results will surprise you. By the end of this post, you’ll know exactly how to turn your pocket computer into a legitimate recording tool.
I also made a full video on this…
All the ideas in this article come from the video below. If you don't feel like reading, well, I gotchu.
Part of the Recording Vocals series — For the full picture, read my complete guide to recording vocals at home.
The iPhone Microphone Is Better Than You Think
Don’t scoff at your iPhone’s built-in microphone.
As iPhones continue to advance, their microphones improve too. When you use it correctly, you can get genuinely good results that even professional producers have included in their final tracks.
Here’s something most people don’t know: your iPhone actually has multiple microphones. For recording vocals, we’re focusing on the bottom microphone — that’s your main pickup source.
Before you start recording, check two things:
- Make sure there’s no debris blocking the microphone
- Never put your hand over the microphone while recording — it’ll muffle the sound completely
These seem obvious, but you’d be amazed how many people mess this up.
The Best Recording App (It’s Already on Your Phone)
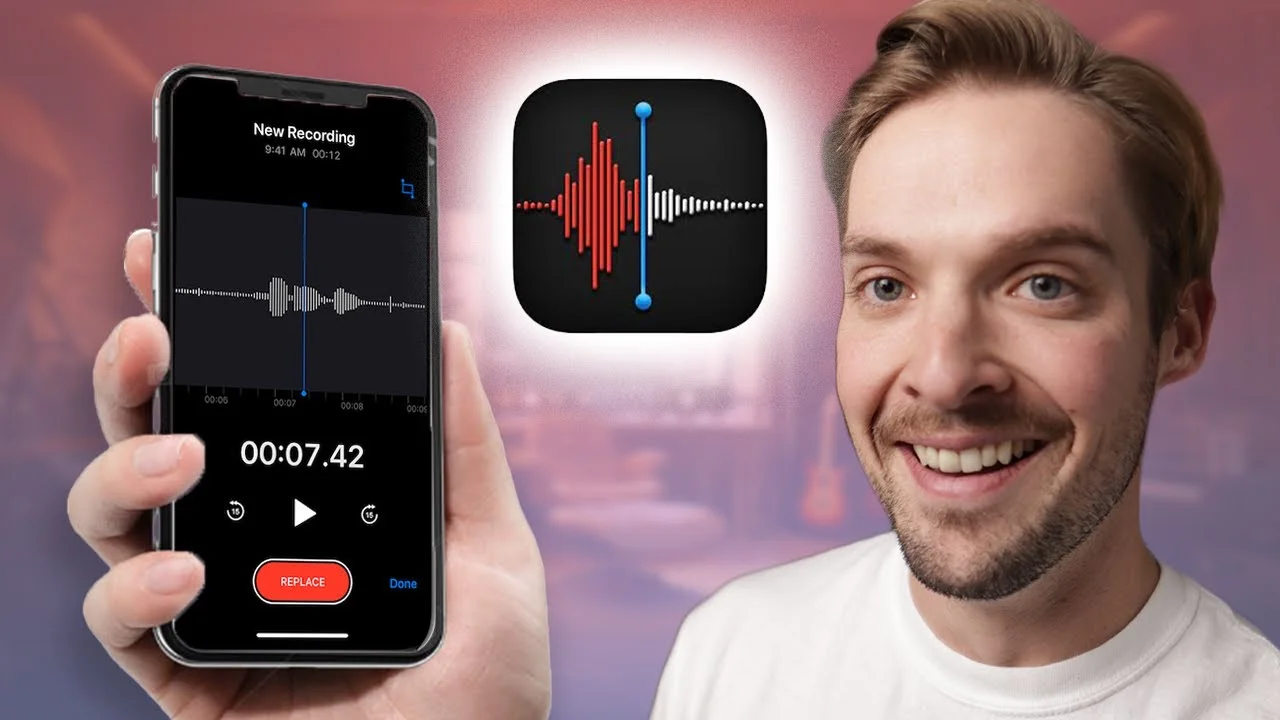
There are tons of recording apps available — from Apple’s Voice Memos to GarageBand to AudioShare. Each has pros and cons, but I’m keeping this simple.
Use Voice Memos.
It’s pre-installed, it’s straightforward, and it gets the job done. I love Voice Memos because:
- It’s simple to understand
- Audio export is painless
- No learning curve
- It just works
Critical iPhone Settings You Must Change
Here’s where most people mess up before they even start recording.
You need to change your Voice Memos settings to get the best possible audio quality:
- Open Settings on your iPhone
- Scroll down to Voice Memos
- Tap Audio Quality
- Set it to Lossless
That’s it. Don’t skip this step.
Lossless gives you the best audio quality possible. Compressed settings make your file size smaller, but they degrade the audio quality. For recording vocals, we want the highest quality we can get.
Setting Up Your Space (This Makes or Breaks Your Recording)
Even the most advanced recording gear means nothing if you’re recording in an acoustically terrible room.
It doesn’t have to be studio-quality, but taking a few key steps will make your recording sound dramatically better.
Find a Quiet Space
Any background noise can potentially ruin a good vocal take:
- Dogs barking
- Washing machines
- Doorbells
- Traffic
- Air conditioning
You get the idea. Scout your location and time your recording when these distractions are minimal.
Understanding Room Acoustics
Rooms with lots of hard surfaces — windows, bare walls, hardwood floors — create harsh reflections that make recordings sound amateur.
Rooms with softer surfaces help absorb these reflections:
- Carpet
- Curtains
- Furniture
- Clothing
- Bedding
Quick Acoustic Treatment Hacks
If you’re dealing with echo and hard surfaces, try these simple solutions:
Hang up blankets around your recording area. Thick blankets work better than thin ones.
Prop up a mattress against the wall behind you while recording. It’s ugly, but it works.
Record in a closet full of clothes. The hanging fabric creates natural acoustic treatment.
Remember: the goal is to control the sound, not completely deaden it. A little bit of room sound actually adds character to your vocal. Going too far creates a lifeless, unnatural recording.
Proper Recording Technique
Now that your settings are dialed in and your space is ready, let’s talk about the actual recording process.
The Sweet Spot for Distance
How you hold your iPhone makes a massive difference in the sound you capture.
Too close to your mouth: You’ll get clipping and distortion Too far away: You won’t capture enough audio signal
Here’s my method: hold your iPhone about 5-8 inches from your mouth. I use my thumb and pinky as a measuring guide — it’s roughly that distance.
Try to maintain this distance consistently throughout your recording. Moving closer and farther creates volume inconsistencies that are annoying to fix later.
Use Headphones for Monitoring
Monitoring means listening to the music while you sing along to it. This is crucial for staying in time and in tune.
One downside of Voice Memos: it doesn’t make it easy to listen to music and record simultaneously. My solution? Use a separate device to play your backing track while you record with your iPhone.
Play the instrumental on your computer, tablet, or another phone, and use headphones to monitor while singing into your iPhone.
Before You Hit Record
Warm up your voice. Even if you’re just doing a quick demo, a few vocal exercises will improve your performance dramatically.
Stay hydrated. Keep water nearby and take sips between takes.
Take breaks. Don’t strain your voice trying to nail the perfect take in one session.
Record multiple takes. Give yourself options to choose from later. You might nail the emotion on take three but hit better notes on take seven.
The Magic Happens in Post-Production
Here’s where we transform your iPhone recording into something that sounds professional.
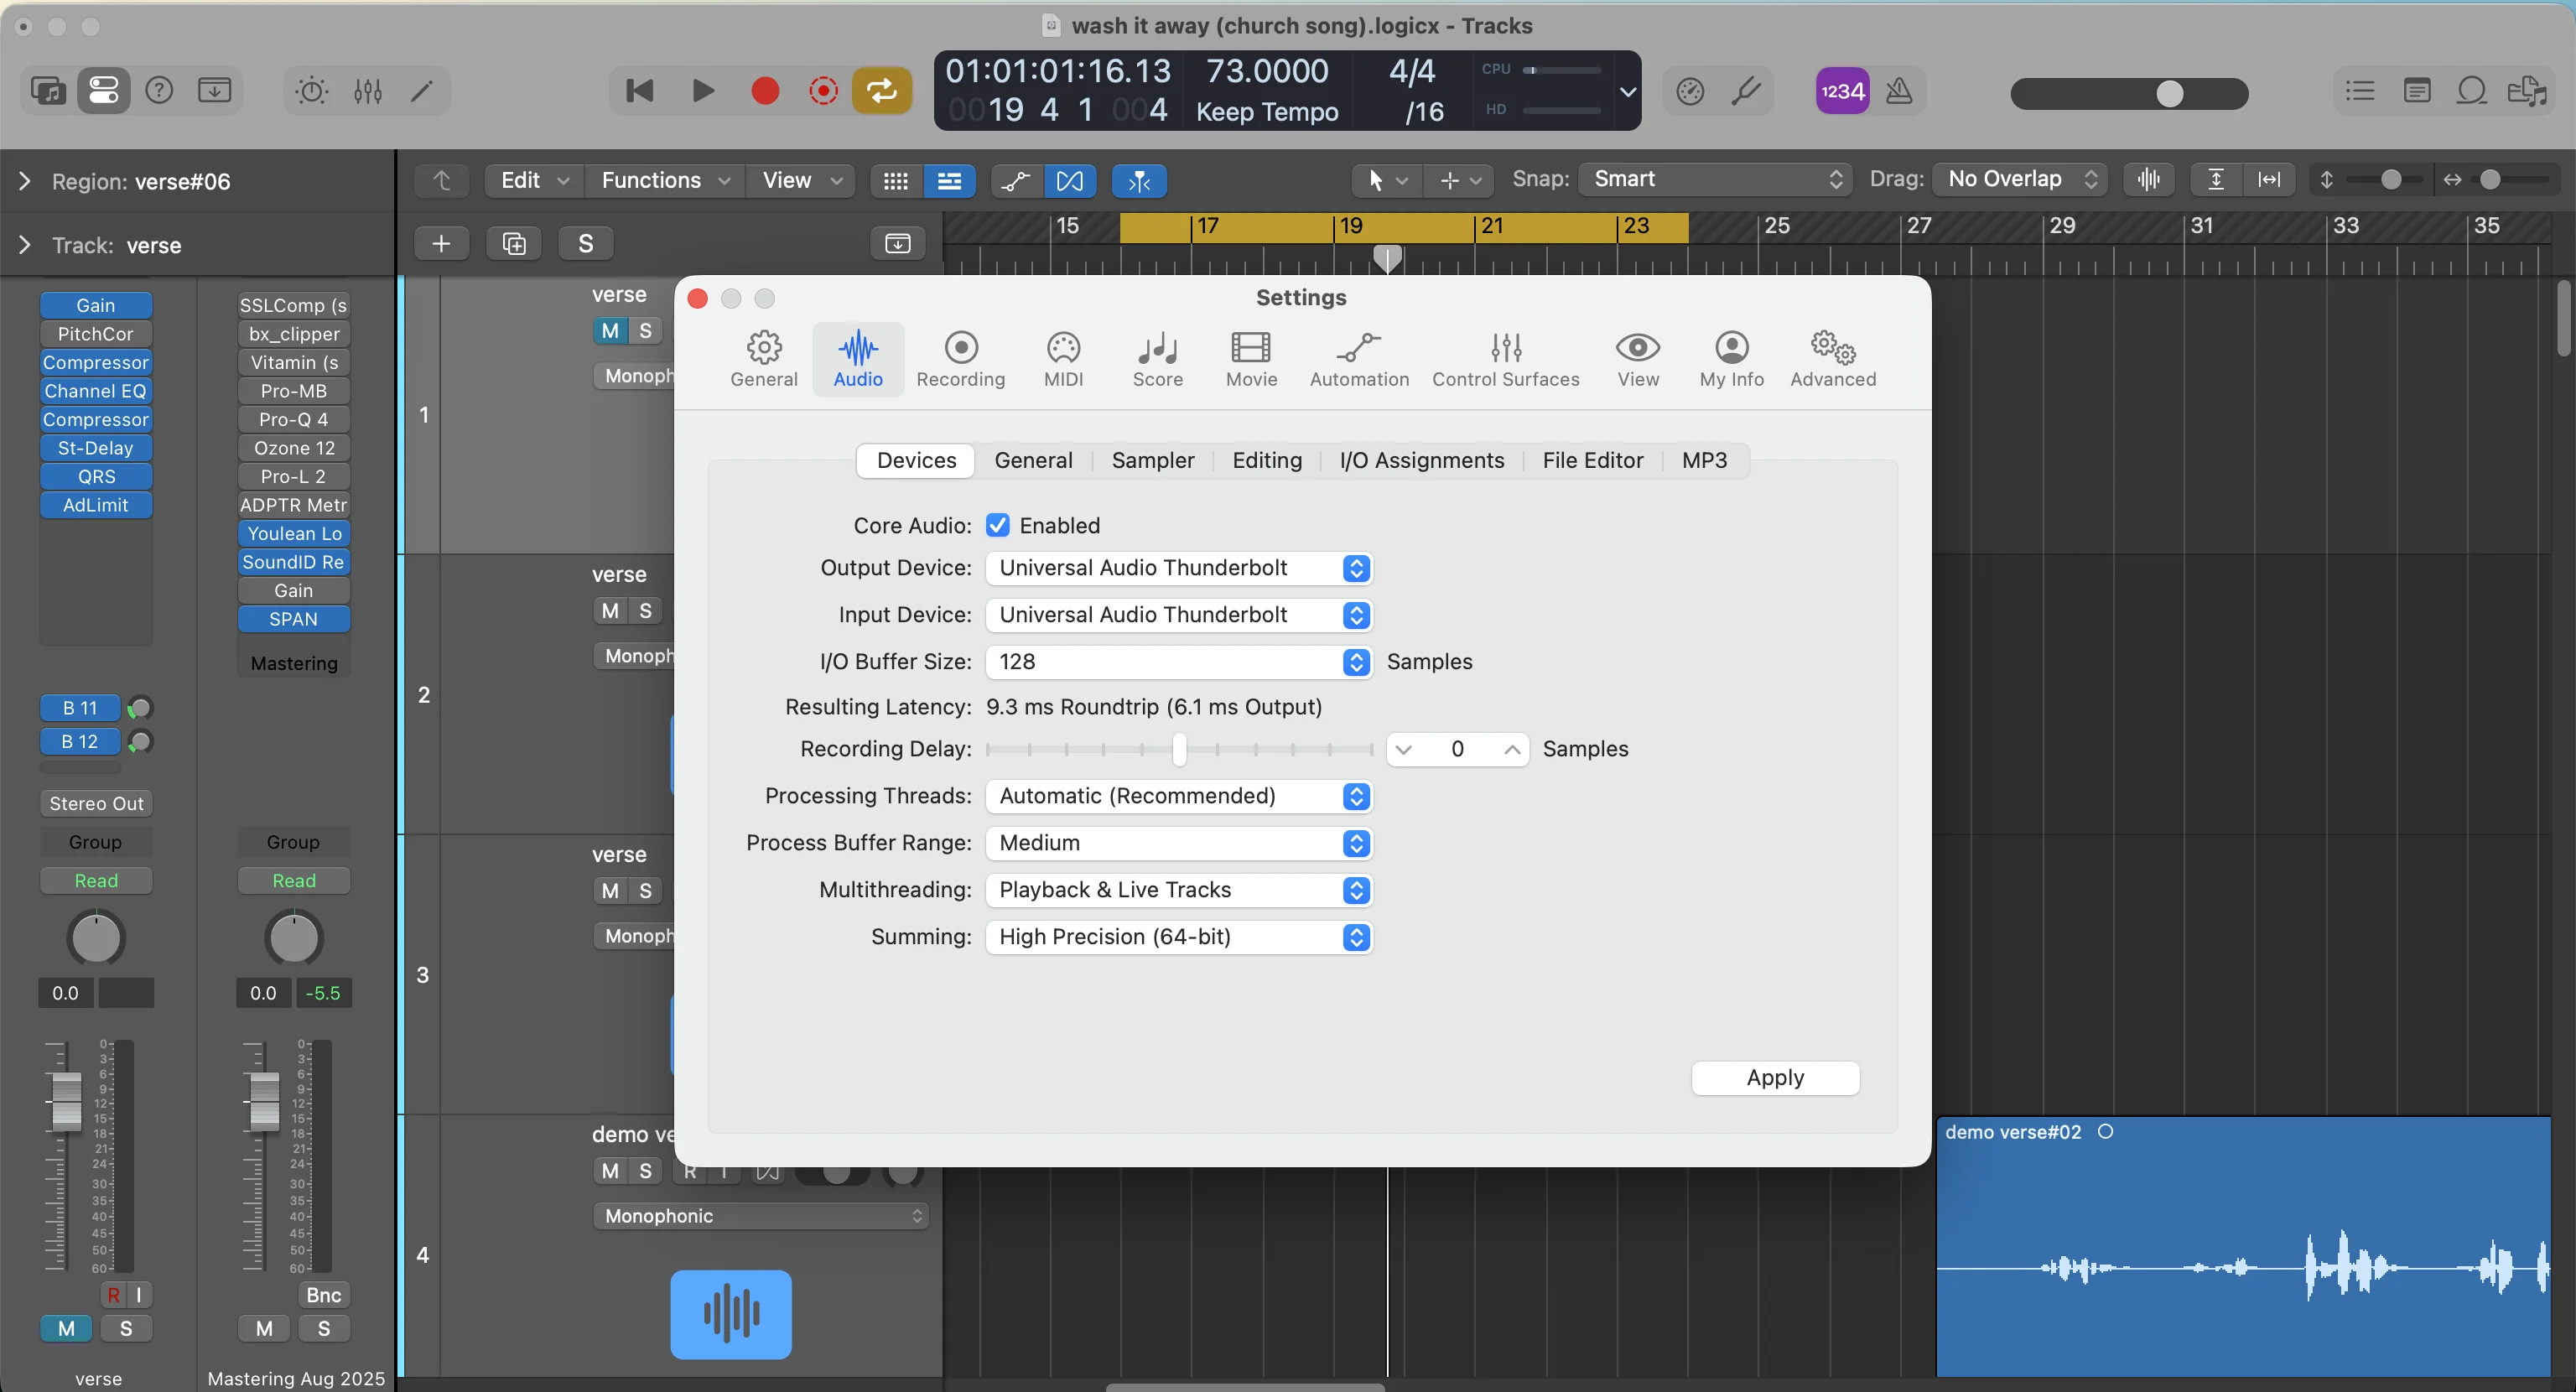
Once you’ve got your vocal recorded, it’s time to import it into your DAW (Digital Audio Workstation) for editing. This is where the heavy lifting happens — where it starts to sound like a professional vocal.
Using Vocal Presets for Quick Results
For this demonstration, I used my Vocal Magic preset pack to process the iPhone recording. These presets are designed to handle the common issues you’ll encounter with any vocal recording — especially iPhone recordings.
The beauty of using presets? They give you a professional starting point instead of building everything from scratch.
Here’s what happened when I loaded the “Modern Moses” preset:
The vocal immediately sounded more polished, but it needed some tweaking to work perfectly with the iPhone recording.
Volume Staging Is Critical
First thing I adjusted: the input volume.
My vocal presets are designed to work when your vocal hits the compressors at around -20 dBFS RMS. Getting this level right ensures all the processing stages work as intended.
If your vocal is too quiet going into the compressors, they won’t engage properly. Too loud, and you’ll get over-compression and distortion.
De-Essing for iPhone Recordings
Here’s something interesting about iPhone recordings: they often don’t have harsh sibilance (those sharp “S” sounds that cut through the mix).
Because of this, I actually reduced the de-esser settings in my preset. I took the max reduction down to about 2 dB — I didn’t want to remove any of the high-end shine that iPhone recordings sometimes lack.
Pitch Correction Settings
For this vocal, I used pitch correction but kept it subtle. The preset was set to C major (matching my song’s key), but the correction speed was too fast for the natural sound I wanted.
I adjusted the speed to around 67 instead of the default faster setting. This gives you pitch correction that sounds natural rather than robotic.
EQ Is Where iPhone Recordings Need the Most Help
The Channel EQ does the heavy lifting in making iPhone recordings sound professional. This is where we address the biggest differences between iPhone and studio microphone recordings.
The main issue: iPhone recordings tend to have buildup in the lower to lower-mid range frequencies. They can also capture room noise and artifacts that need to be cleaned up.
My EQ curve for this iPhone recording:
- High-pass filter to remove unnecessary low-end rumble
- Cuts in the lower-mids to reduce muddiness
- Gentle boosts in the presence range to add clarity
Every iPhone recording will need slightly different EQ treatment depending on:
- The room you recorded in
- How close you held the phone
- Whether you held it near your chest (which creates proximity effect)
- Your voice’s natural frequency response
Compression for Consistency
The preset includes multiple stages of compression to even out the vocal dynamics. When I checked the compressors, they were working perfectly — not too much compression, not too little.
Good compression is invisible. It should control the dynamics without making the vocal sound squashed or lifeless.
Adding Ambience and Space
The final touch involves adding reverb and delay to place the vocal in a sonic space.
My preset uses bussing to handle effects processing. Here’s how you can recreate this in your DAW:
- Create a new bus/auxiliary channel
- Add reverb to that channel
- Send your vocal to that bus
- Control the amount with the send level
I have three different sends set up:
- Ambience: Subtle room reverb for natural space
- Reverb: Longer reverb for more dramatic effects
- Delay: Echo effects for rhythmic interest
For this iPhone recording, I kept these effects subtle. Too much reverb can mask the artifacts we’re trying to hide, making the recording sound obviously processed.
The Final Result
After all this processing, here’s what we ended up with: a perfectly usable vocal recording that sounds professional enough for demos and even final tracks.
Does it sound exactly like a high-end studio recording? No. But it’s absolutely good enough for:
- Song demos
- Songwriting sessions
- Quick ideas you want to capture
- Budget productions
- Learning and practice
When to Upgrade Your Setup
If you’re serious about music production long-term, I’d recommend eventually upgrading to a dedicated microphone. Great budget options include:
- Shure SM58: The industry standard dynamic microphone
- Audio-Technica AT2020: Affordable condenser microphone with professional sound
But here’s the thing: don’t let gear stop you from creating. The biggest barrier to making music isn’t the plugins you have or the microphones you own — it’s your creativity and willingness to work with what you’ve got.
The Real Secret
iPhone vocals will never replace high-end studio recordings. They’re just not designed to.
But they’re a fantastic starting point. They’re perfectly workable in most songs. And most importantly, they remove the excuse of not having the “right” equipment.
You can make great-sounding music from your pocket. The tools are already there.
The limitation isn’t your iPhone — it’s your knowledge of how to use it properly. Follow these techniques, spend time on the post-production, and you’ll be amazed at what’s possible.
Your creativity is the only barrier that actually matters. Everything else is just details you can work around.
Want a professional starting point? My Vocal Magic presets give you ready-made vocal chains for any genre — EQ, compression, reverb, and more, all dialed in and ready to go.
Or grab my free vocal presets to try before you buy.
About Mattie
Mattie is a music producer, songwriter, and educator specializing in Logic Pro and vocal production. With over 10 years of experience in the music industry, he's helped thousands of artists transform their home studio recordings into professional-quality tracks.
As the founder of Music By Mattie, he creates tutorials, presets, and courses that simplify complex production techniques. His mission is to make professional music production accessible to everyone, regardless of budget or experience level.